What’s for Monday Night Dinner? Insalata di Farro

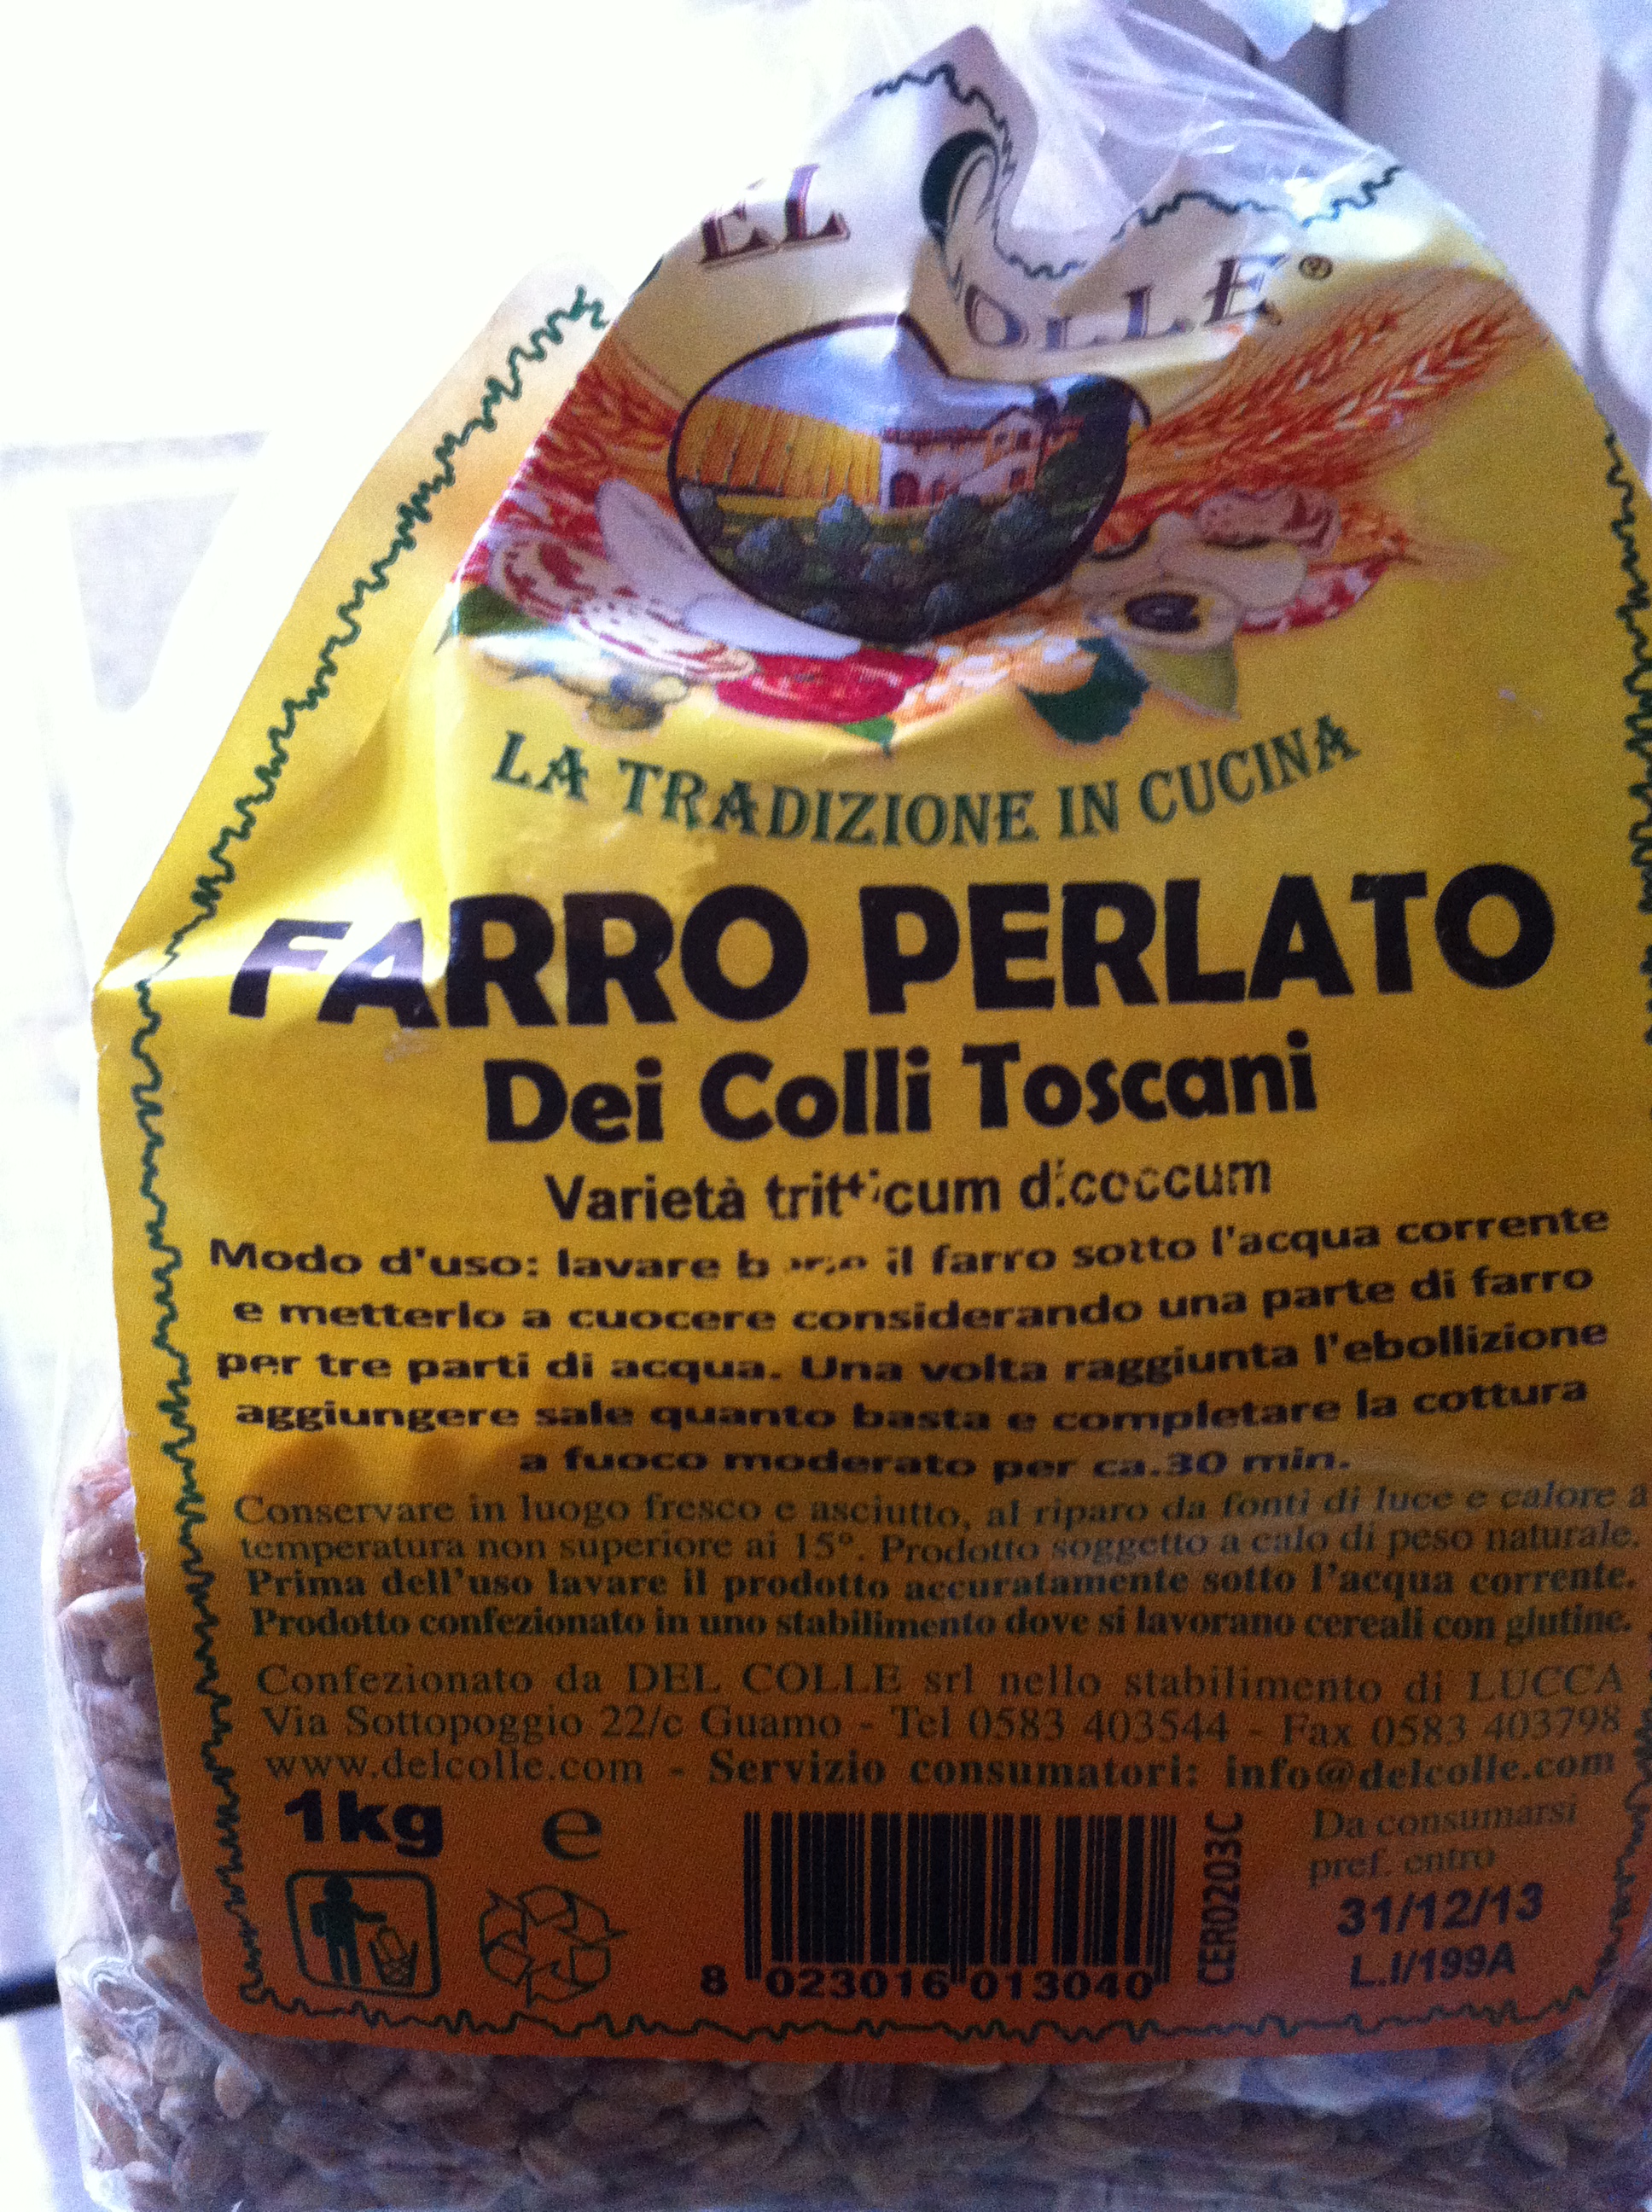
It’s hard to let go of summer. That, plus I had a half bag of pearled farro staring me in the face that I had smuggled back from Italy.

Farro Perlato imported from Italy in small batches. In my suitcase

Farro is an ancient Italian grain that is high in protein and retains a nice chewy crunch when you cook it. It is similar to barley or spelt, but not exactly either. Go figure. I know it’s odd to bring back grains as a holiday souvenir, but real farro is hard to find stateside. And, as you know by now, I hate to let anything go to waste.

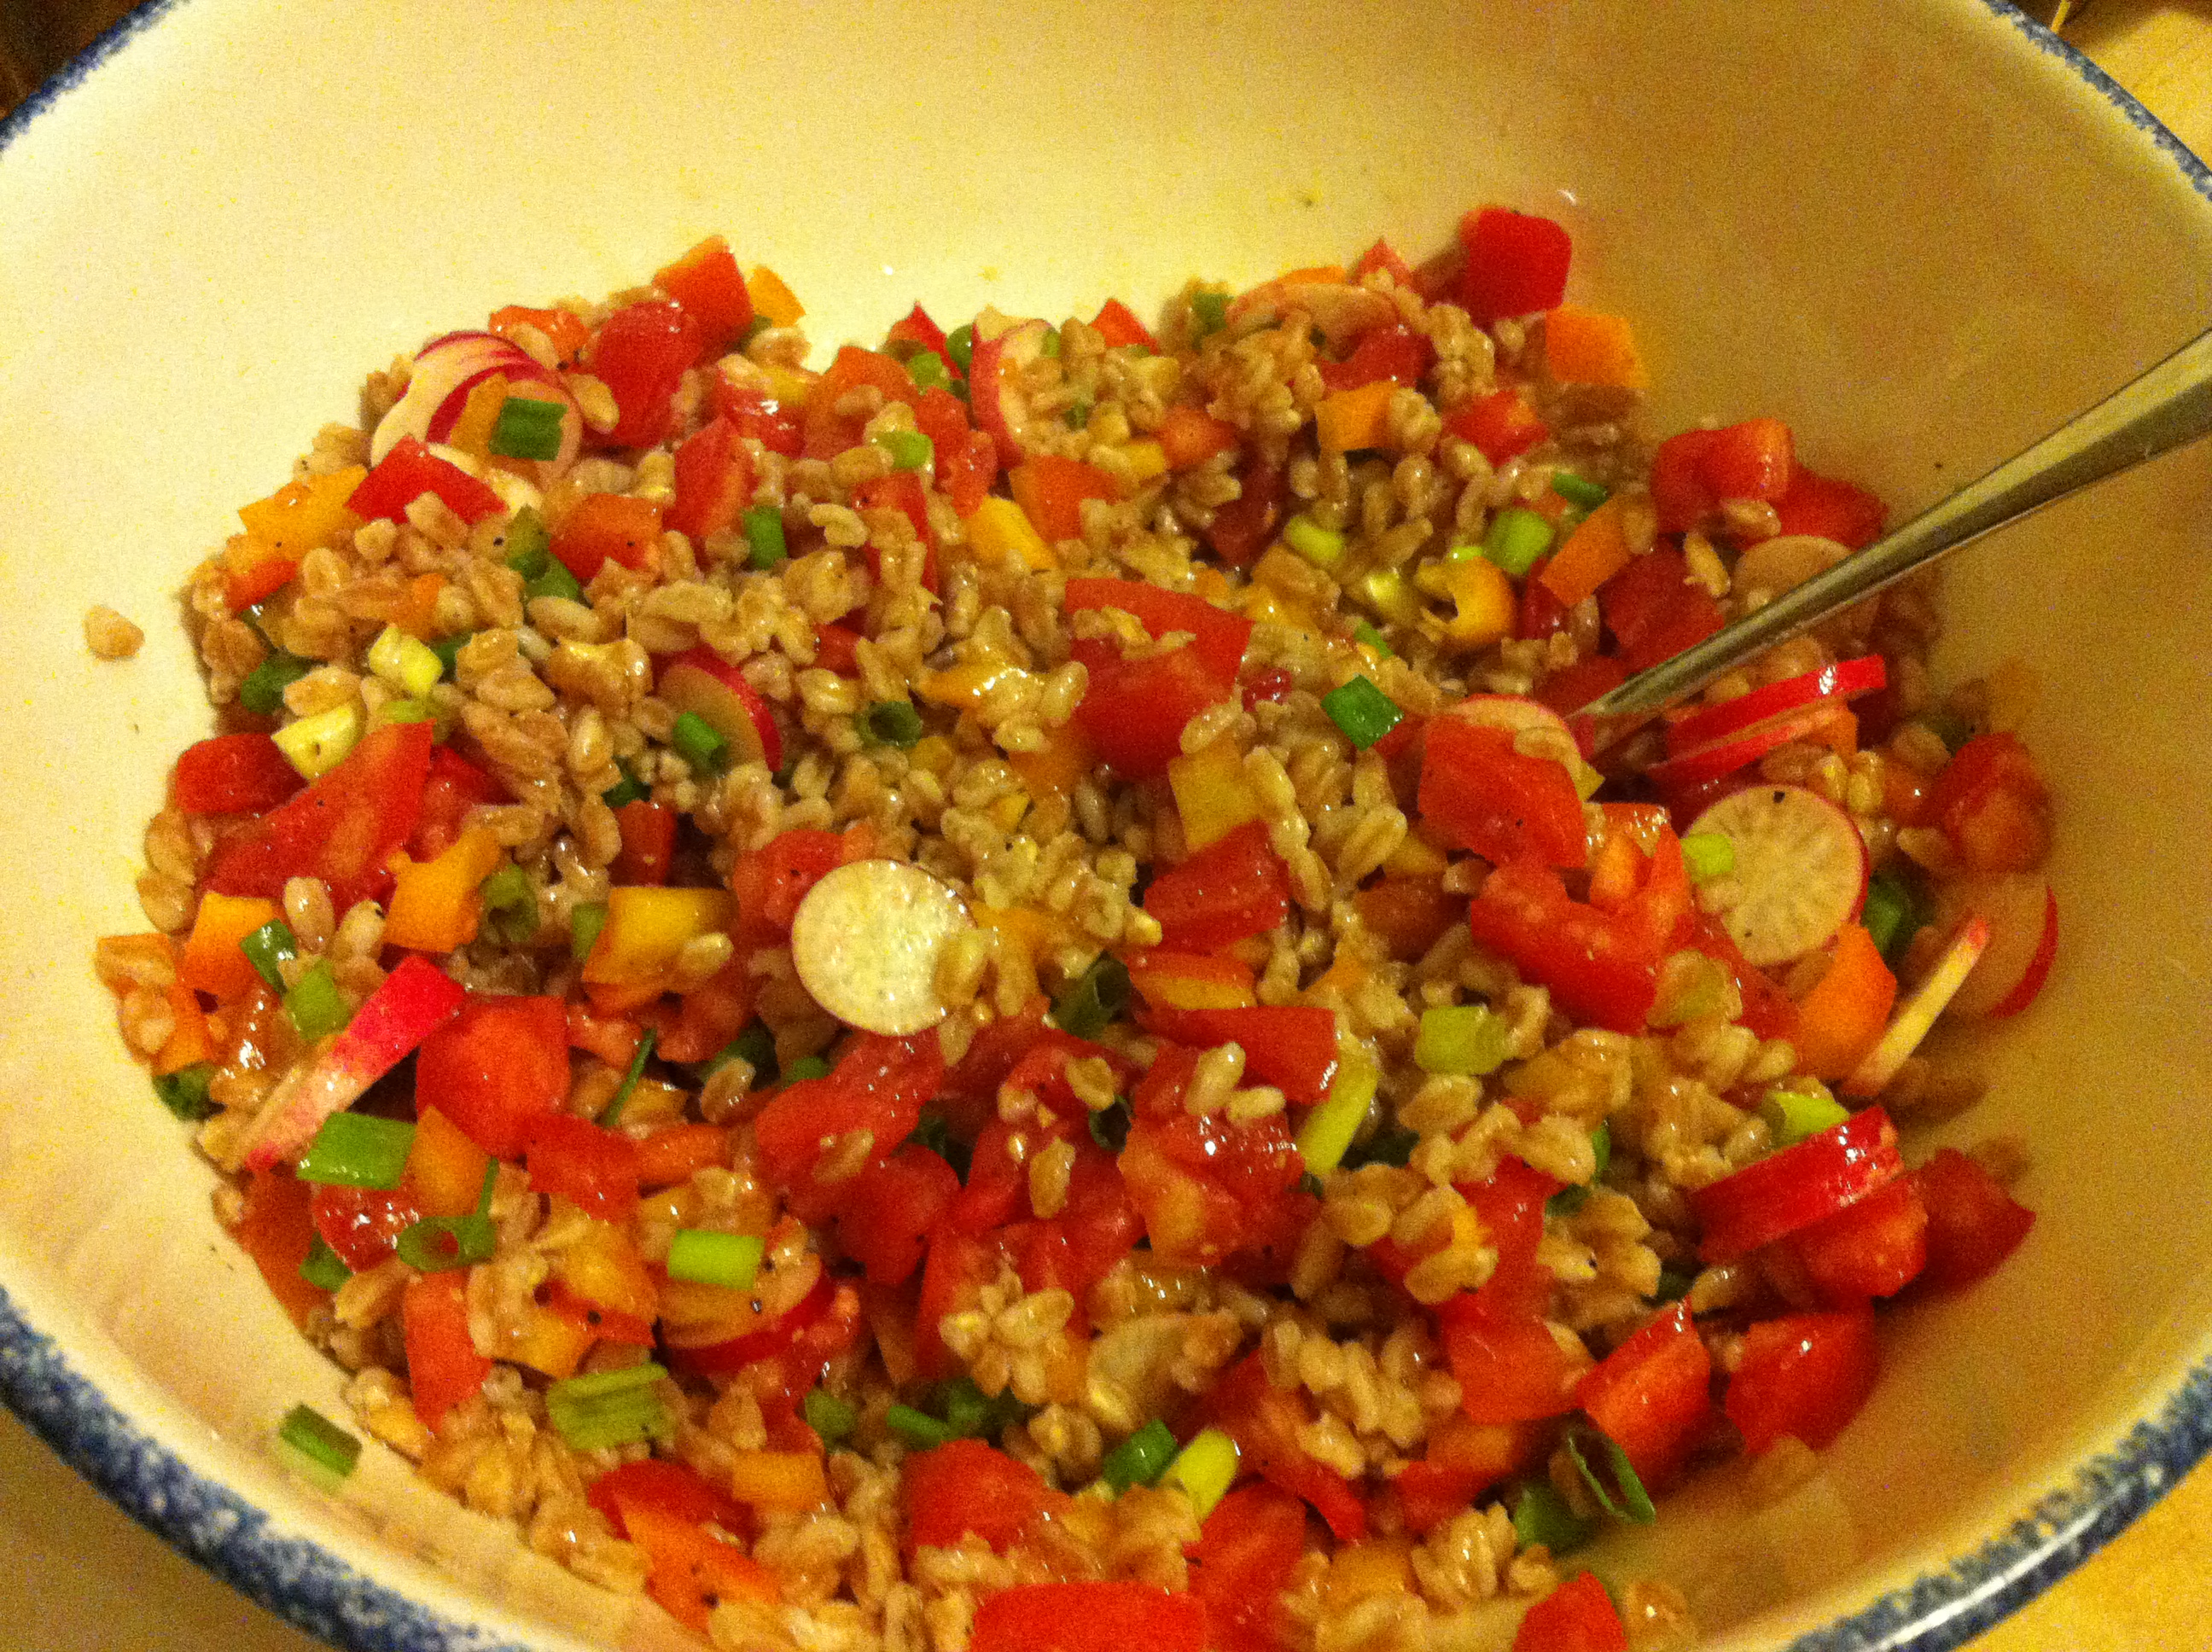
I also had a hodgepodge of veggies left over from Saturday’s CSA pick-up, so I decided to make a simple Insalata di Farro, or Farro Salad. It is reminiscent of any other type of grain salad, like quinoa or rice salads.

Not to brag, but  carnivorous Hubs deemed this vegetarian meal “quite good.”

Insalata di Farro with radishes, tomatoes, peppers and scallions

You’ll see the recipe below, but consider this a starting point. You can use any cooked or raw veggies that you may have on hand, and you can also add some cut up cheese or meat for additional protein. While we were in Tuscany, our neighbor Chiara prepared an Insalata di Farro  with mozzarella, chick peas, tomatoes and potatoes. Delish.

Ingredients:

1 cup farro
4 tablespoons olive oil
2 tablespoons lemon juice [can use red wine vinegar or balsamic vinegar if you don’t have any lemon]
1 – 2 tomatoes, seeded and chopped roughly
4-6 radishes, thinly sliced
4 scallions, chopped
1 bell pepper, seeded and chopped roughly
Salt and pepper to taste

Instructions:

Rinse farro well before use. Put in medium pot and add 4 cups of water. Bring to a boil, salt well, and then let simmer uncovered for 30 minutes. While the farro is cooking, you can chop up your veggies and make the dressing.

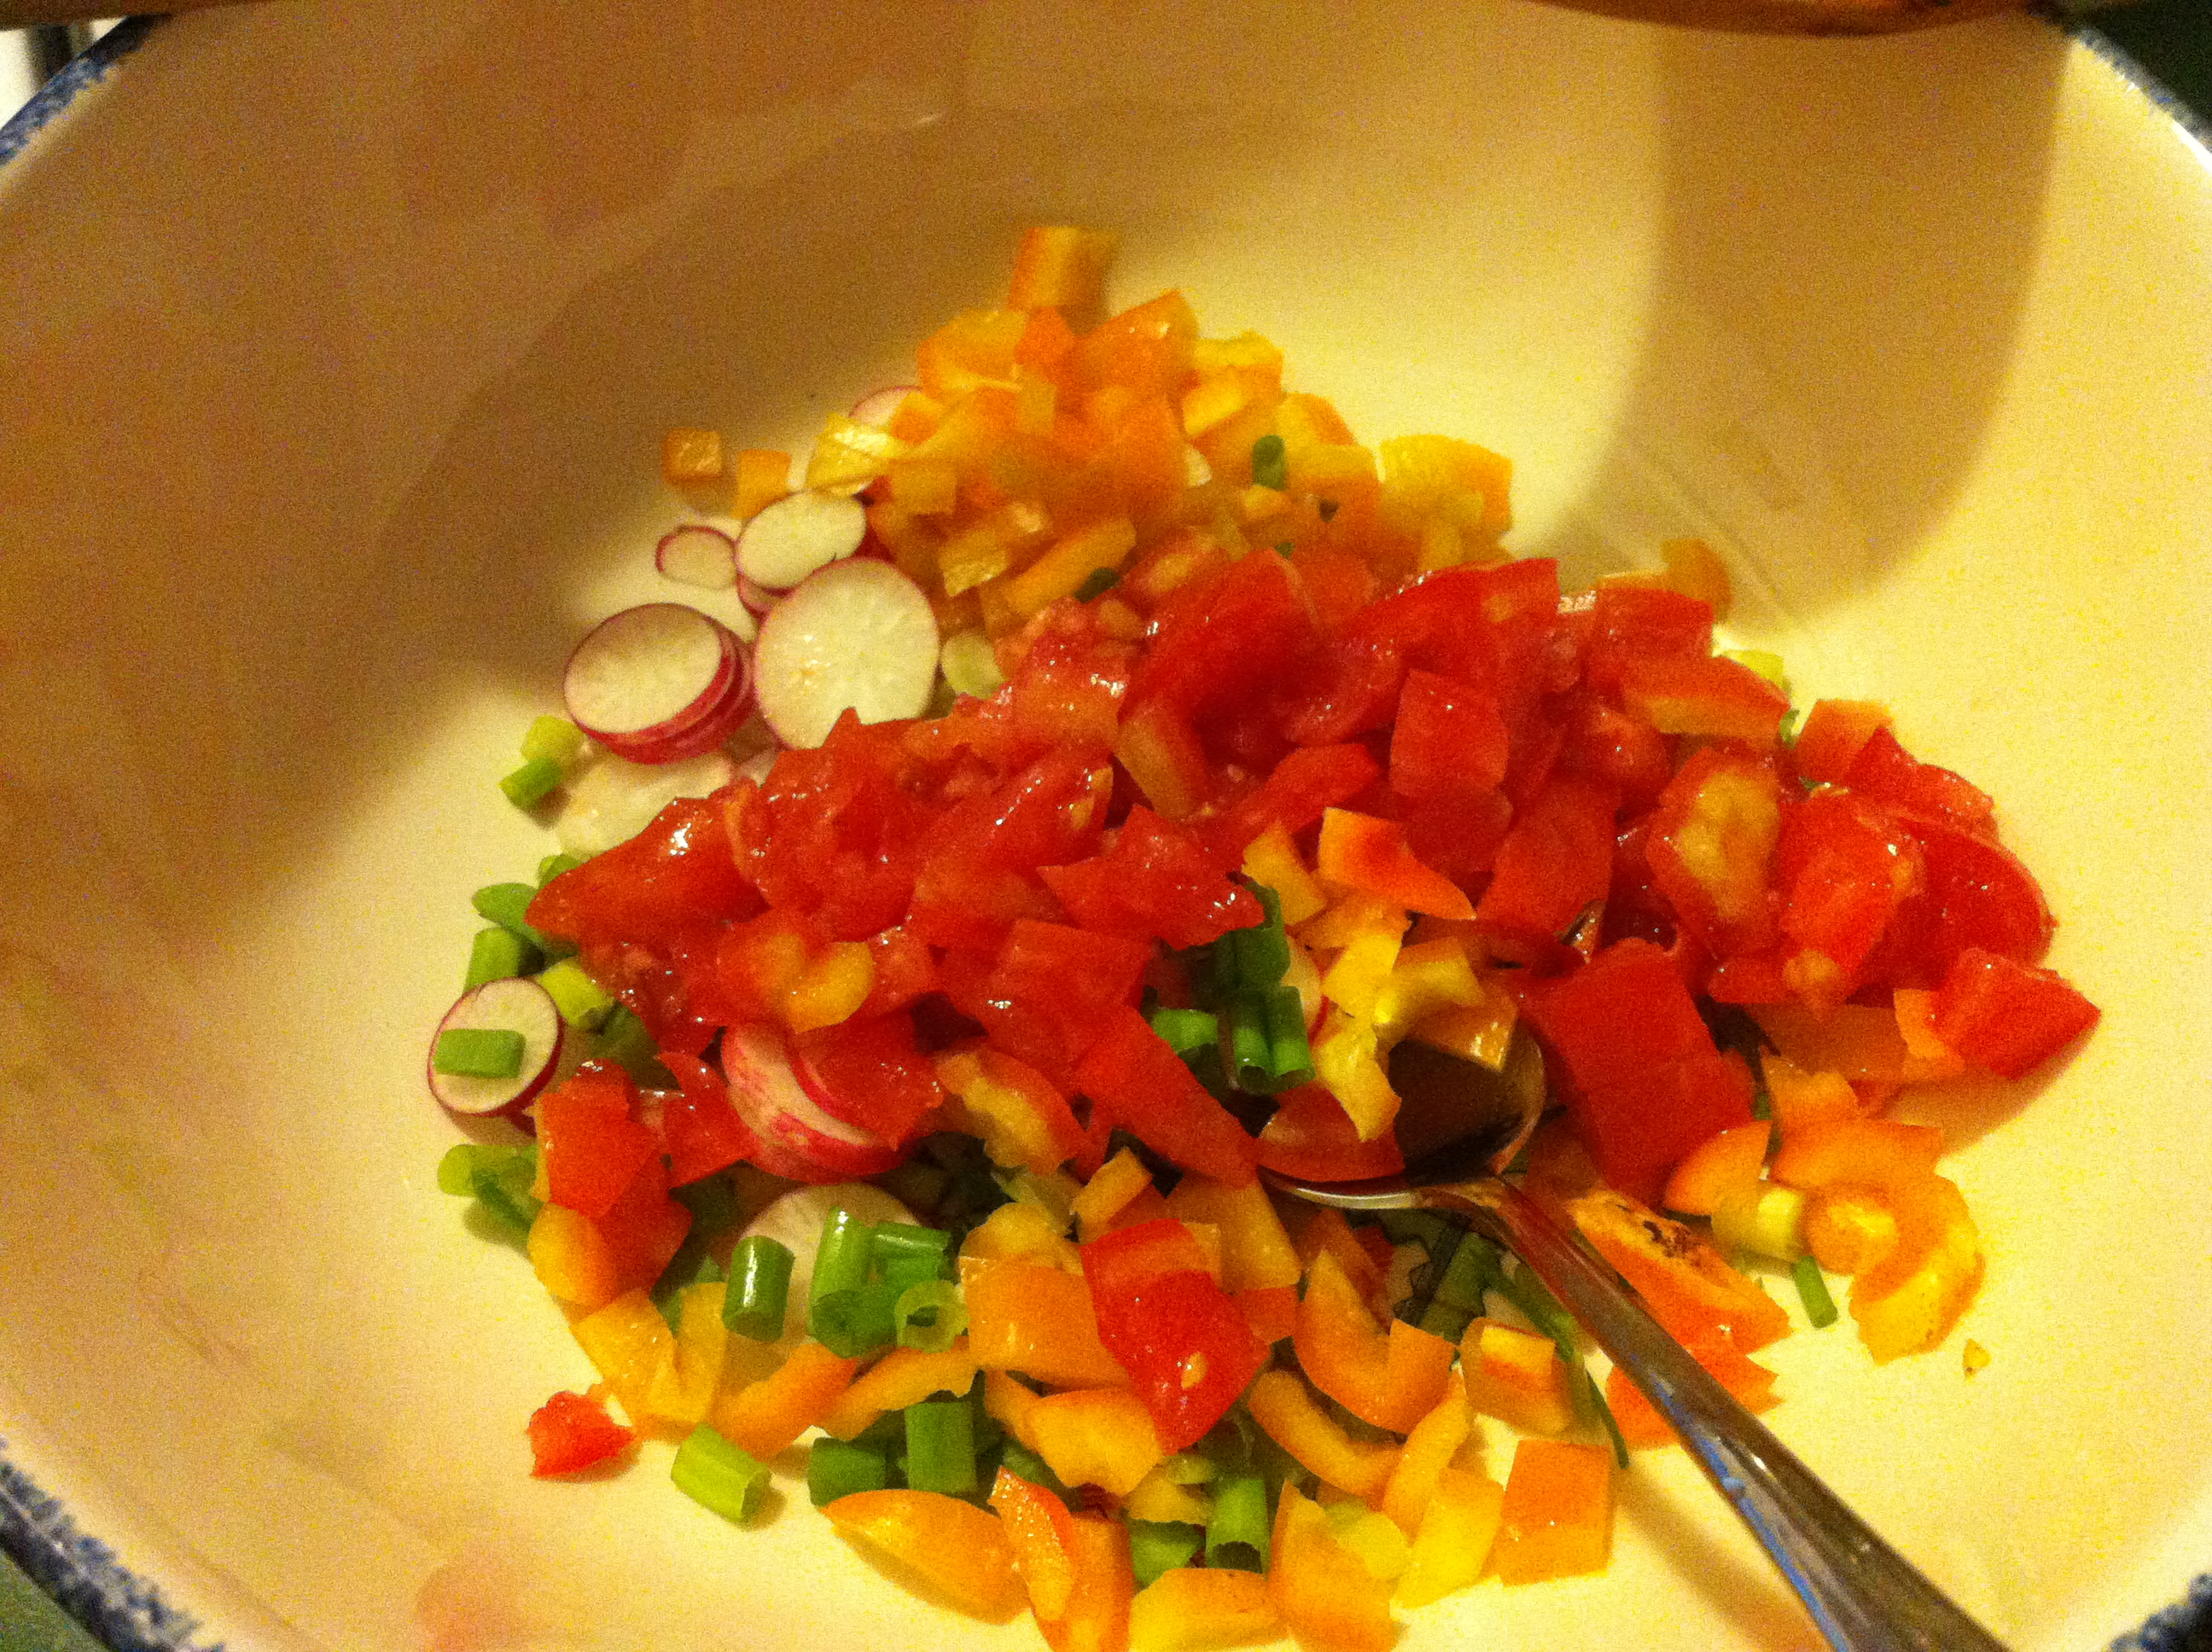
Chopped Veggies: Chef’s choice

Put lemon juice (or vinegar) in a small bowl and drizzle in olive oil while stirring to make the dressing. Add salt and pepper to dressing

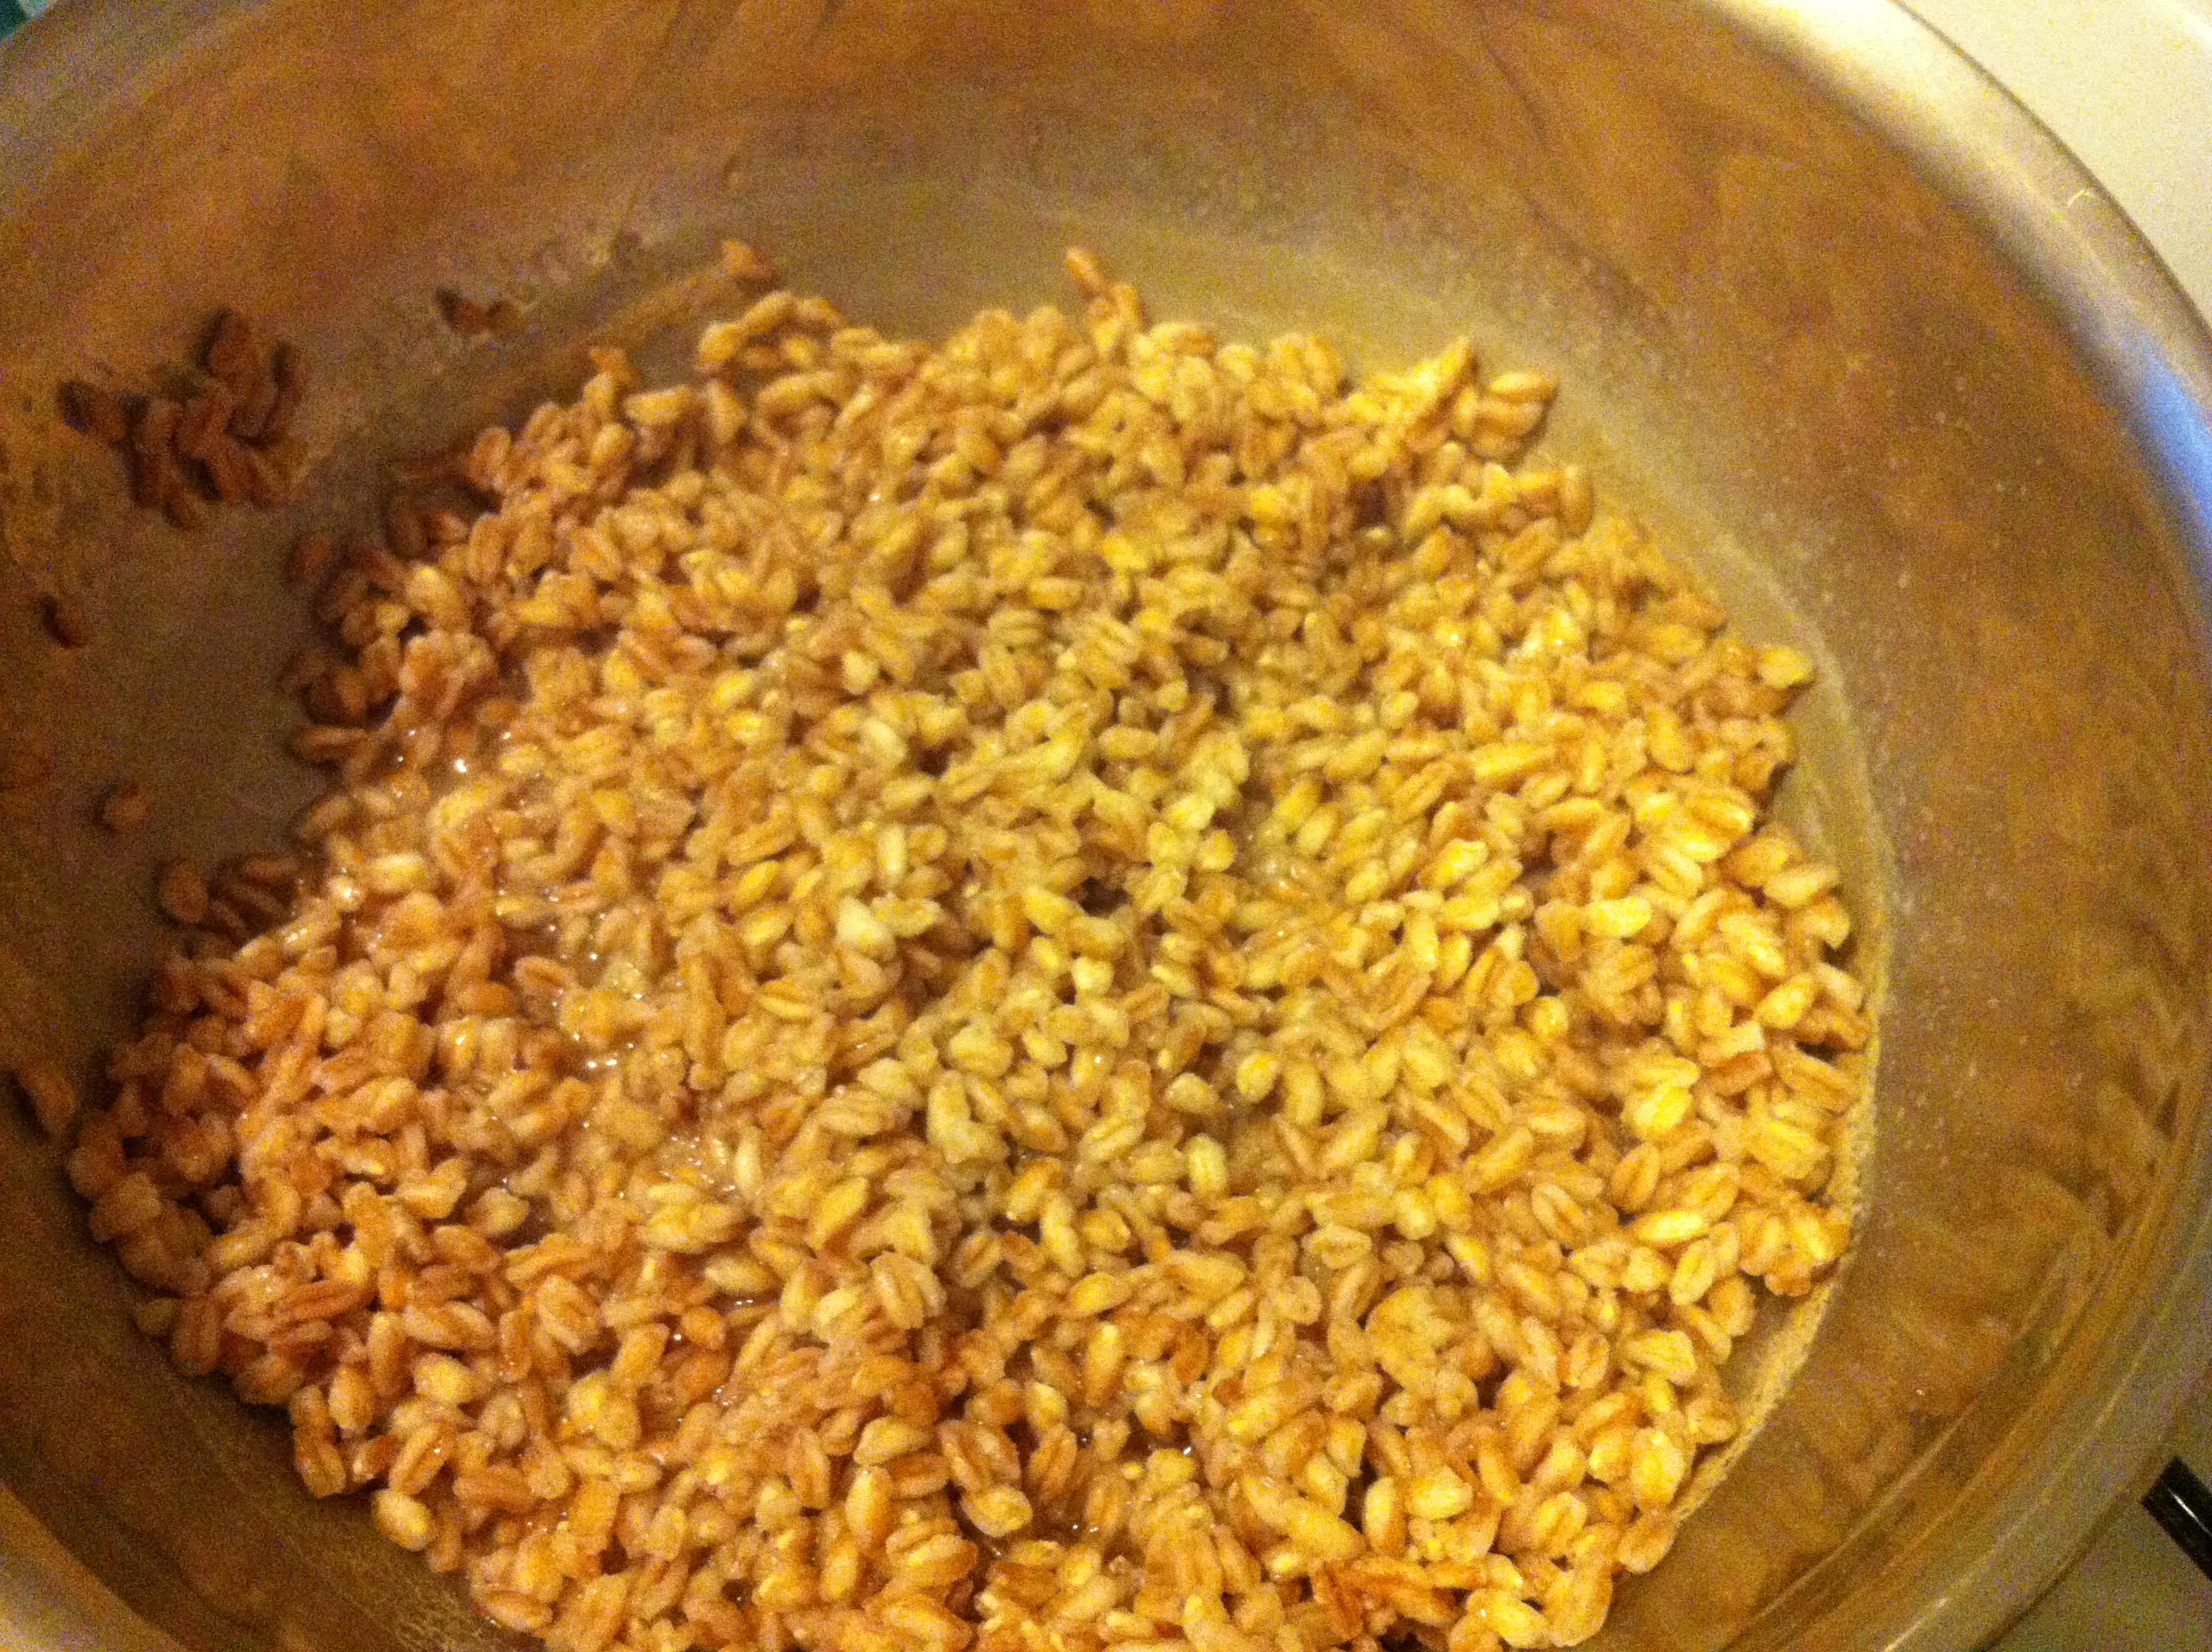
Farro is ready when it has softened and the water has evaporated.

Almost ready: Farro on the stove

Keep an eye on it while it cooks. If the water absorbs too quickly and it’s not ready yet, you may need to add another 1/2 cup of water. Once it is ready, take it off the burner and fluff with fork. Let it cool. Once cooled, add to large bowl with the chopped veggies and dressing. Taste for seasoning. Garnish with chopped parsley or basil, if you like. A tavola!

Yield: 3-4 servings

Let the Odyssey Begin: Home Pickling

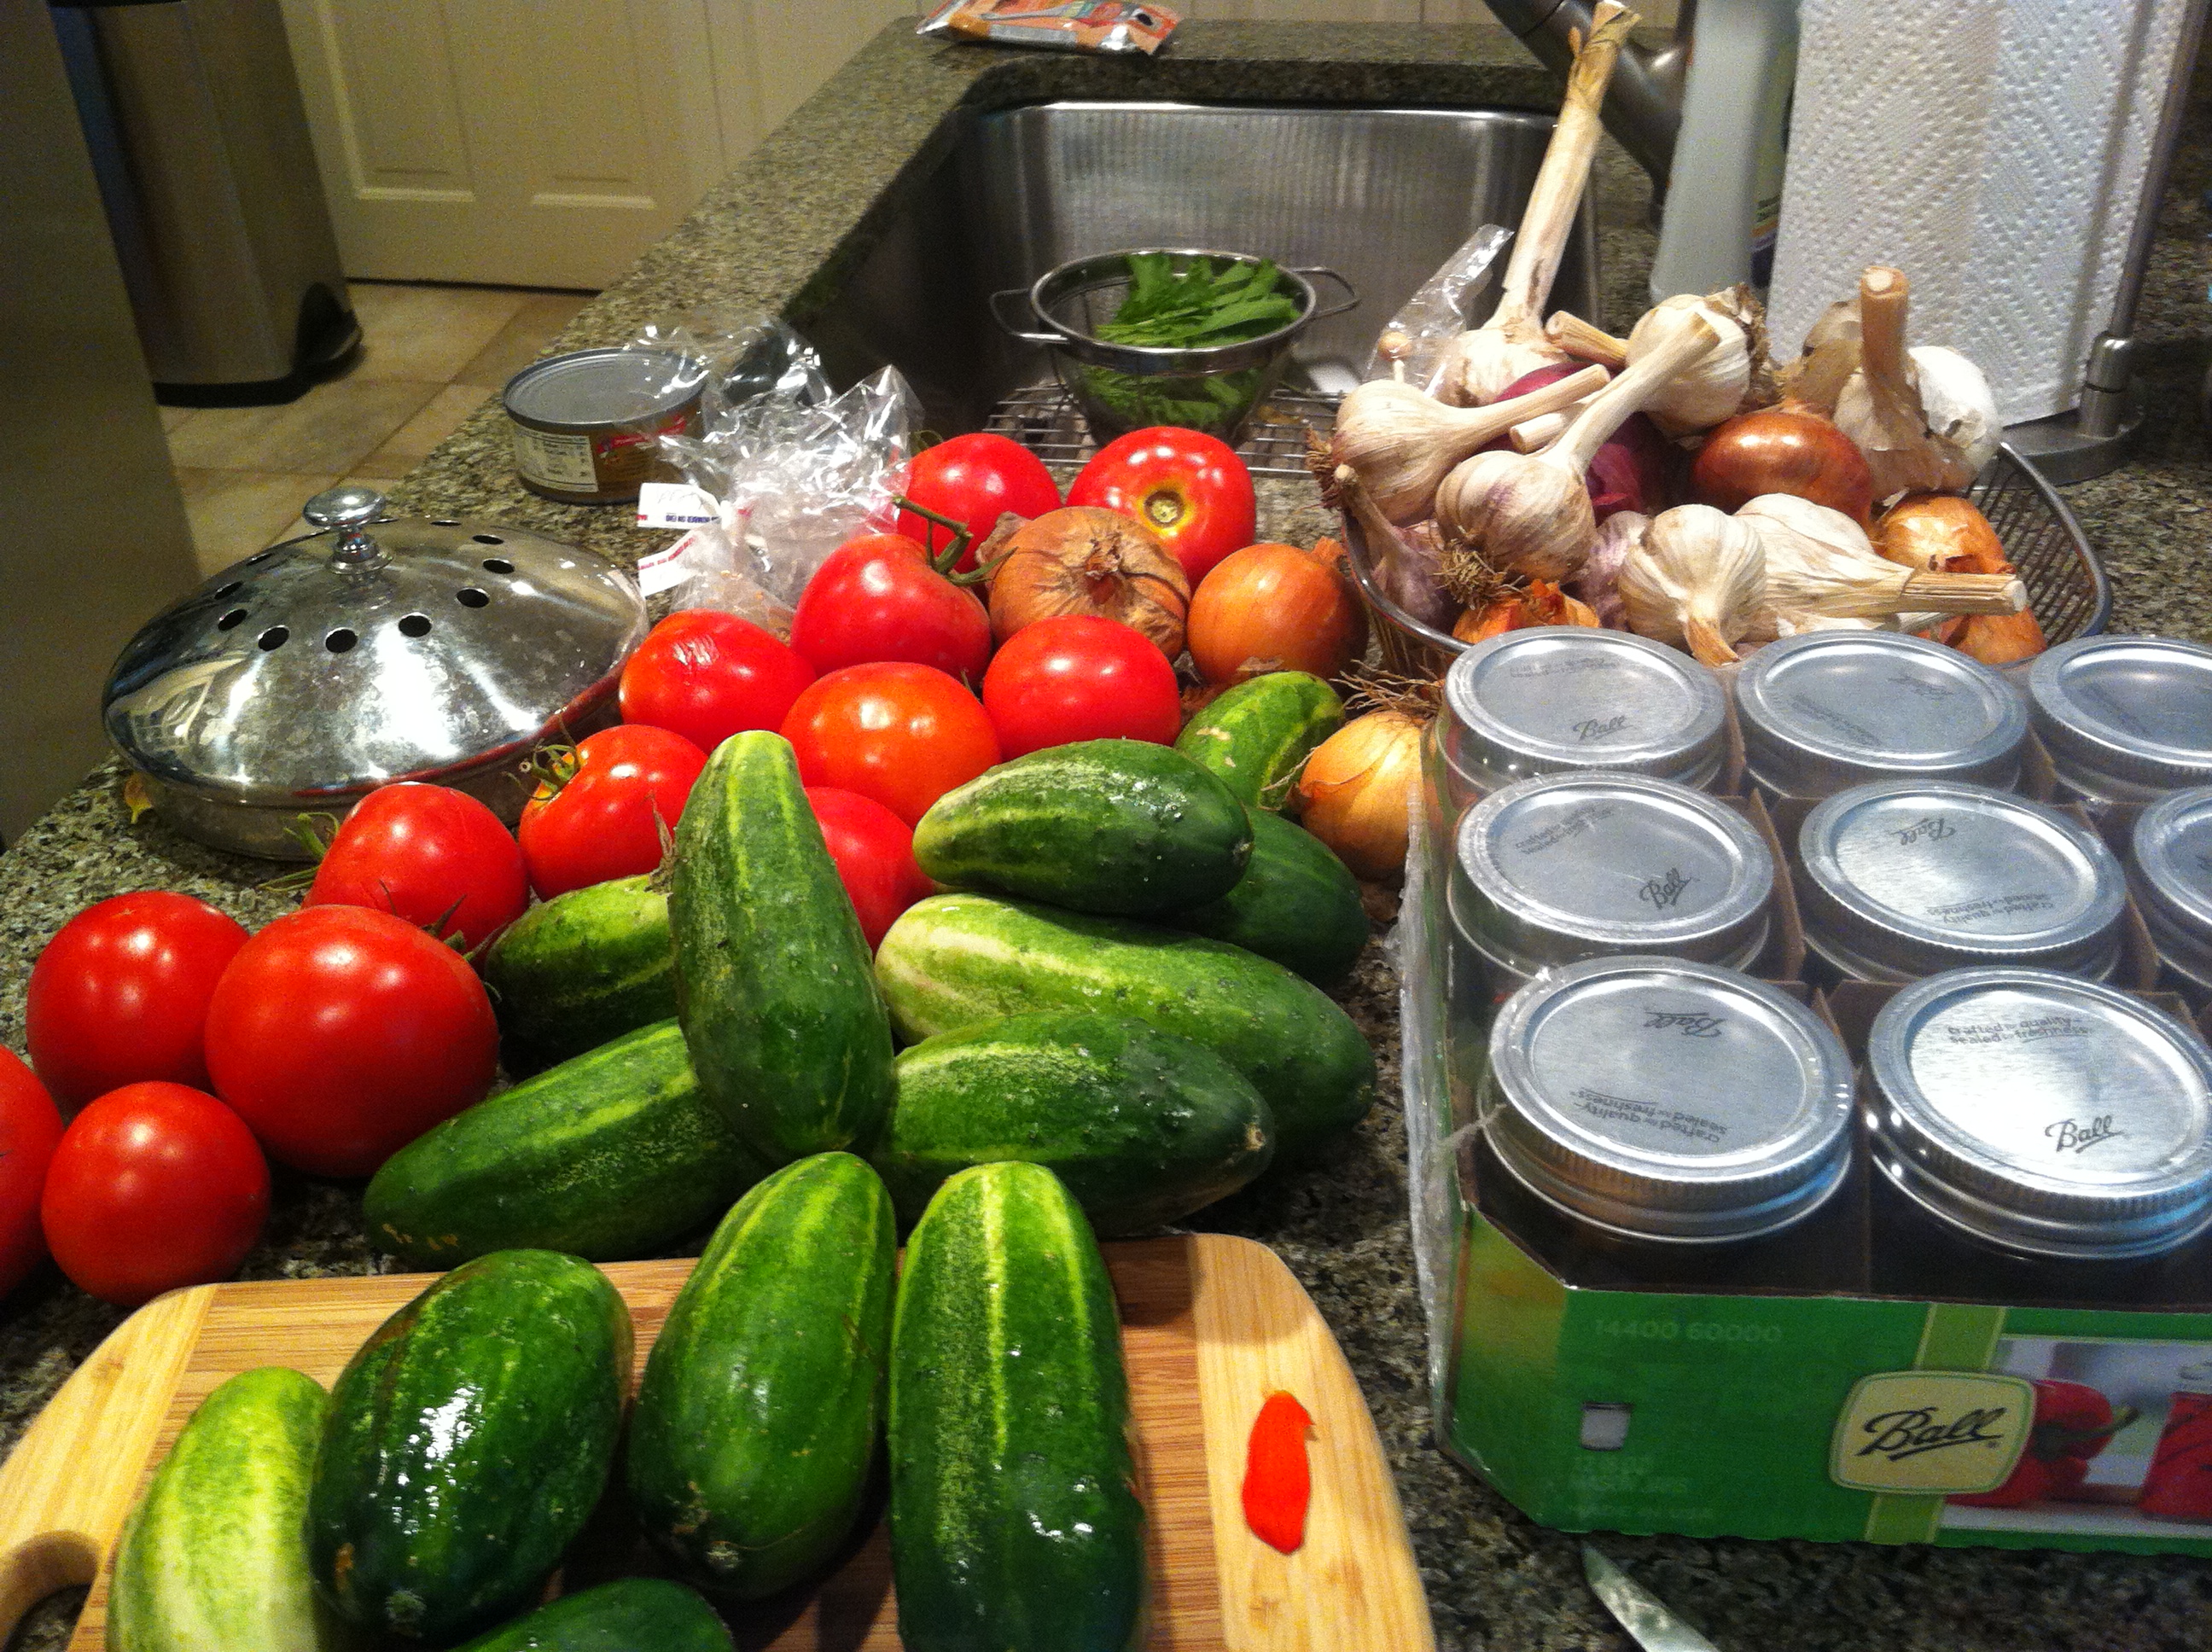
With a bounty of Kirby cucumbers, what can you do but pickle?

All I can say is, it’s good to have a partner in this endeavor. And I was fortunate to have two: Hubs and my Cuisinart. No, Hubs is not in same category as Cuisinart, but you know what I mean. I had never made pickles before, so this was an adventure indeed. We decided on Bread & Butter Pickles for a few reasons:

  1. Hubs loves them
  2.  Can be made “refrigerator-style,” like Dan’s awesome pickled string beans. No need for serious canning experience, of which I have none
  3. Good value! We’ve been buying jars of these at the green market for $6 or $7

Truth be told, Hubs has got me hooked on these Bread & Butter Pickles, too. I am used to traditional sour dill pickles (maybe even a half-sour), which are the kind I grew up on.

We’d go downtown to the Lower East Side with my grandmother and buy them out of the barrel at Gus’s, back when the LES was still populated by discount merchants and Jewish delicatessens, not hipsters and cocktail bars.

Here’s what we did: We worked off of 2 recipes we found online: borrowing ingredients from Smitten Kitchen’s blog and  and technique from an old-school recipe on  A Way to Garden. I liked the fact that Smitten Kitchen used about 1/2 the sugar used in the old-school recipe. And, skipping to the chase, you would never know. These pickles are sweet and succulent at the same time; you’d never think they needed more sugar.

Ingredients: 

4 pounds cucumbers, sliced 1/4-inch thick — “pickling” or kirby cucumbers work best here
4 bell peppers sliced lengthwise [ok to omit if you don’t have them on hand]
3 large onions, thinly sliced
1cup Diamond Kosher salt [Updated: Why Diamond? Read this first.]
2 cups sugar (1/2 cup per pound of cucumbers)
1 1/2 cup distilled white vinegar [Original recipe calls for less, but we were low on liquid, so I’d recommend more]
1 1/2 cup apple cider vinegar
1 teaspoon ground turmeric
4 tablespoon mustard seeds
4 tablespoon coriander seeds (if ground, use 1 teaspoon)
1 teaspoon celery seed

Instructions:

Use Cuisinart or mandoline to slice cucumbers and onions. It is definitely a time saver and worth the extra time afterwards  to wash all the piece parts of the equipment.

In a very large bowl, combine the cucumbers, peppers, onion and salt. Mix well. Cover the mixture with ice. Let stand at room temperature for two hours. In a large pot, bring sugar, vinegar and spices to a boil. Drain cucumbers and onions. Add to vinegar mixture and bring back to a boil.

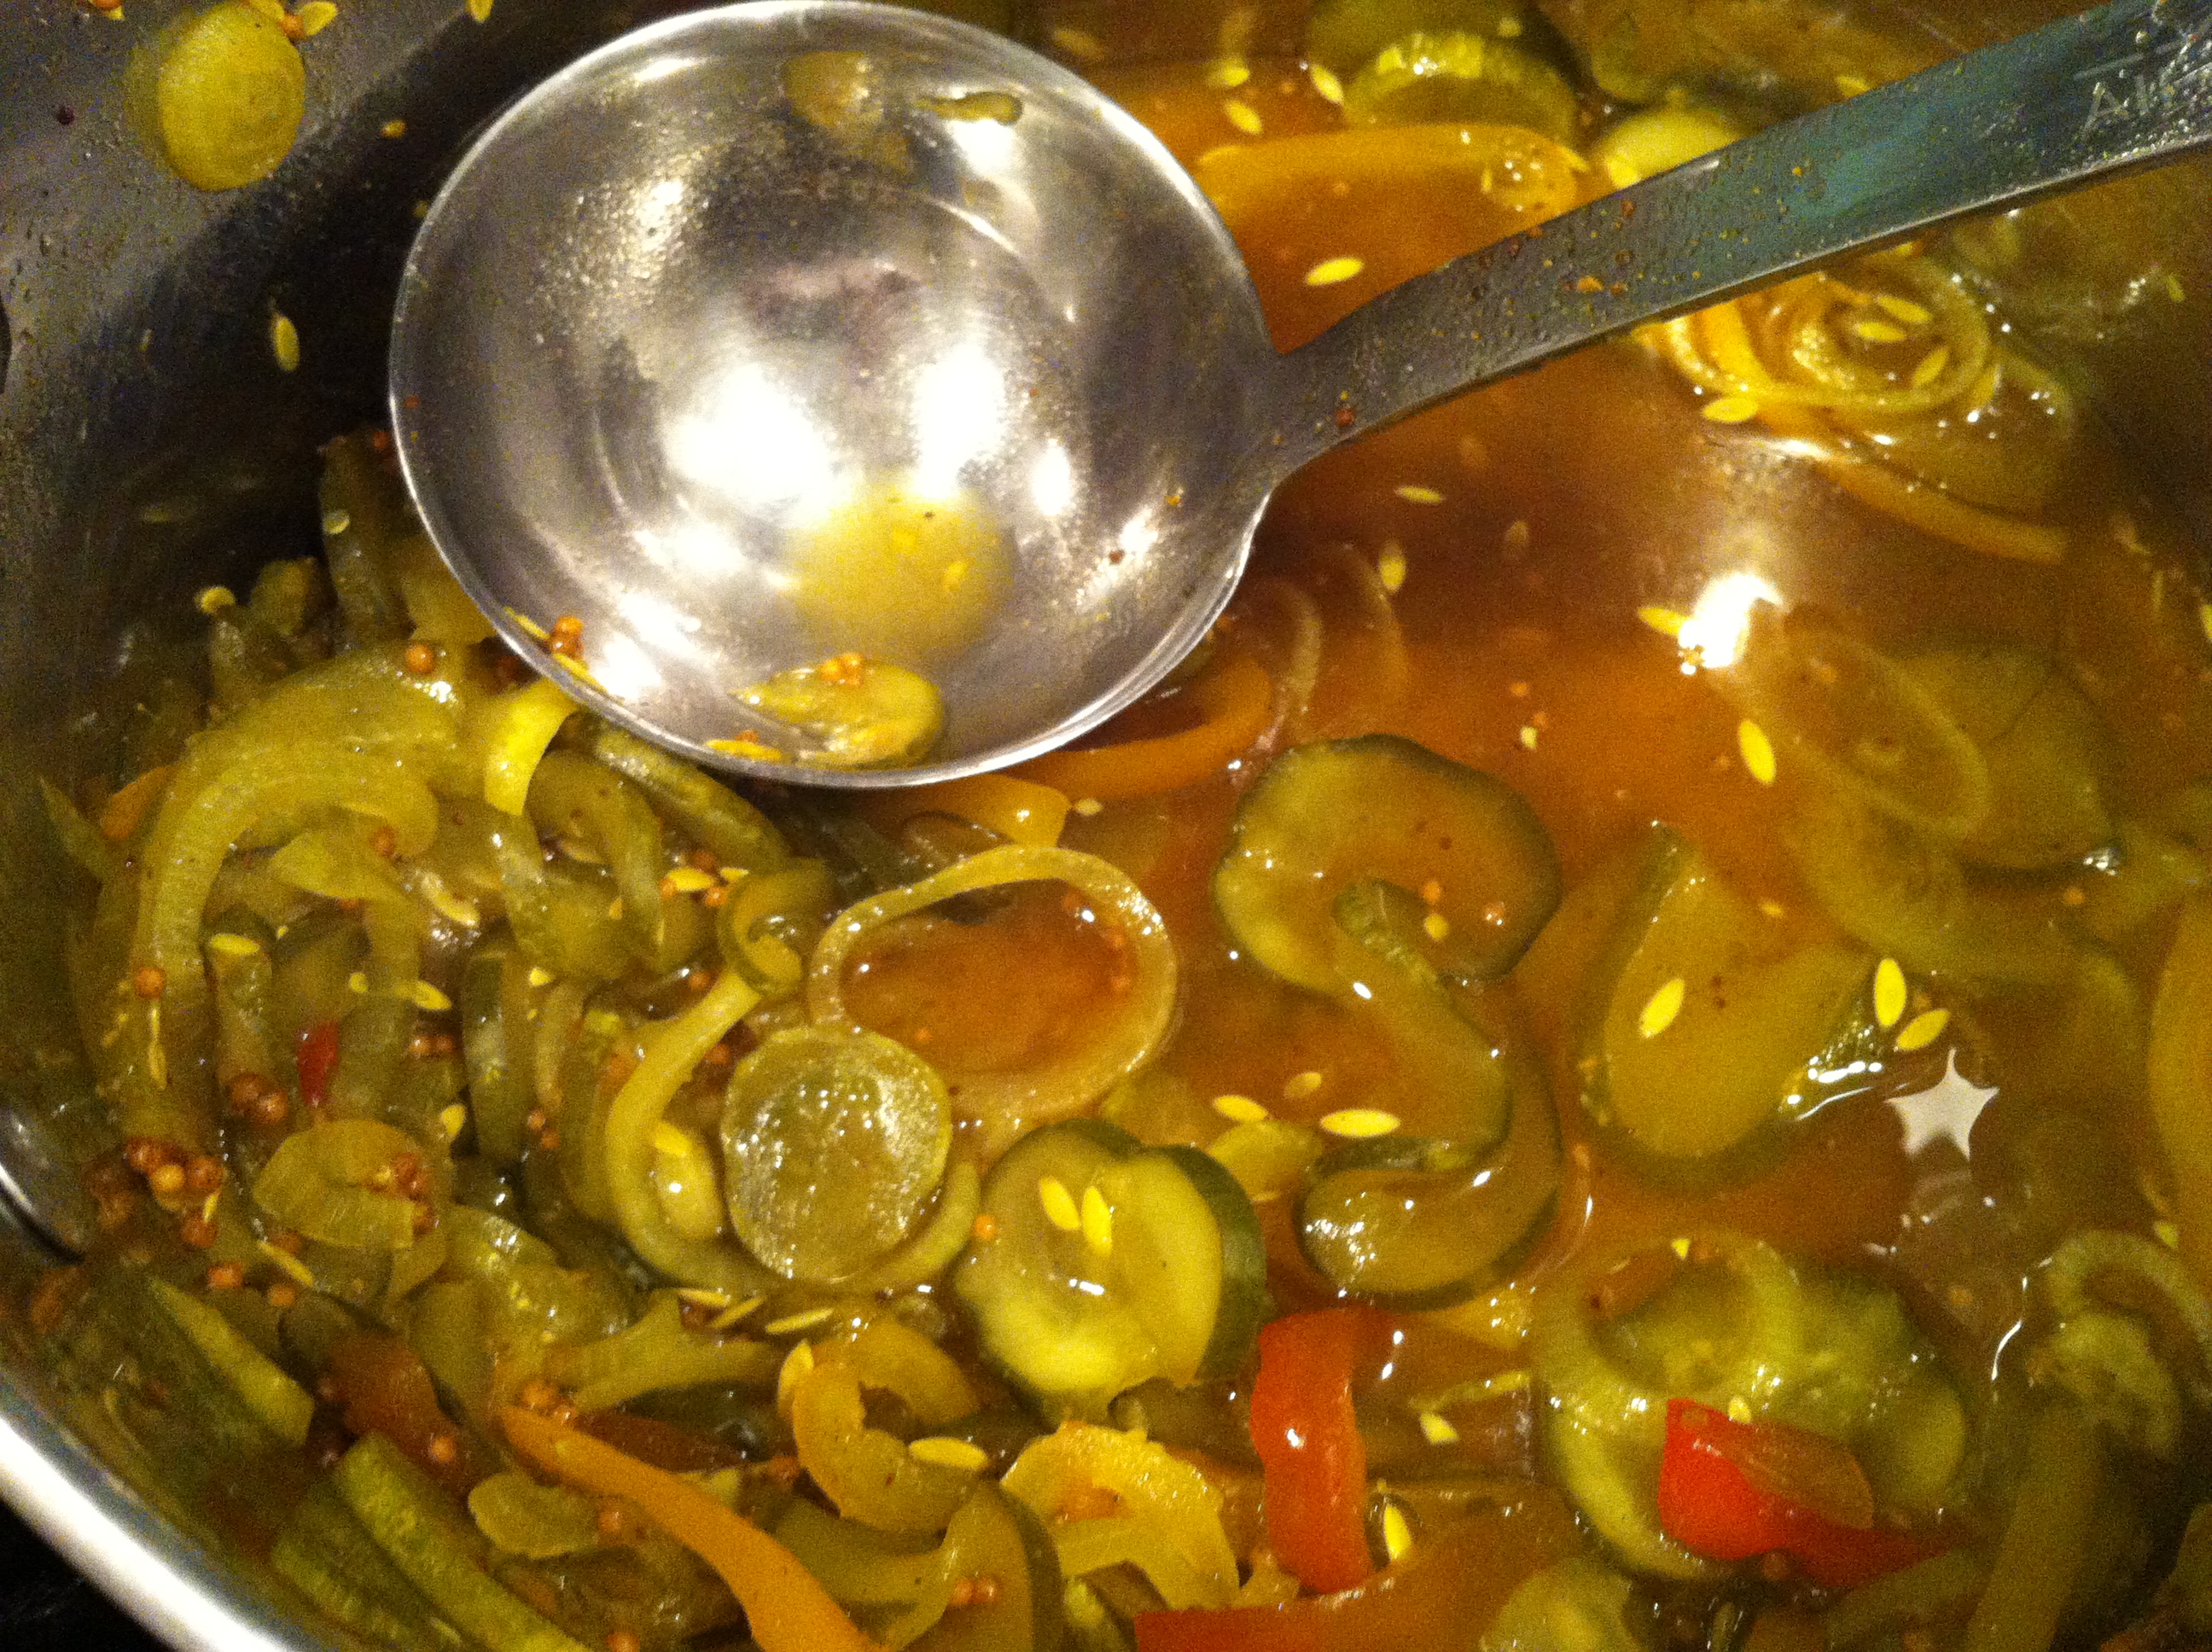
Pickles in the pot: kirbies transformed in 5 minutes to pickle green color

Simmer for 5 minutes, then ladle them (with the liquid) into clean jars. Be careful as you are ladling boiling hot liquid into the jars. Hubs was particularly helpful in this step. As the jars cool, you should hear the light “pop” of the seal vacuuming tight. Once cooled, keep them in the fridge. They will keep quite well for six months or so.

Bread & Butter Pickles ready to go

Yield: 14 1/2 pint jars. Of course, I mis-placed a lid from one of the Ball glass jars at the end of the process and had to use an old jam container. Ah well.

Comfort Food, My Style: Sole Meuniere and Rice Pilaf

We’ve been back from our trip for a few days, and I am still struggling with a spot of jetlag and general post-vacation malaise. I finally had the itch to cook today, but it had to be something easy, familiar and tasty.  Nothing to boost the spirit like 2 favorite go-to dishes for dinner, and also a guarantee of a no-complaint meal. It’s my version of comfort food, so disclaimer disclaimer disclaimer that this is NOT a particularly healthy, local or nutrient-dense meal. As an aside, I picked up the handy phrase nutrient-dense from my friend Tamara John Mannelly who recently launched a beautiful new foodie blog. Check it out. But now right now as you must continue to read this…

Last night’s menu consisted of a simplified Sole Meunière and a dummied-down Rice Pilaf. And, yes, both these dishes do create a monochromatic palate often associated with fried foods, but like I said, don’t judge. It’s comfort food.
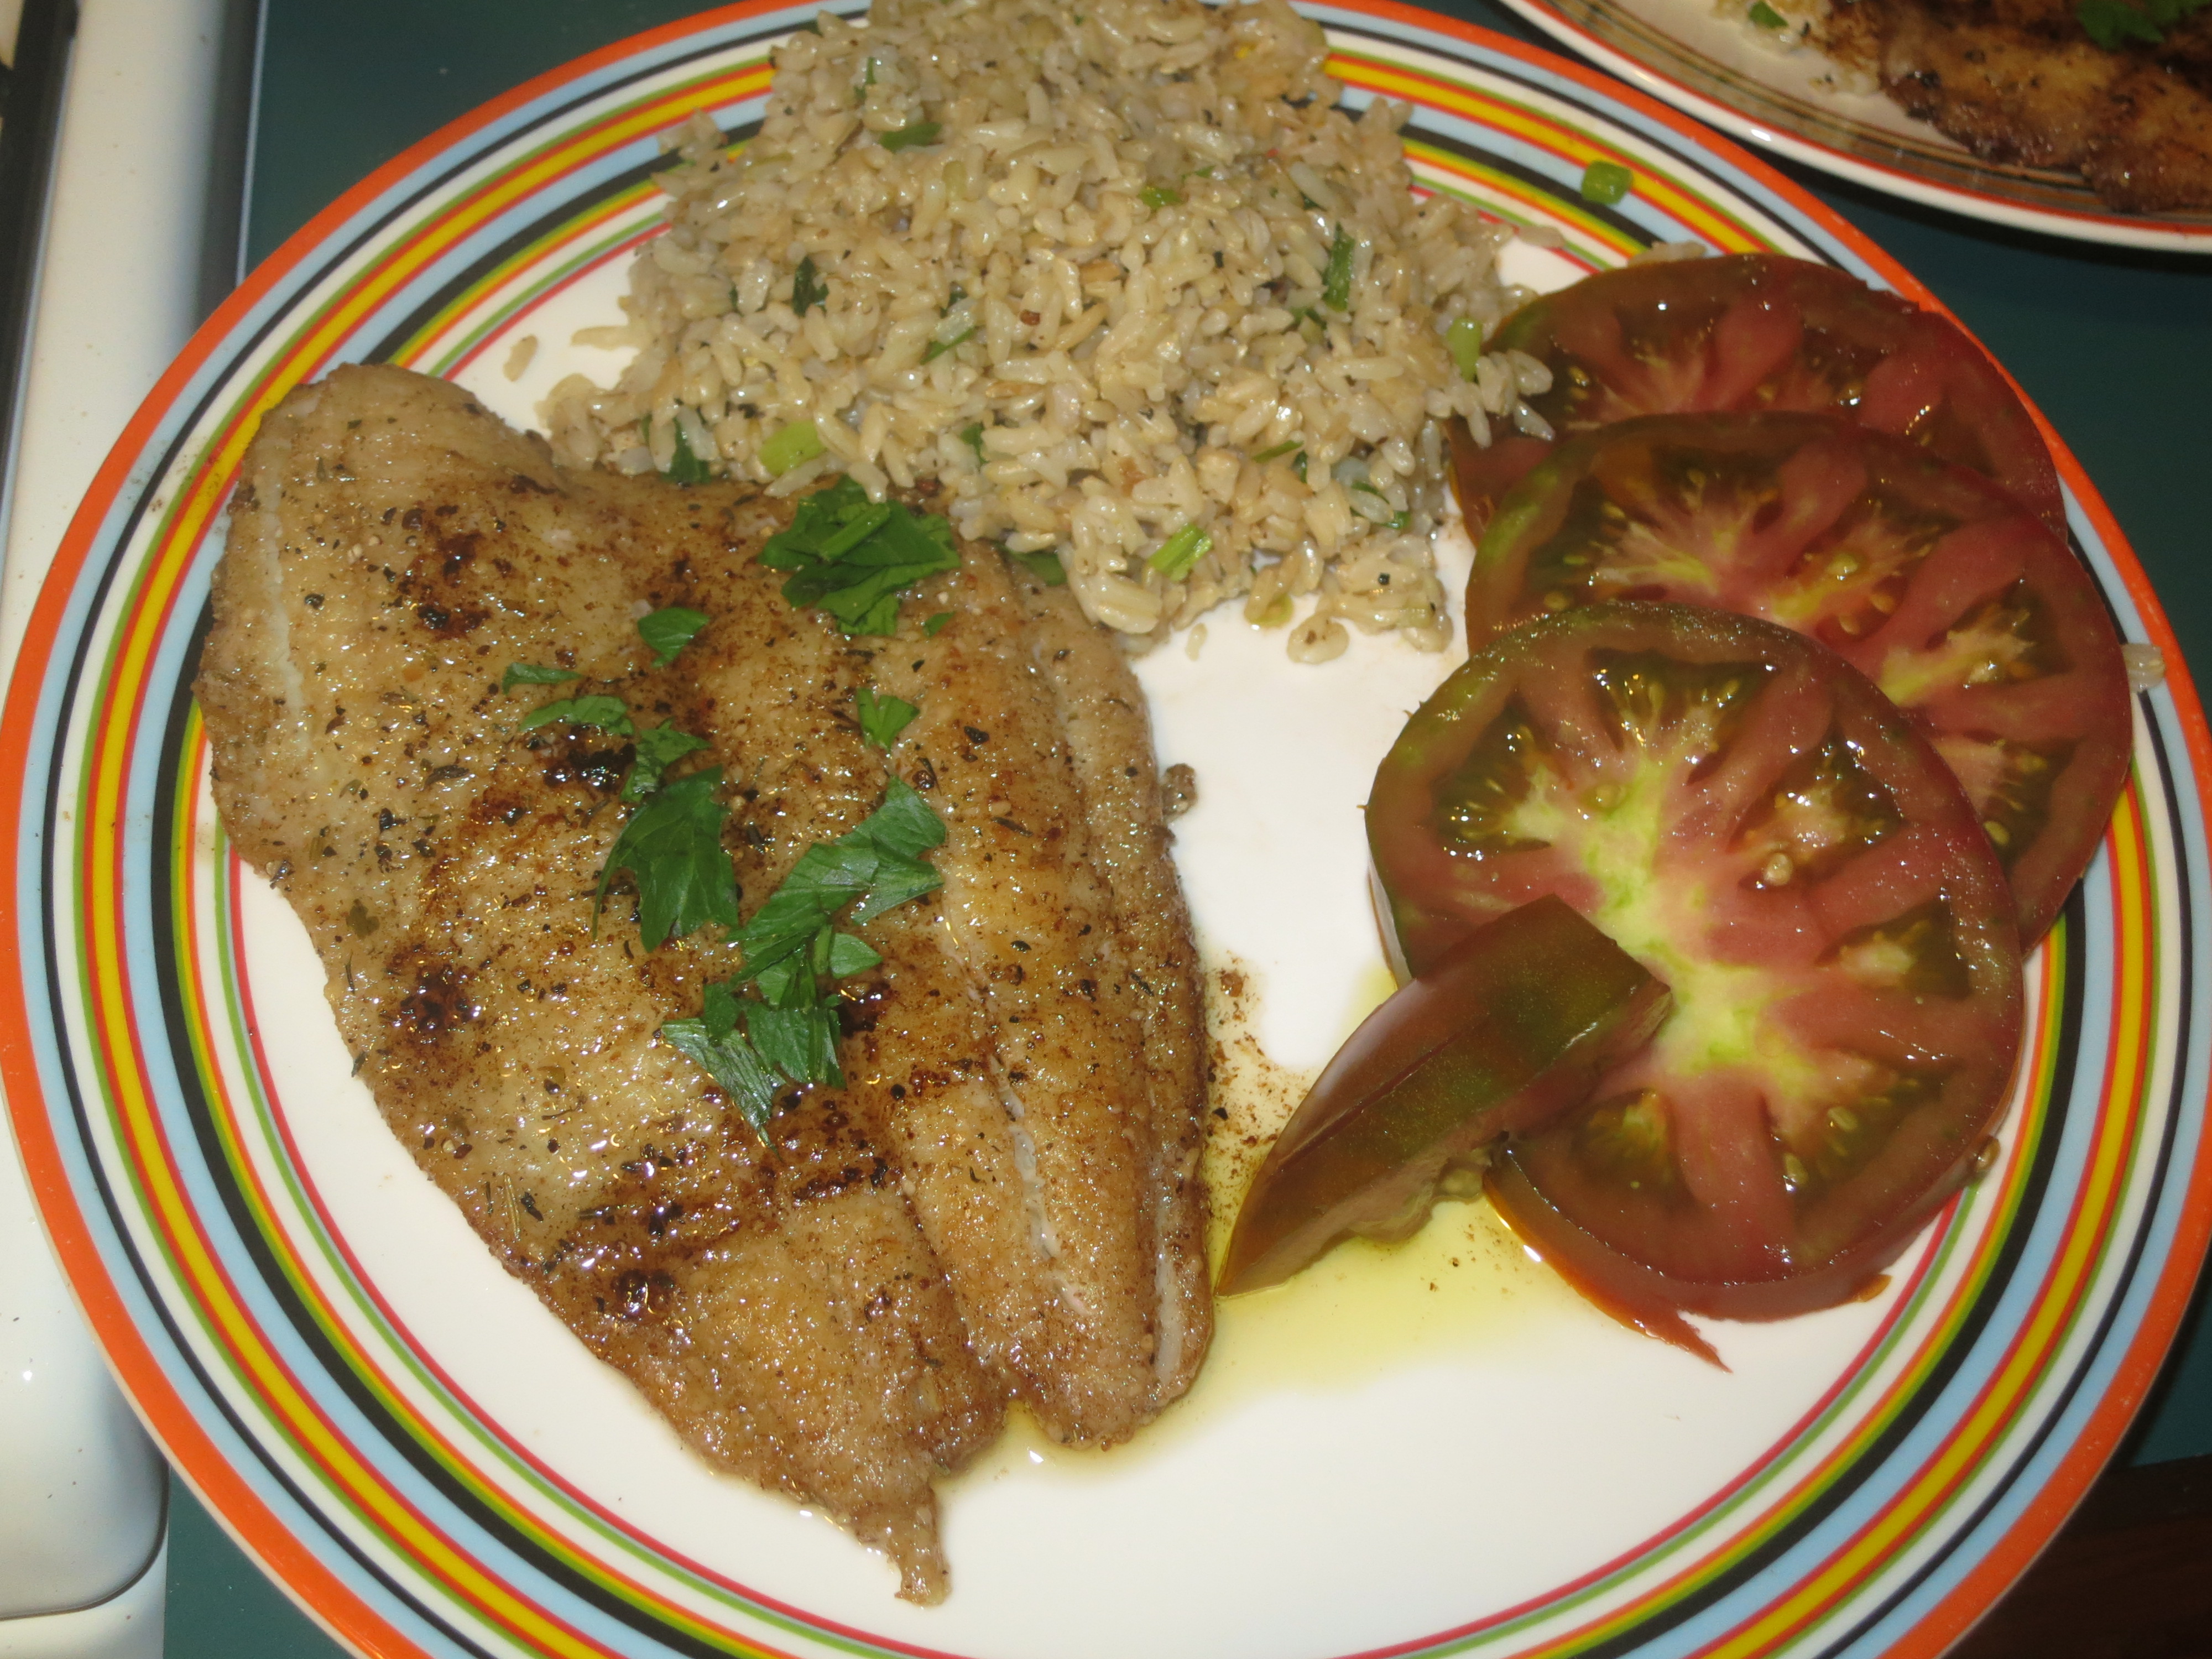
Flounder Meuniere, Rice Pilaf and Heirloom Tomato Salad

In order to spice things up the light brown palette, I sliced up an heirloom tomato (drizzled with olive oil and sea salt) and added it to our plates for color. This one plate meal was delish and hit the spots. No complaints, only clean plates  – guaranteed.

Here’s what I did: prepared a large batch of brown rice earlier in the day, in a nod to nutritious eating, though I knew I’d be doctoring it up later. In a medium sized pan, I sauteed some scallions in a generous pour of olive oil, then added the pre-cooked brown rice, along with salt and pepper and sauteed for 3 or 4 minutes on medium heat. The rice gets a little crispy, and the olive oil and scallion give it a really nice flavor. You can saute red onion, yellow onion, or shallots (or a mix) in place of the scallion. I call this dummied-down Pilaf because it is simpler than a traditional Pilaf, both in preparation, as well as complexity of taste.
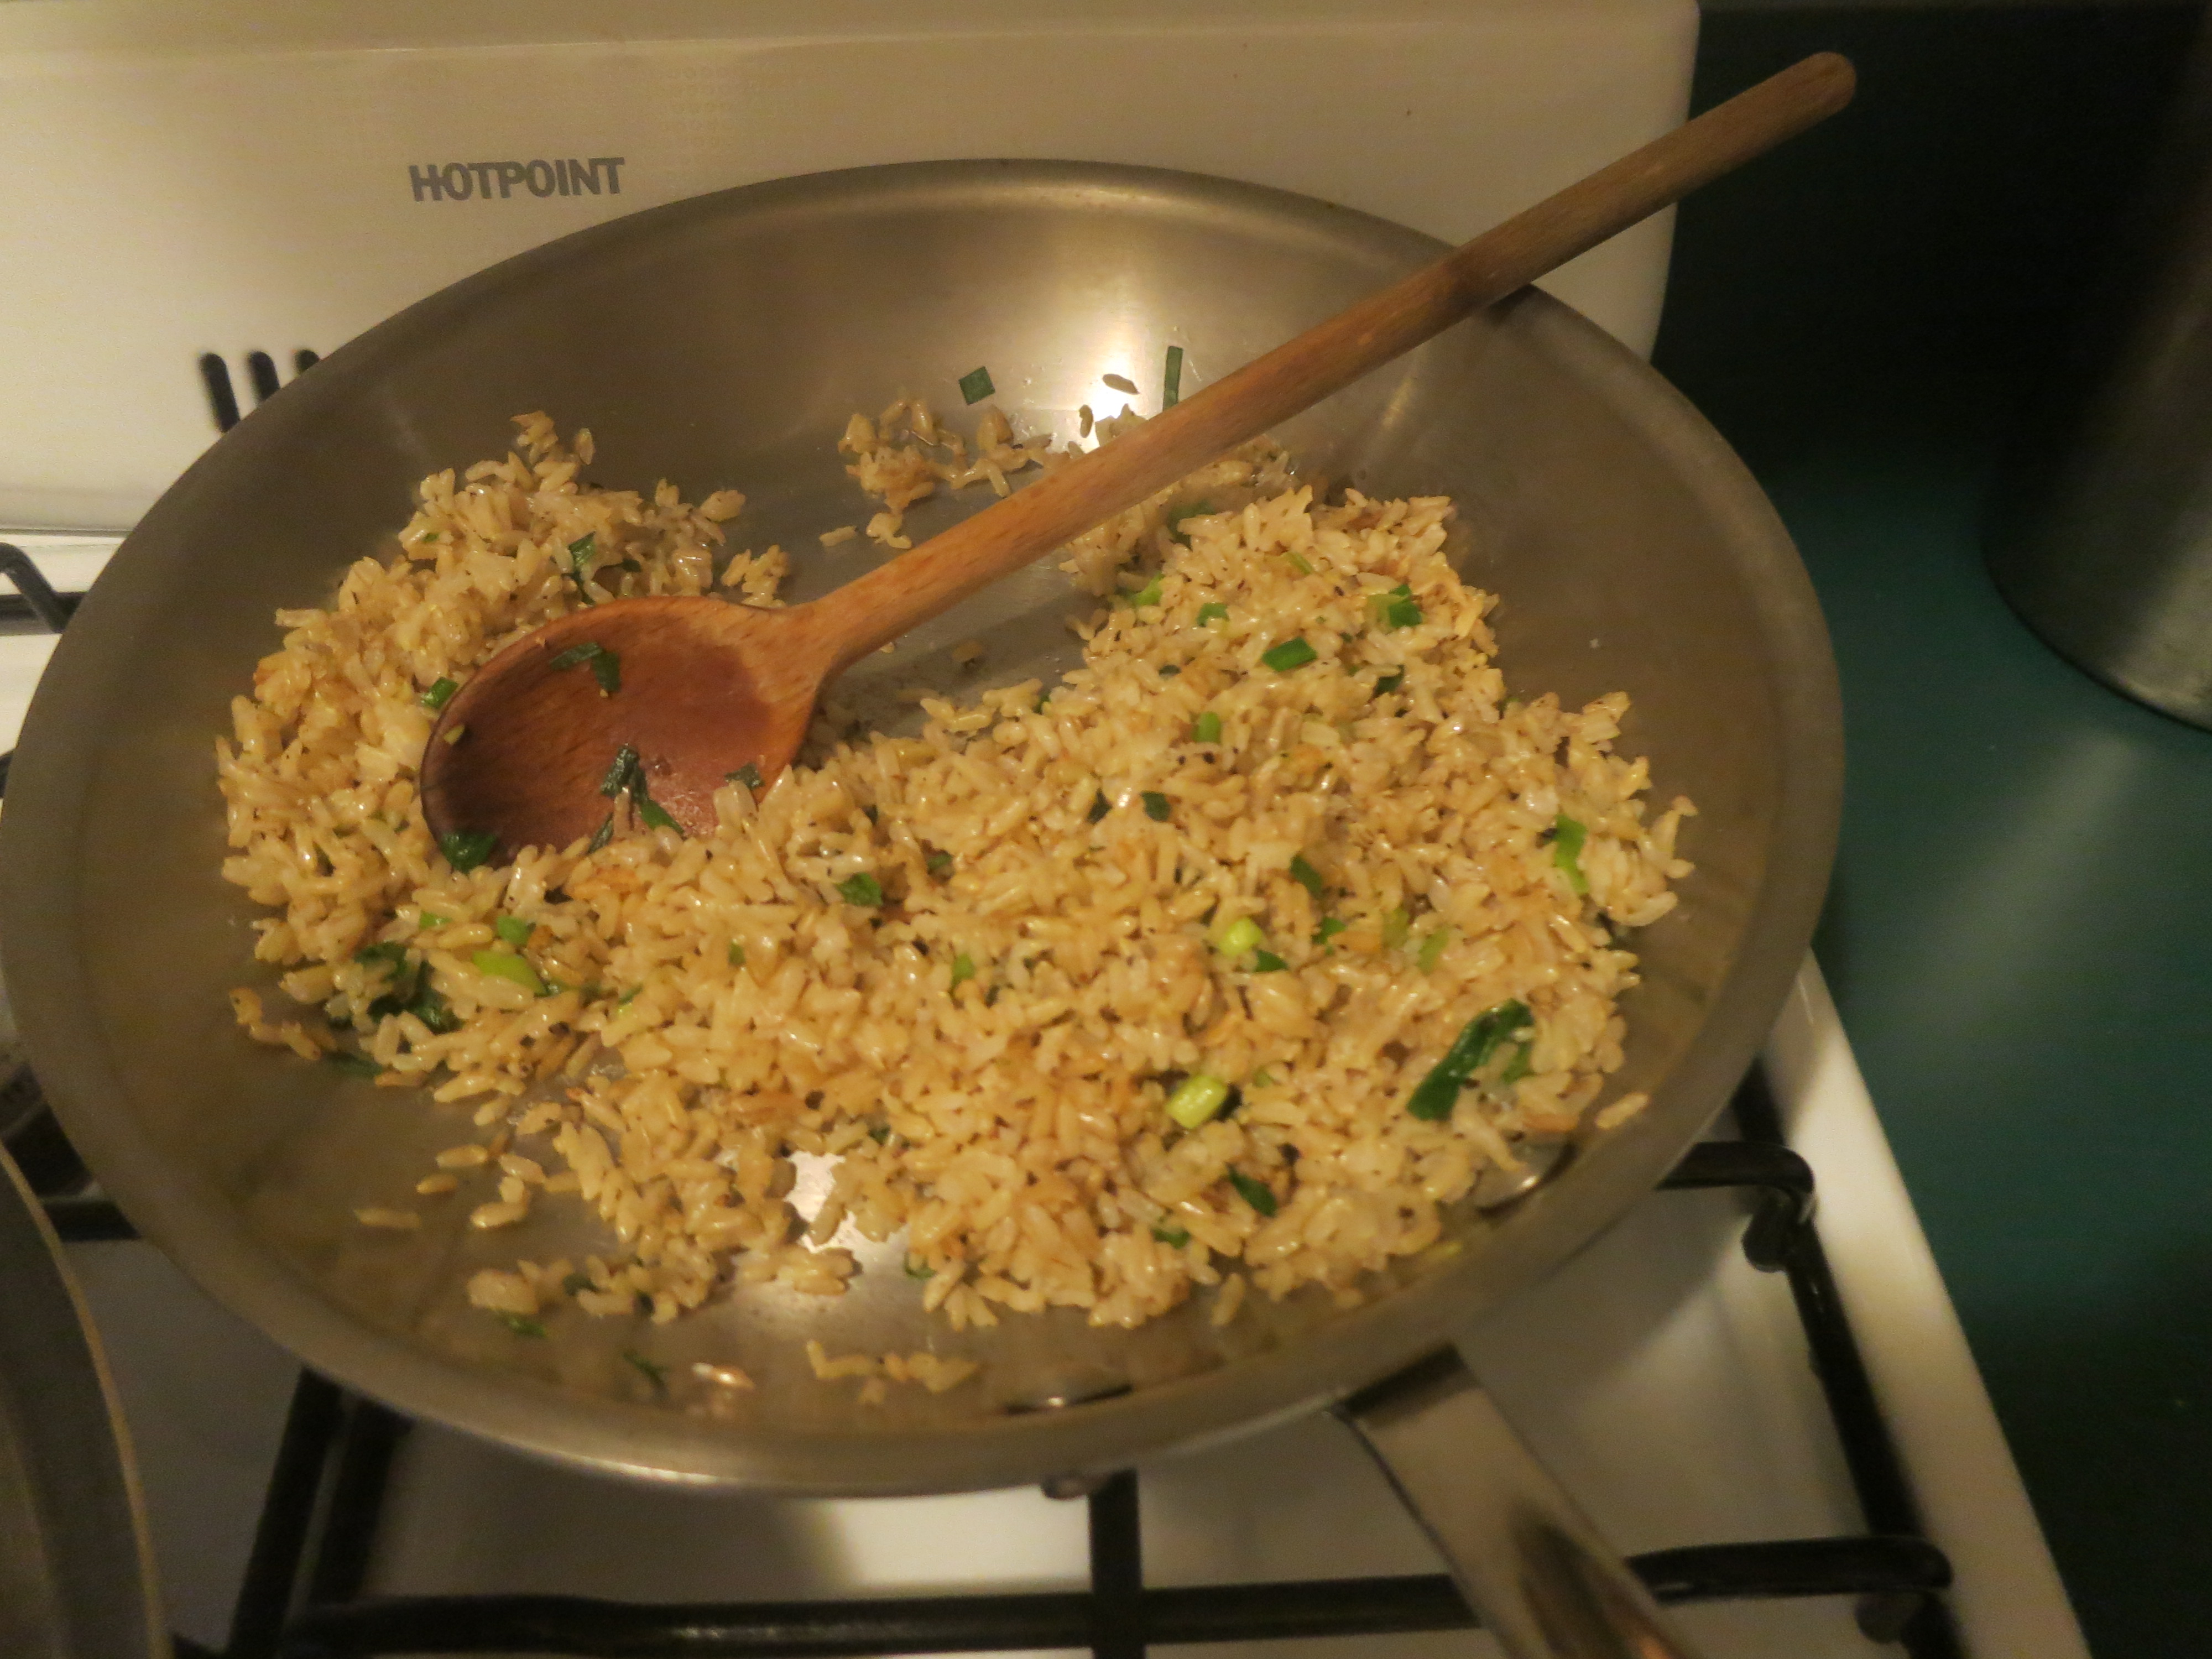
Simple Pilaf in the Pan

And here’s my recipe for “Sole” Meuniere. I actually used wild flounder, not sole, because I liked the looks of it on the fishmonger’s counter. You can prepare any thin, white fish fillet in this manner. It need not be the classic French “sole” which can be pricey and hard to find.

Sole Meuniere for 2

  • 4 tablespoons butter
  • 2 tablespoons olive oil
  • 3 or 4 tablespoons of matzoh meal (or flour – I like matzoh meal because it has more texture than plain flour and my mom always uses it)
  • 1 teaspoon of savory dried herbs, like herbs de provence, or thyme, tarragon, or any other spice blend you may have on the shelf
  • 2 tablespoons freshly squeezed lemon juice
  • Salt and pepper
  • Small handful of fresh chopped flat-leaf parsley for garnish (no biggie if you don’t have any, but nice for color)
  • 2 fillets of sole (or any other fresh, thin white fish like flounder, tilapia, etc)

Instructions:

On a plate or a piece of waxed paper, mix matzoh meal or flour with dried herbs (you will dredge the fish fillets in this, so use whatever surface is easiest for you). Add healthy pinches of salt and pepper. Heat a large cast iron or non-stick pan on medium high for 1-2 minutes until very hot. Then add 2 tablespoons butter and 2 tablespoons olive oil. Once butter melts, but before it turns brown, dredge fish fillets in matzoh meal/flour mixture and place in pan.

The olive oil/butter will spatter, so watch out. Depending on thickness of fillets, cook for 2-3 minutes on each side. You want to make sure that the fillets turn a nice light brown.
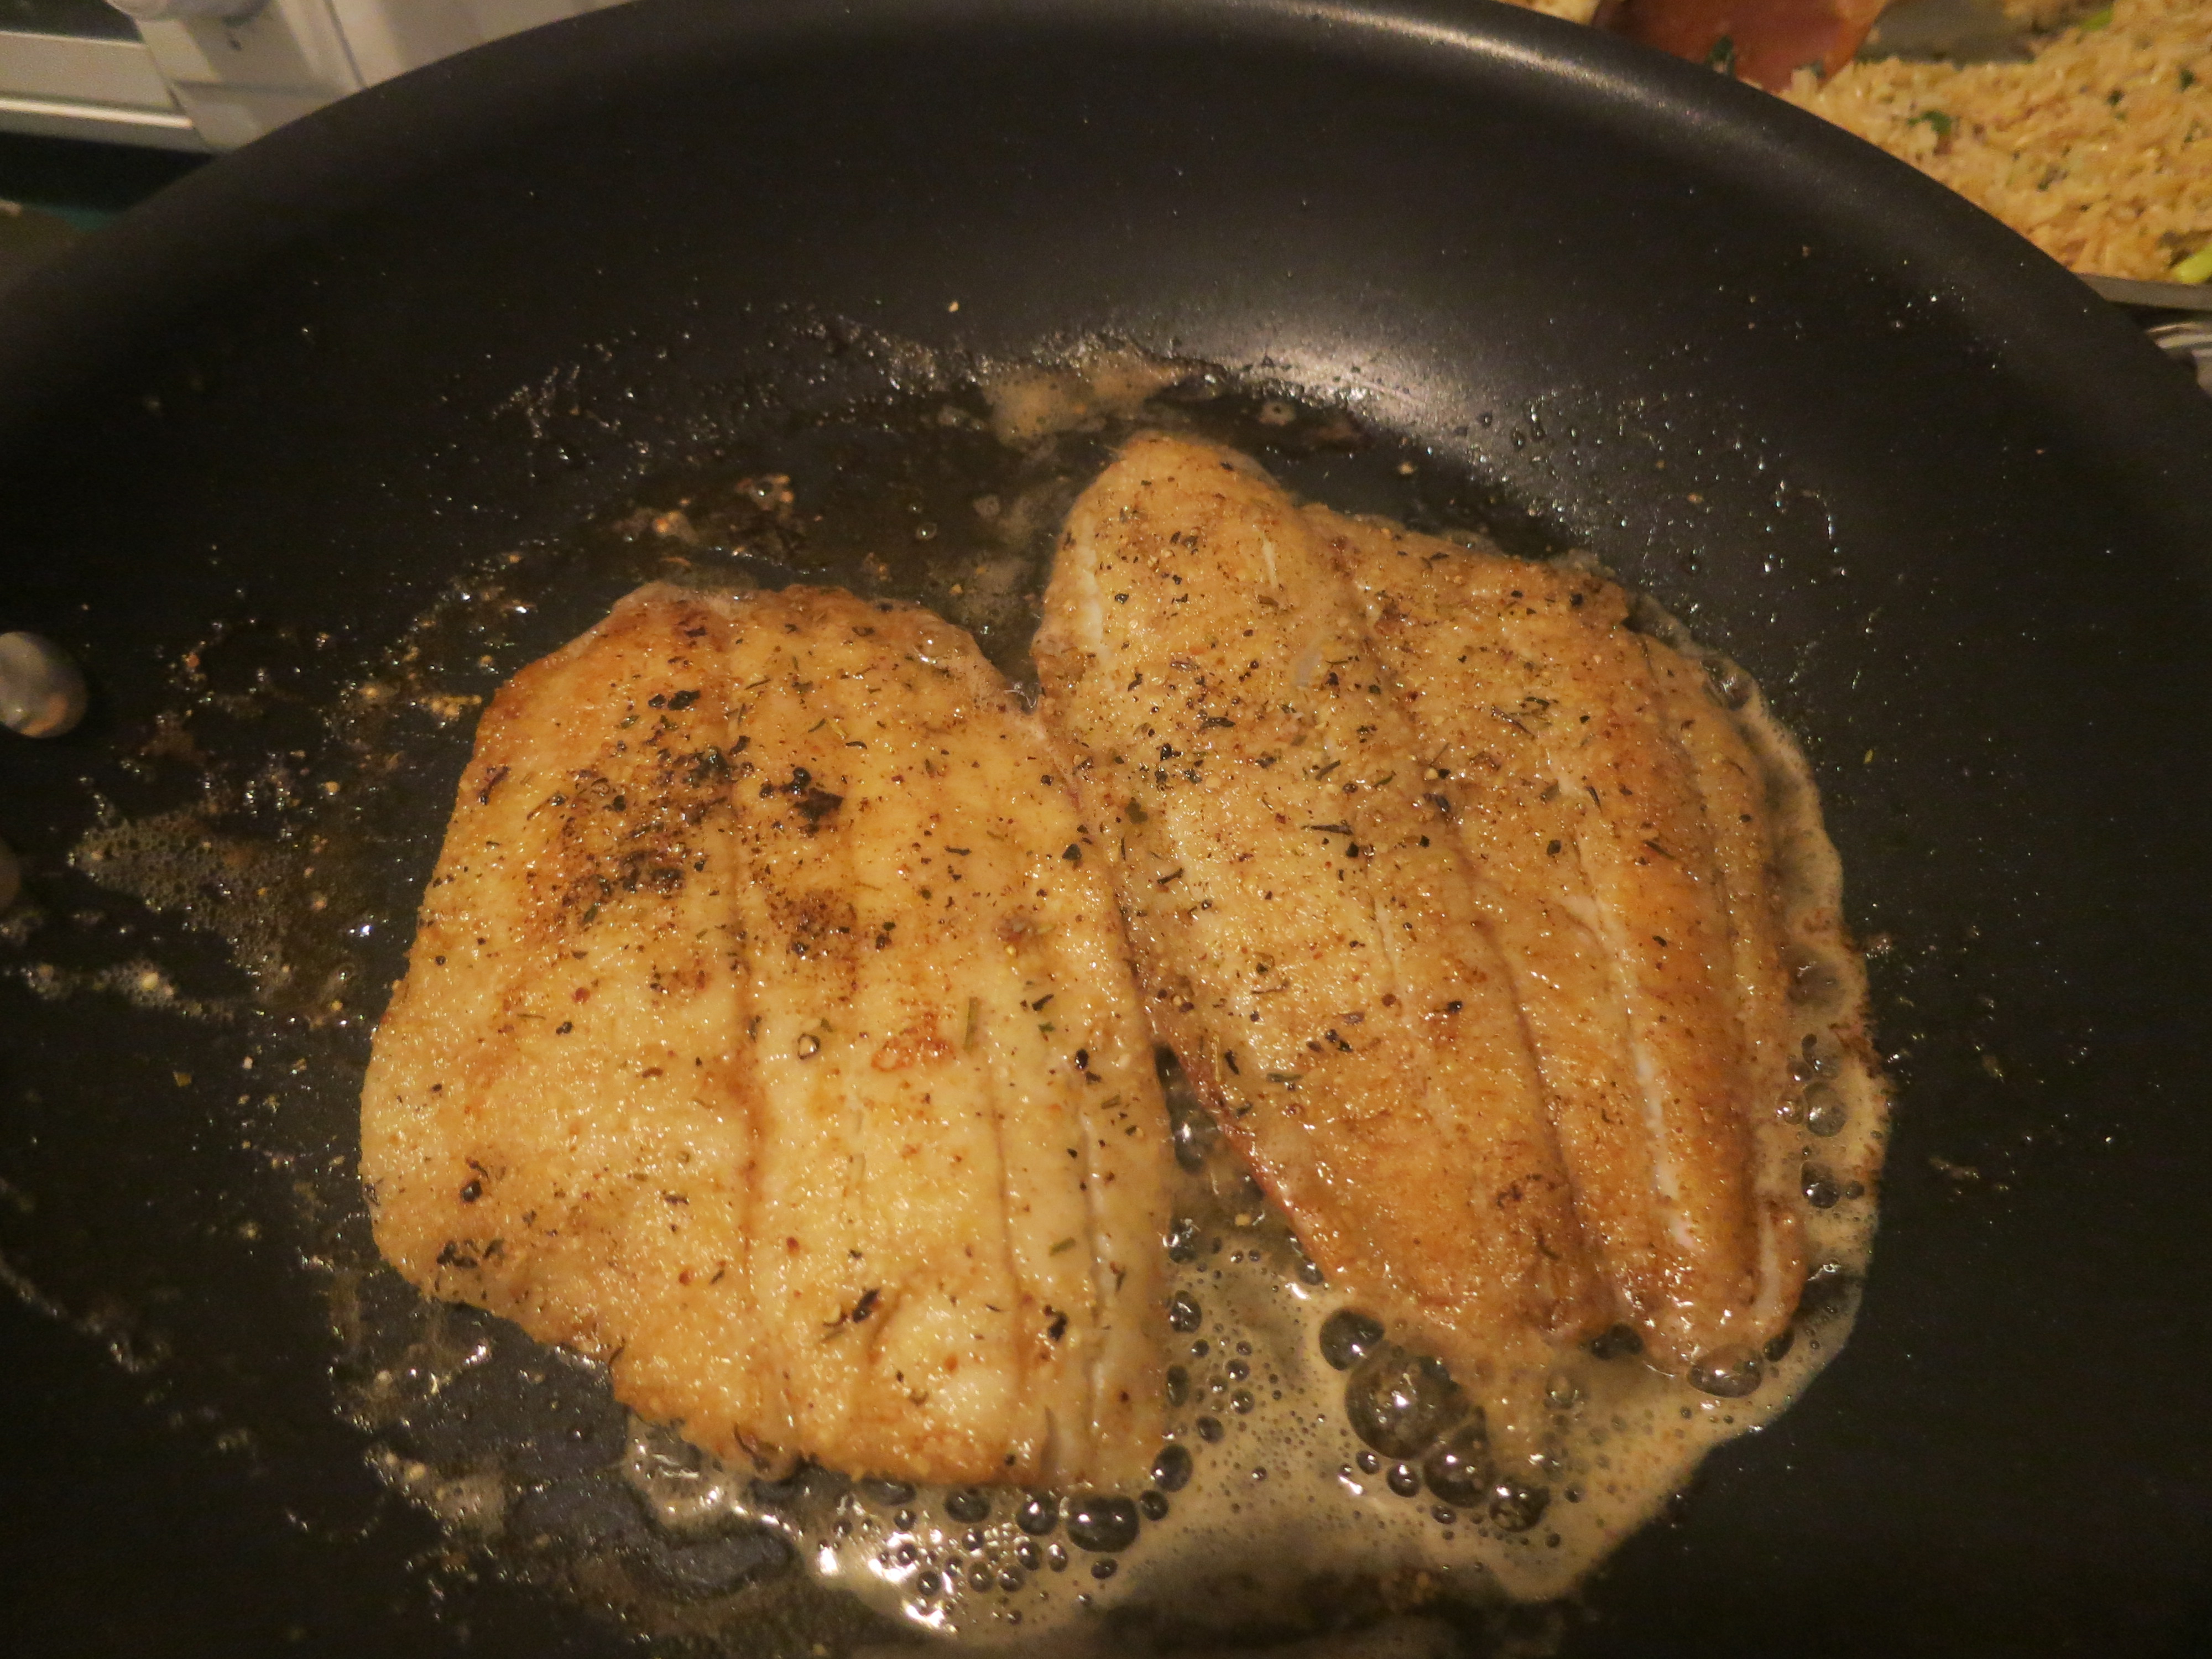
Flounder fillets on side 2 – almost ready

You can test doneness by sticking a fork into the fish. They are ready when you meet no resistance. Side 2 will take less than time than side 1. Once the fillets are ready, use a spatula to remove each one and place directly on serving plates. You are now going to make a quick sauce de-glazing the pan. Very simple, not to worry

Using the same frying pan, lower the heat from Medium-high to Medium or Low-Medium depending on your stove. Add the additional 2 tablespoons of butter to the pan. It will splatter again (sorry!), but just step back and let the butter melt. Once melted, it should be safe to get closer to the stove again. Use your spatula to scrape the good bits n pieces from the pan and mix with the butter. Now add the lemon juice, let it sizzle again, mix with the spatula for 10 seconds and you’re ready to go.

Divide sauce between the two plates, pouring directly on the fillets. Sprinkle chopped parsley on top for garnish, if you have it. Serve with lemon wedges if you wish, just serve immediately.

————————-

Like I said, this meal isn’t particularly healthy since it uses a LOT of butter and olive oil, but it is tasty, easy and rewarding. What’s your fave comfort food?

Parsley, Sage, Rosemary, no Time

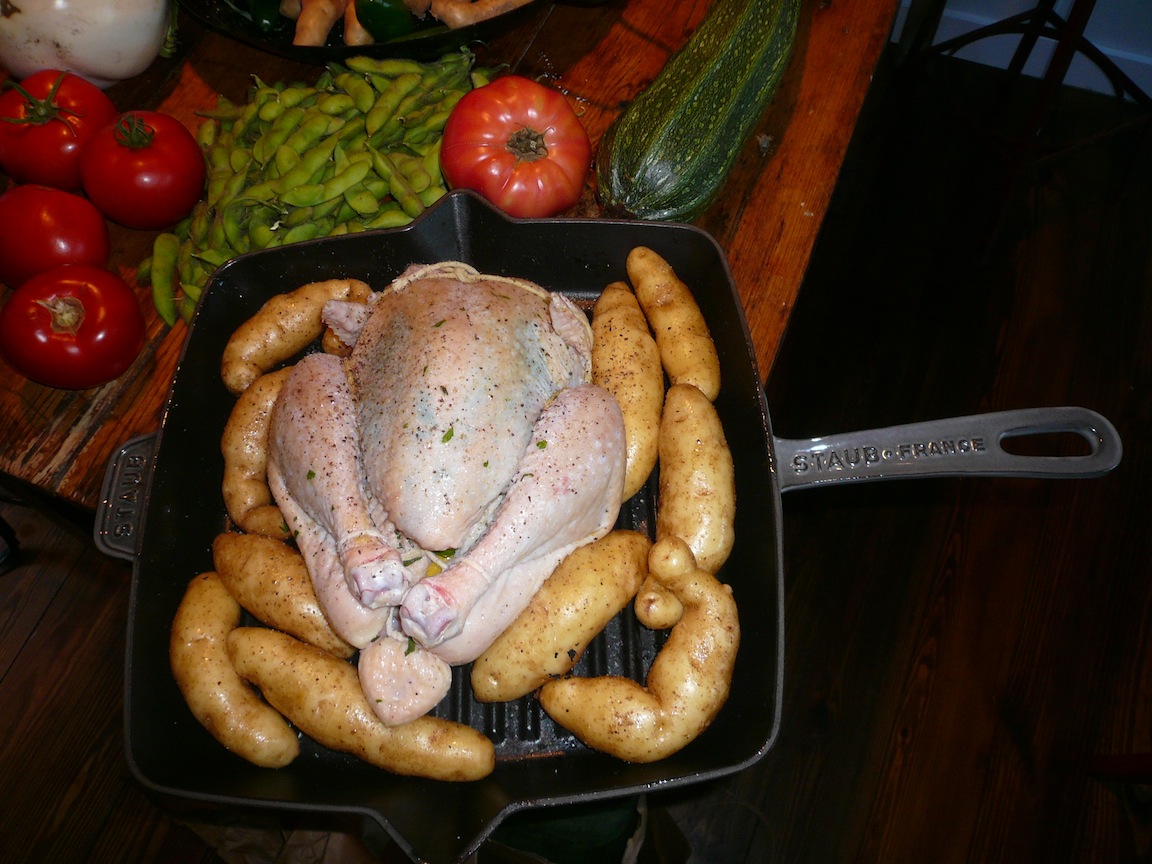
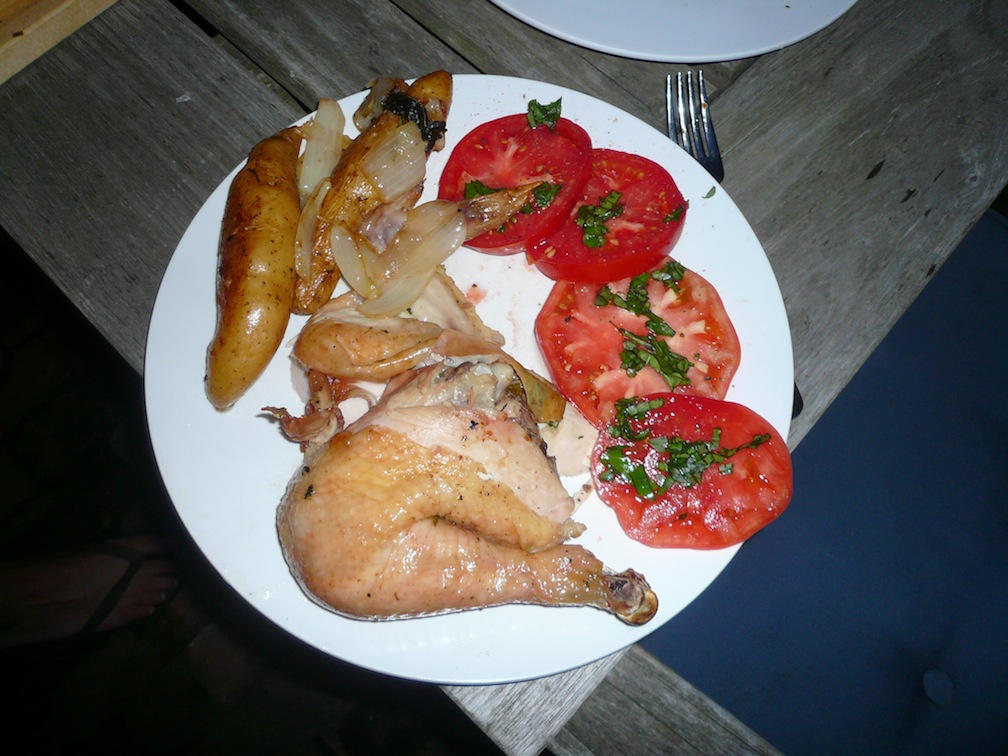
Next, we made an amazing grille-roasted chicken with a Wolfe Springs Farm naturally raised chicken, some WSF fingerling potatoes, some herbs from our garden and some WSF tomatoes.

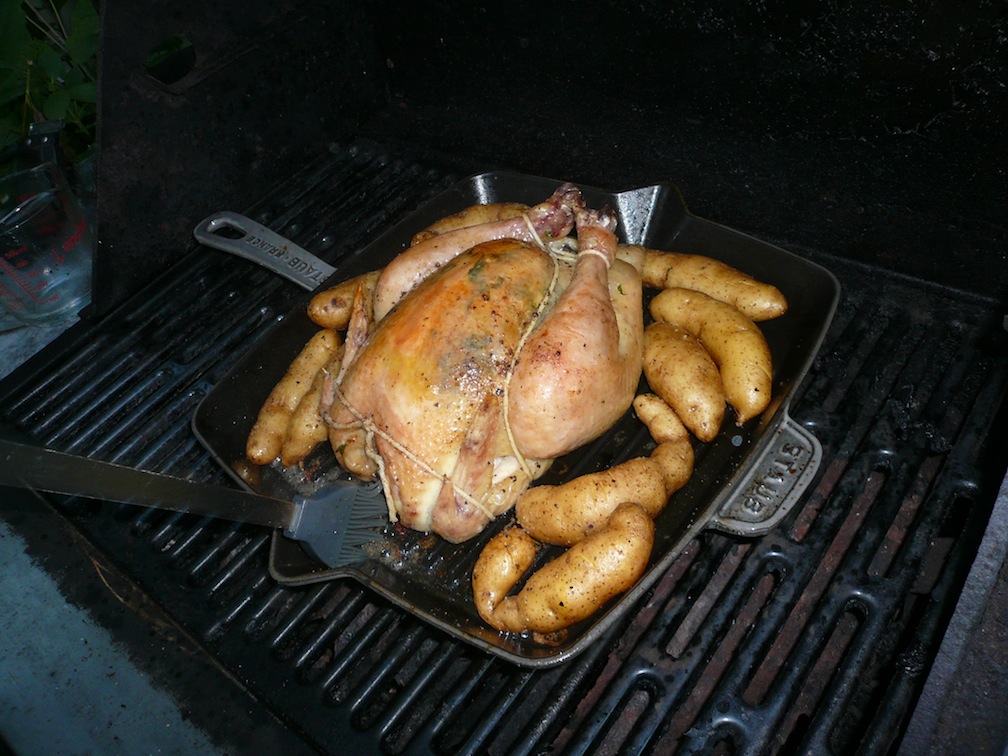
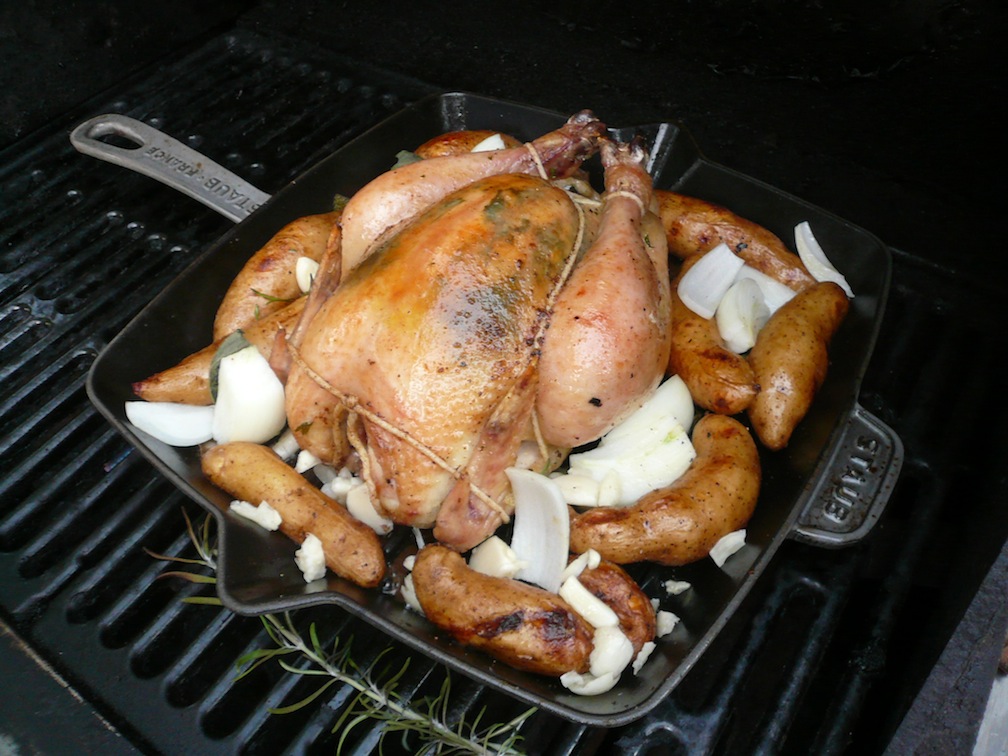
Slip a few herbs under the chicken’s skin, cram some lemon wedges and whole herbs in the cavity, salt and pepper everything in sight and throw it in a pan (this one was a wedding gift that we dedicated to the grill) cook for a while, add some sliced onions and crushed garlic, cook until done, serve with sliced fresh WSF tomatoes and chopped basil. The whole cooking time was about 1.5 hours – just enough time to have a bloody mary or two. This was a truly sublime feast.

The raw ingredients

“How Easy is That?” Dave at the grill, channeling Ina Garten.

Work in Progress

Add onions and WSF garlic

BOOM! Dinnuh!

Sharing is Caring – Double Trouble Tomato Bruschetta

At least that’s what Barney says. Those of you with small kids will get a smile out of that. Those of you without will likely scorn me and unleash the unbabyme app on my web presence.  Ah well, can’t please everyone.

This afternoon’s post is about sharing. I am fortunate to have awesome readers who frequently send me recipes.  Going forward, I will periodically invite readers to post to this blog as well. I love sharing recipes and  collaborating to improve a meal.  And, clearly love talking about cooking with all of you.

I will be out of town the next few Saturdays, so will sadly miss my beloved CSA Pick-ups at Wolfe Spring Farm. In my place, I have drafted friend, neighbor and fellow foodie Dan Doern to wax poetic on summer’s finest. I am also sad to miss this period because it is really peak season now in the NE. Readers may remember Dan Doern from pickled haricot verts fame. No pressure, Dan, but don’t let us down.

In reality, I fear Dan will handily out-foodie me. Bring it, Dan.

And, also in the spirit of sharing, I wanted to pass along a recipe sent to me this morning by  long-time friend, social media superstar and part-time vegan, Nicolette Barber. Everyone’s trying to figure out what to do with this year’s tomato bounty. Nico shares a timely recipe for Double Tomato Bruschetta that looks scrumptious. Take your basic bruschetta recipe, add sun-dried tomatoes to increase depth of flavor and melt some mozz on top. Kick it up a notch, why dontcha?

All Recipes: Double Tomato Bruschetta

Haven’t tried the recipe, but want to. Readers, please keep sharing!

Monday Night Dinner: A Day Late, but Still Worth Talking About

I made an easy-peasy salmon recipe last night that’s definitely worth sharing. It’s from Cooking Light  – Salmon with Roasted Tomatoes. Minimal prep time, and delicious outcome. The only con is that you do have to use your oven, which can be a downer on a summer night.

From Cooking Light: Salmon with Roasted Tomatoes

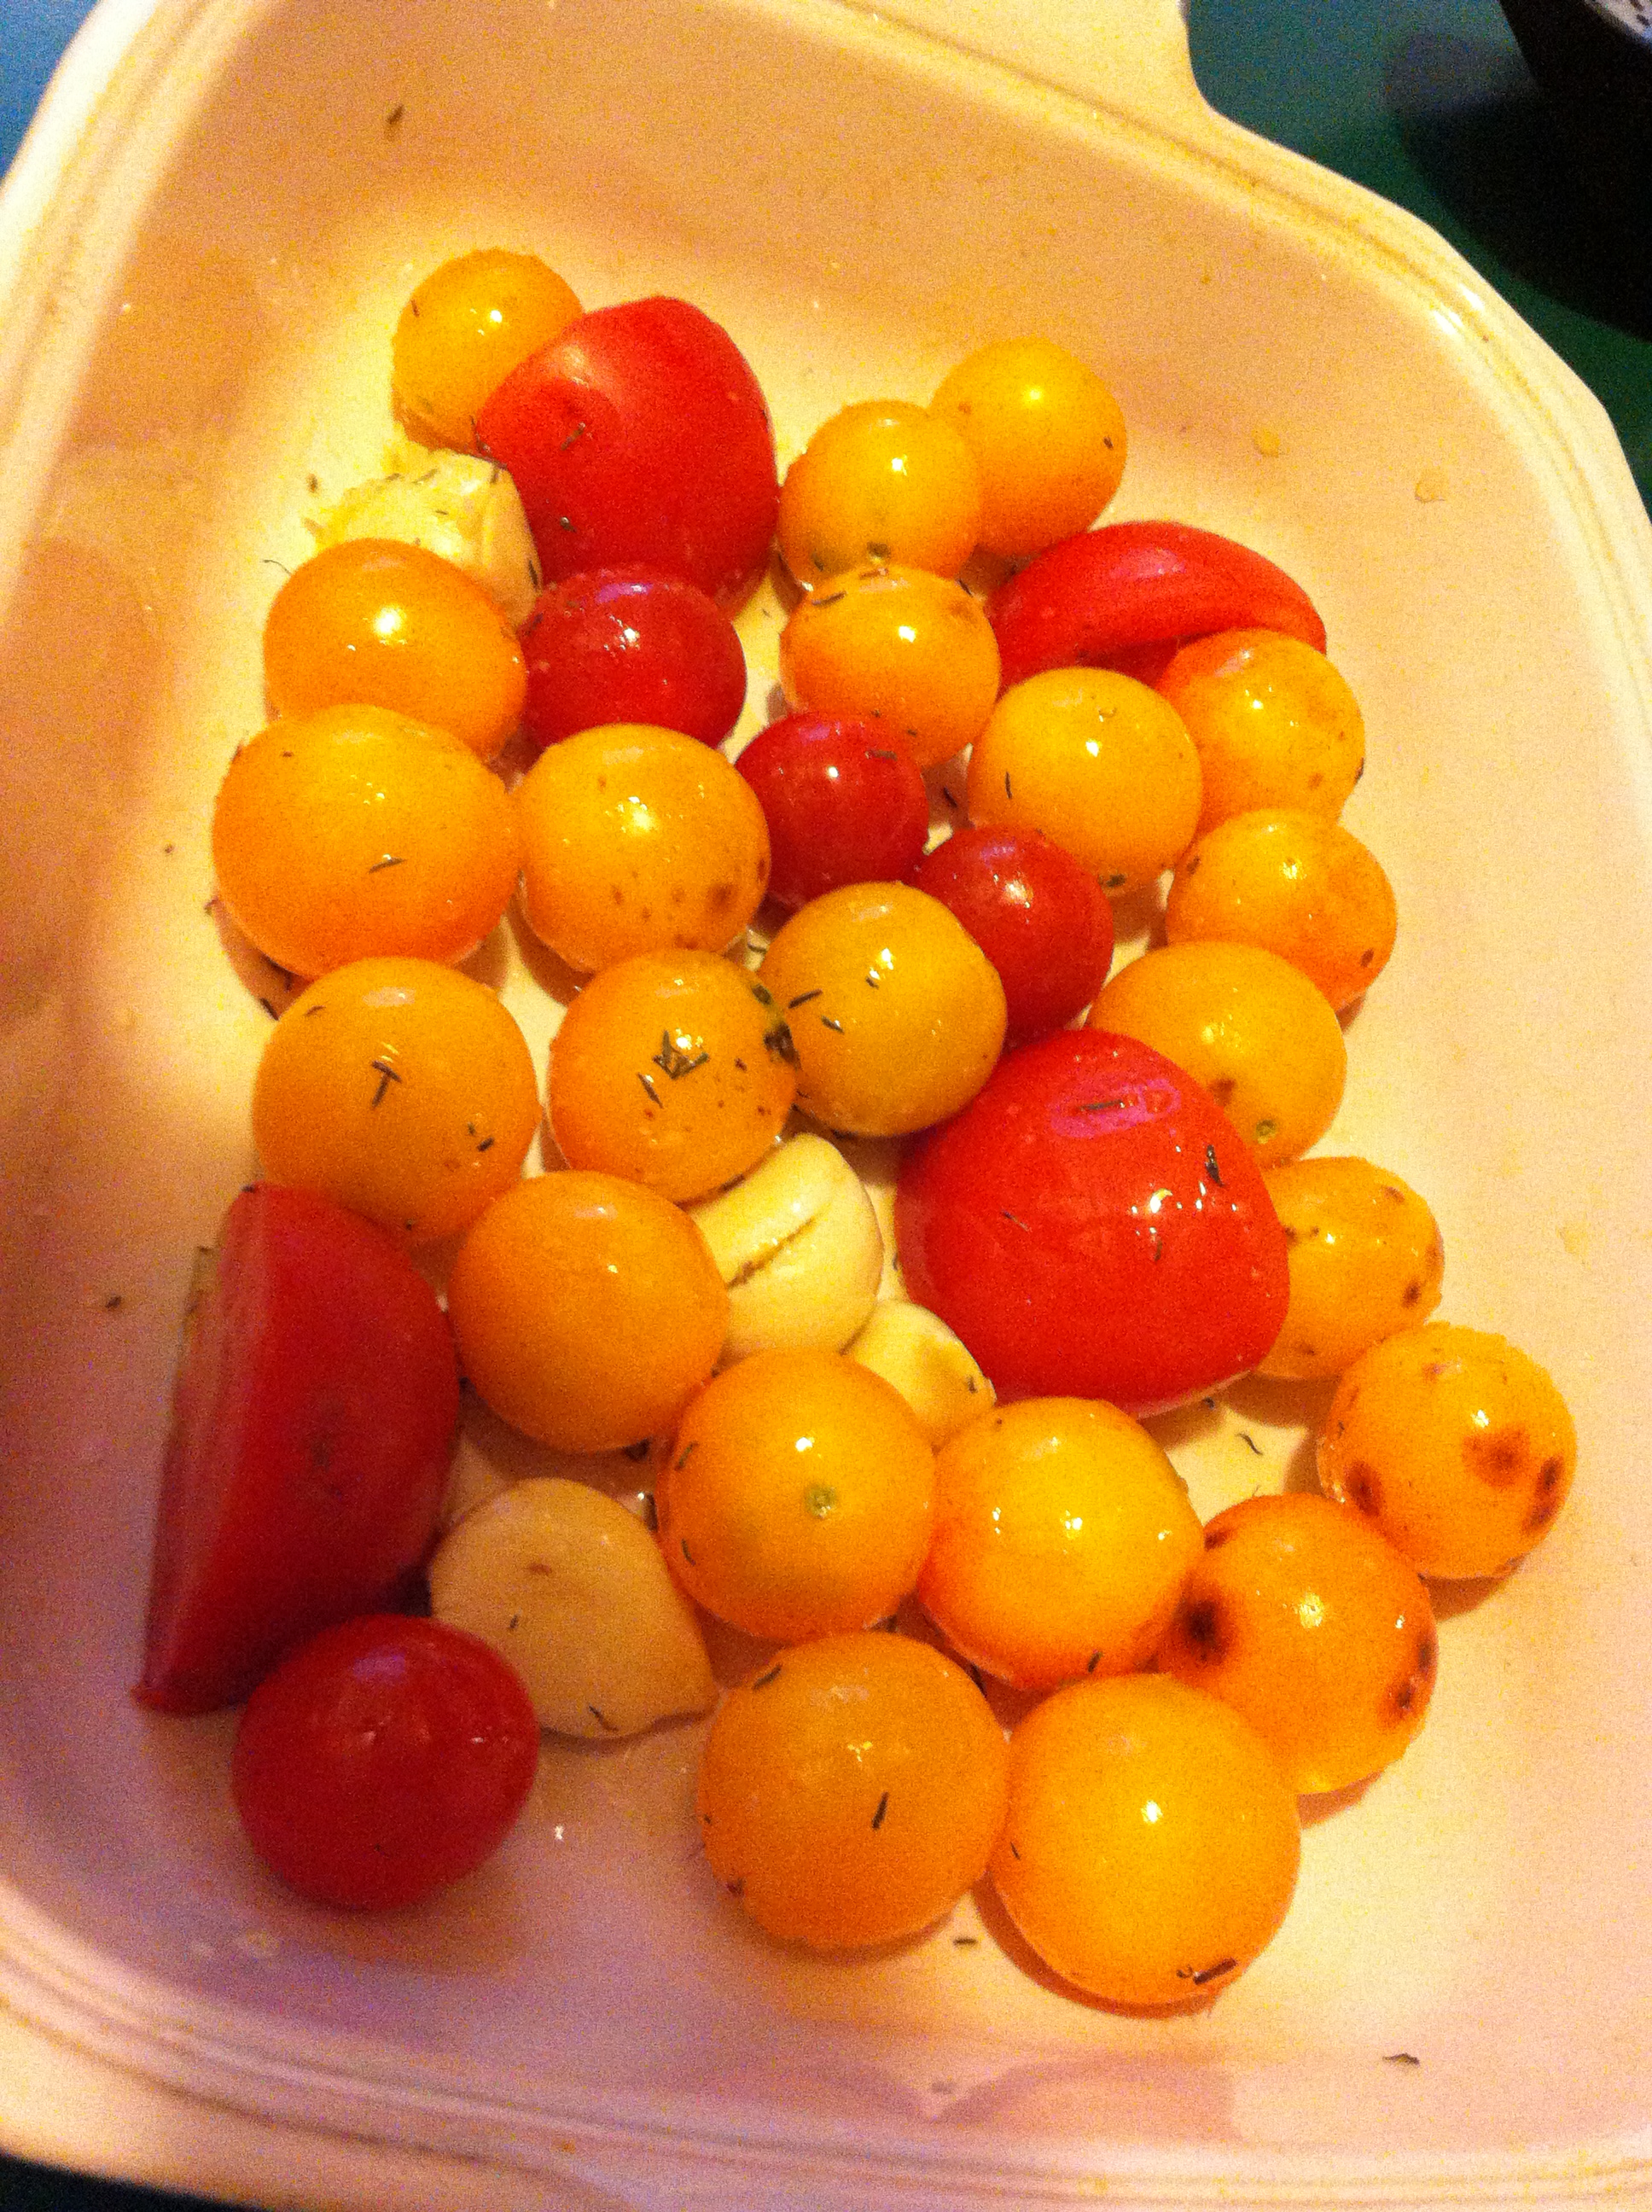
What I love about this recipe is that you don’t even have to halve the tomatoes. Wash and dry them, toss with some olive oil, garlic cloves, thyme and salt and pepper. Done! The recipe tells you to mince the garlic, but I simplified it further by leaving the garlic cloves whole and smashing them. I also added a quartered hothouse tomato simply because I had it on hand. All tomatoes and garlic were from my CSA Pick-up on Saturday. This week’s tomatoes are done and done.

Tomatoes Ready to Roast

I do like roasted tomatoes. Check out another great roasted tomato recipe here.

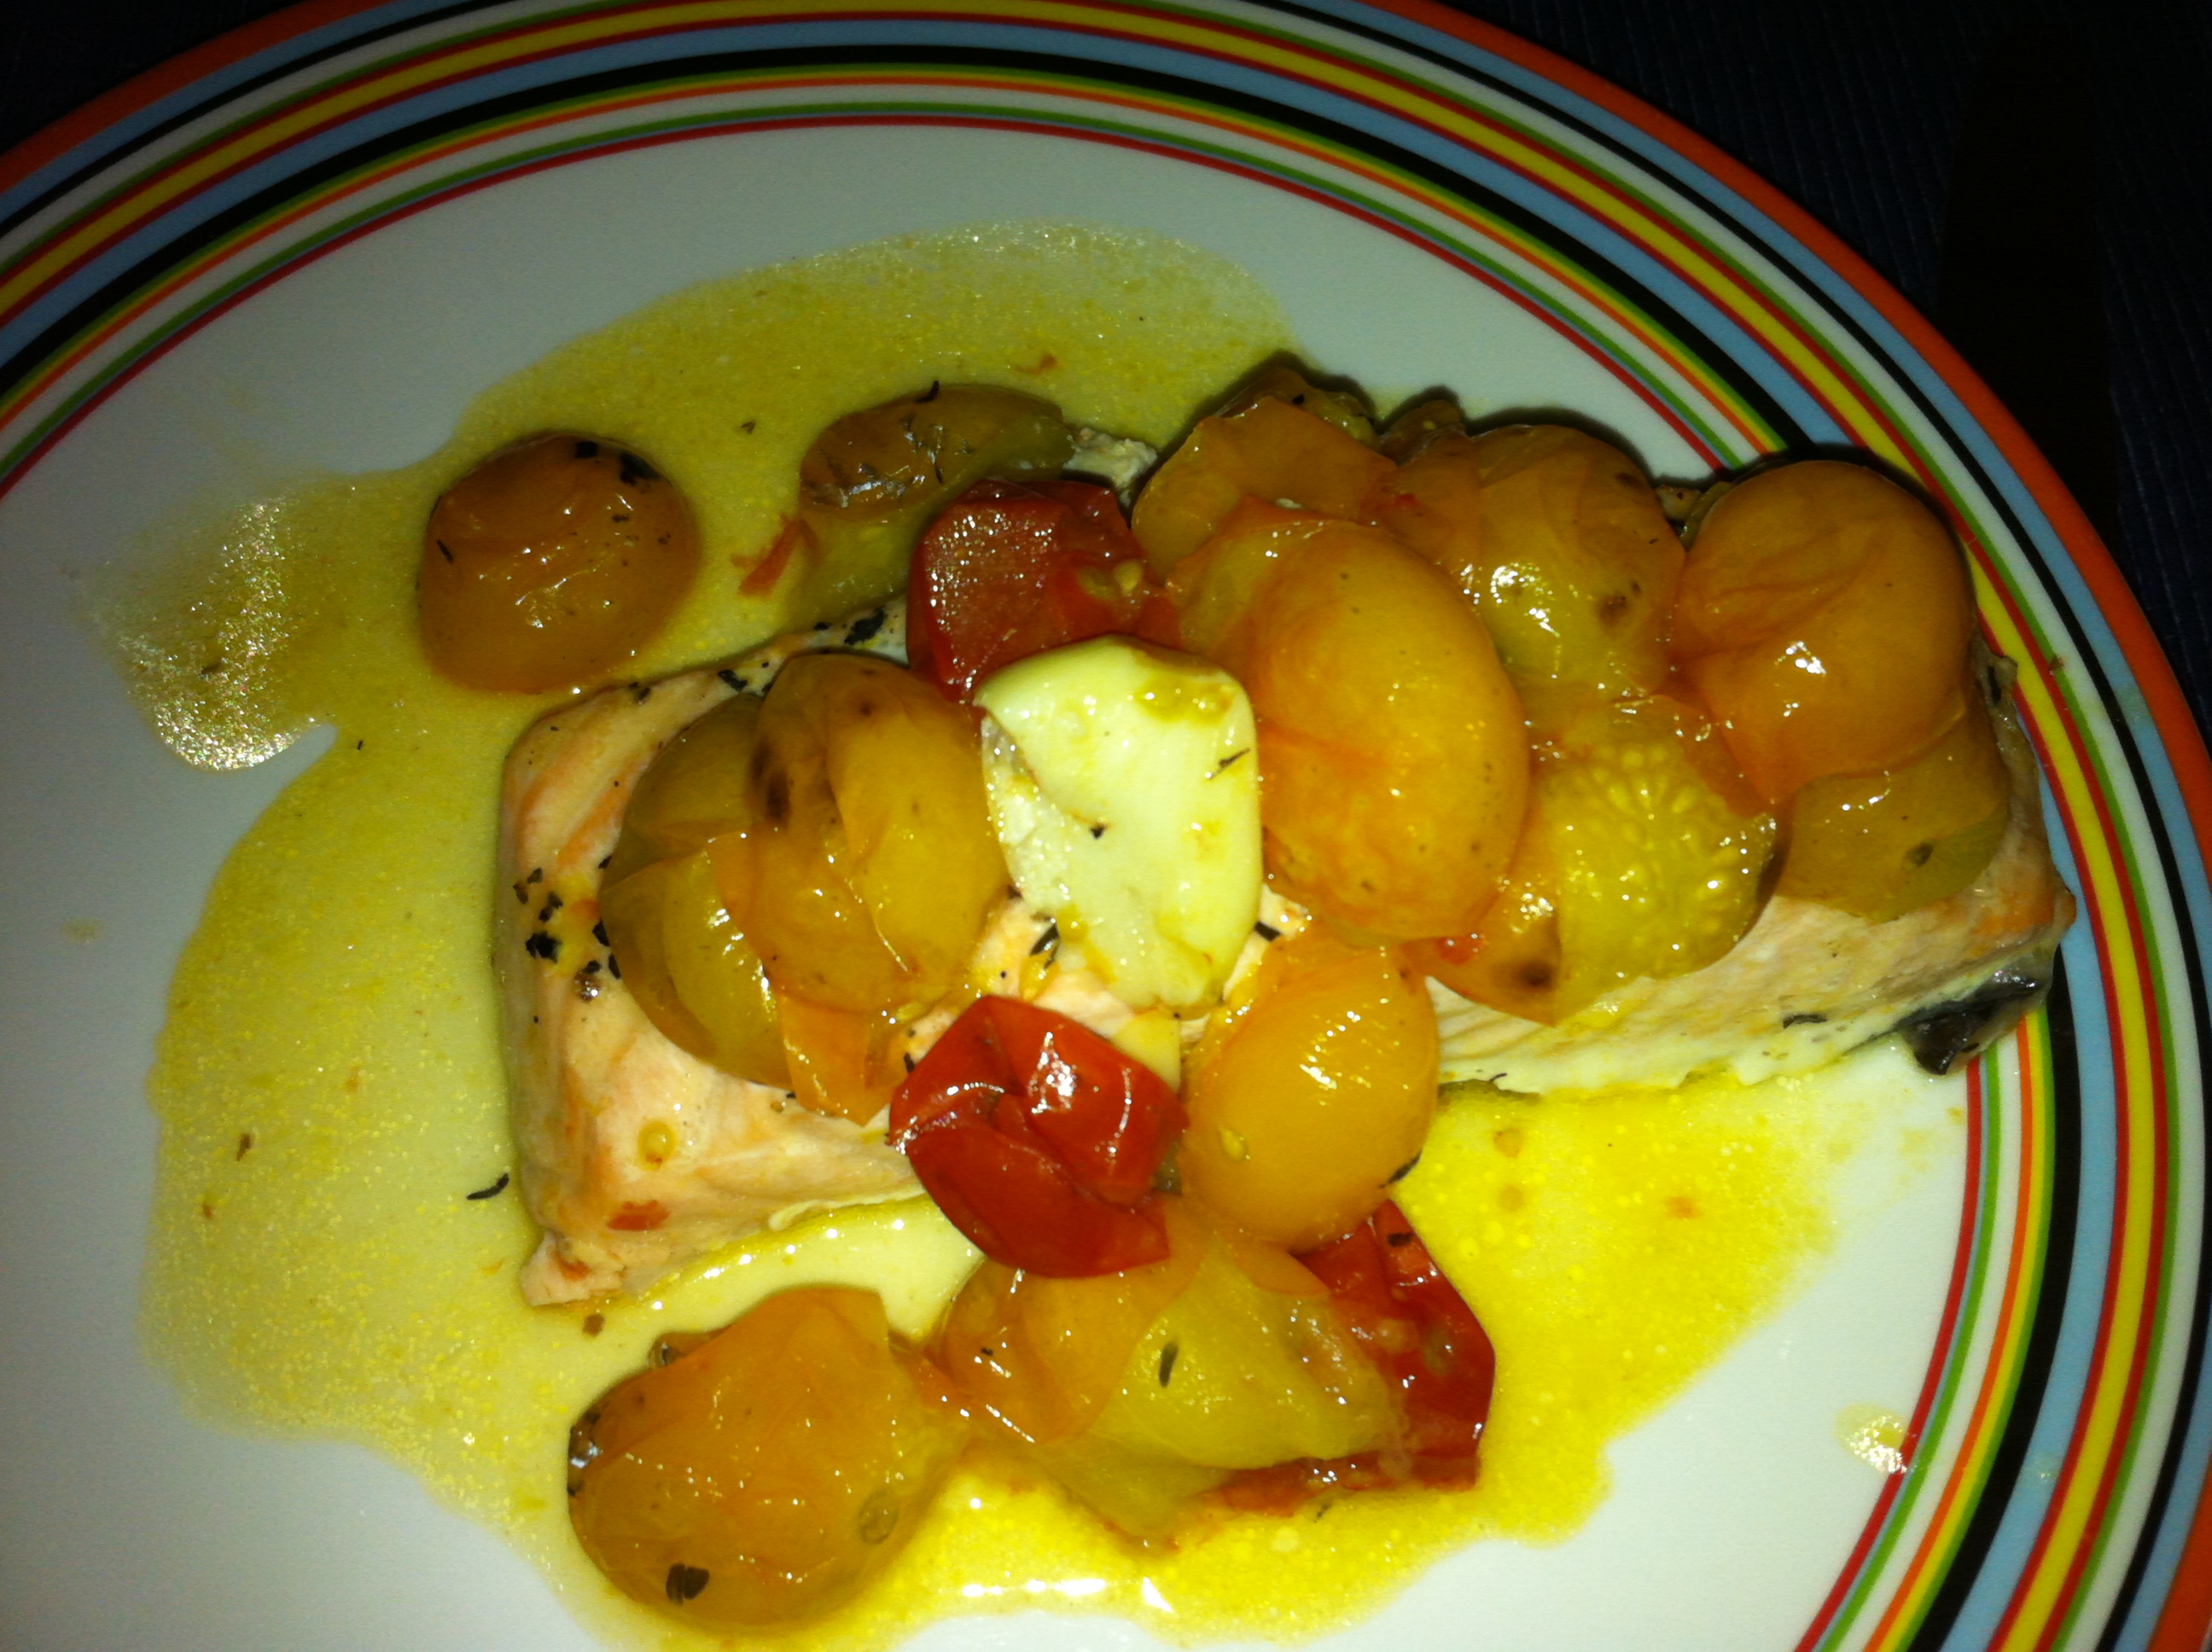
And here’s my final product:

Final product: Salmon with Roasted Cherry Tomatoes

Another Great Corn Recipe: Sauteed Corn with Fresh Herbs Galore

Sure everyone loves corn on the cob. But after the first few butter-slathered corn on the cobs of the season, most folks start to wonder what to do with all those ears of corn. We had a bunch from our CSA pick-up, and as June reminded me, corn does not last. Fresh corn is a limited time only treat, and we all want to make the most of it.

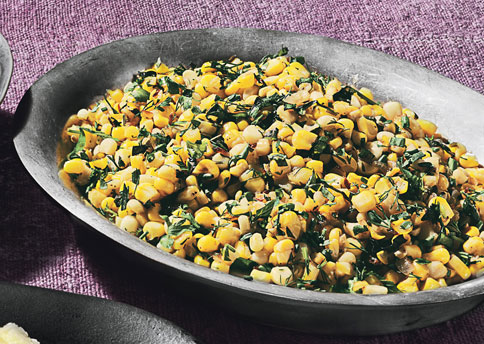
Hubs and I discovered an awesome recipe in Bon Appetit a few years ago that has become one of our go-to recipes for summer corn. Sauteed Corn with Tons of Herbs is simple, easy and takes advantage of other seasonal items like fresh herbs and shallots. What else are you going to do with that parsley and basil gone wild in your garden?

From Bon Appetit:Summer Corn Saute with Tons of Herbs

This is an easy recipe, but it does take some elbow grease. First, remove the corn from the cobs.

Preparation: Corn removed from cobs

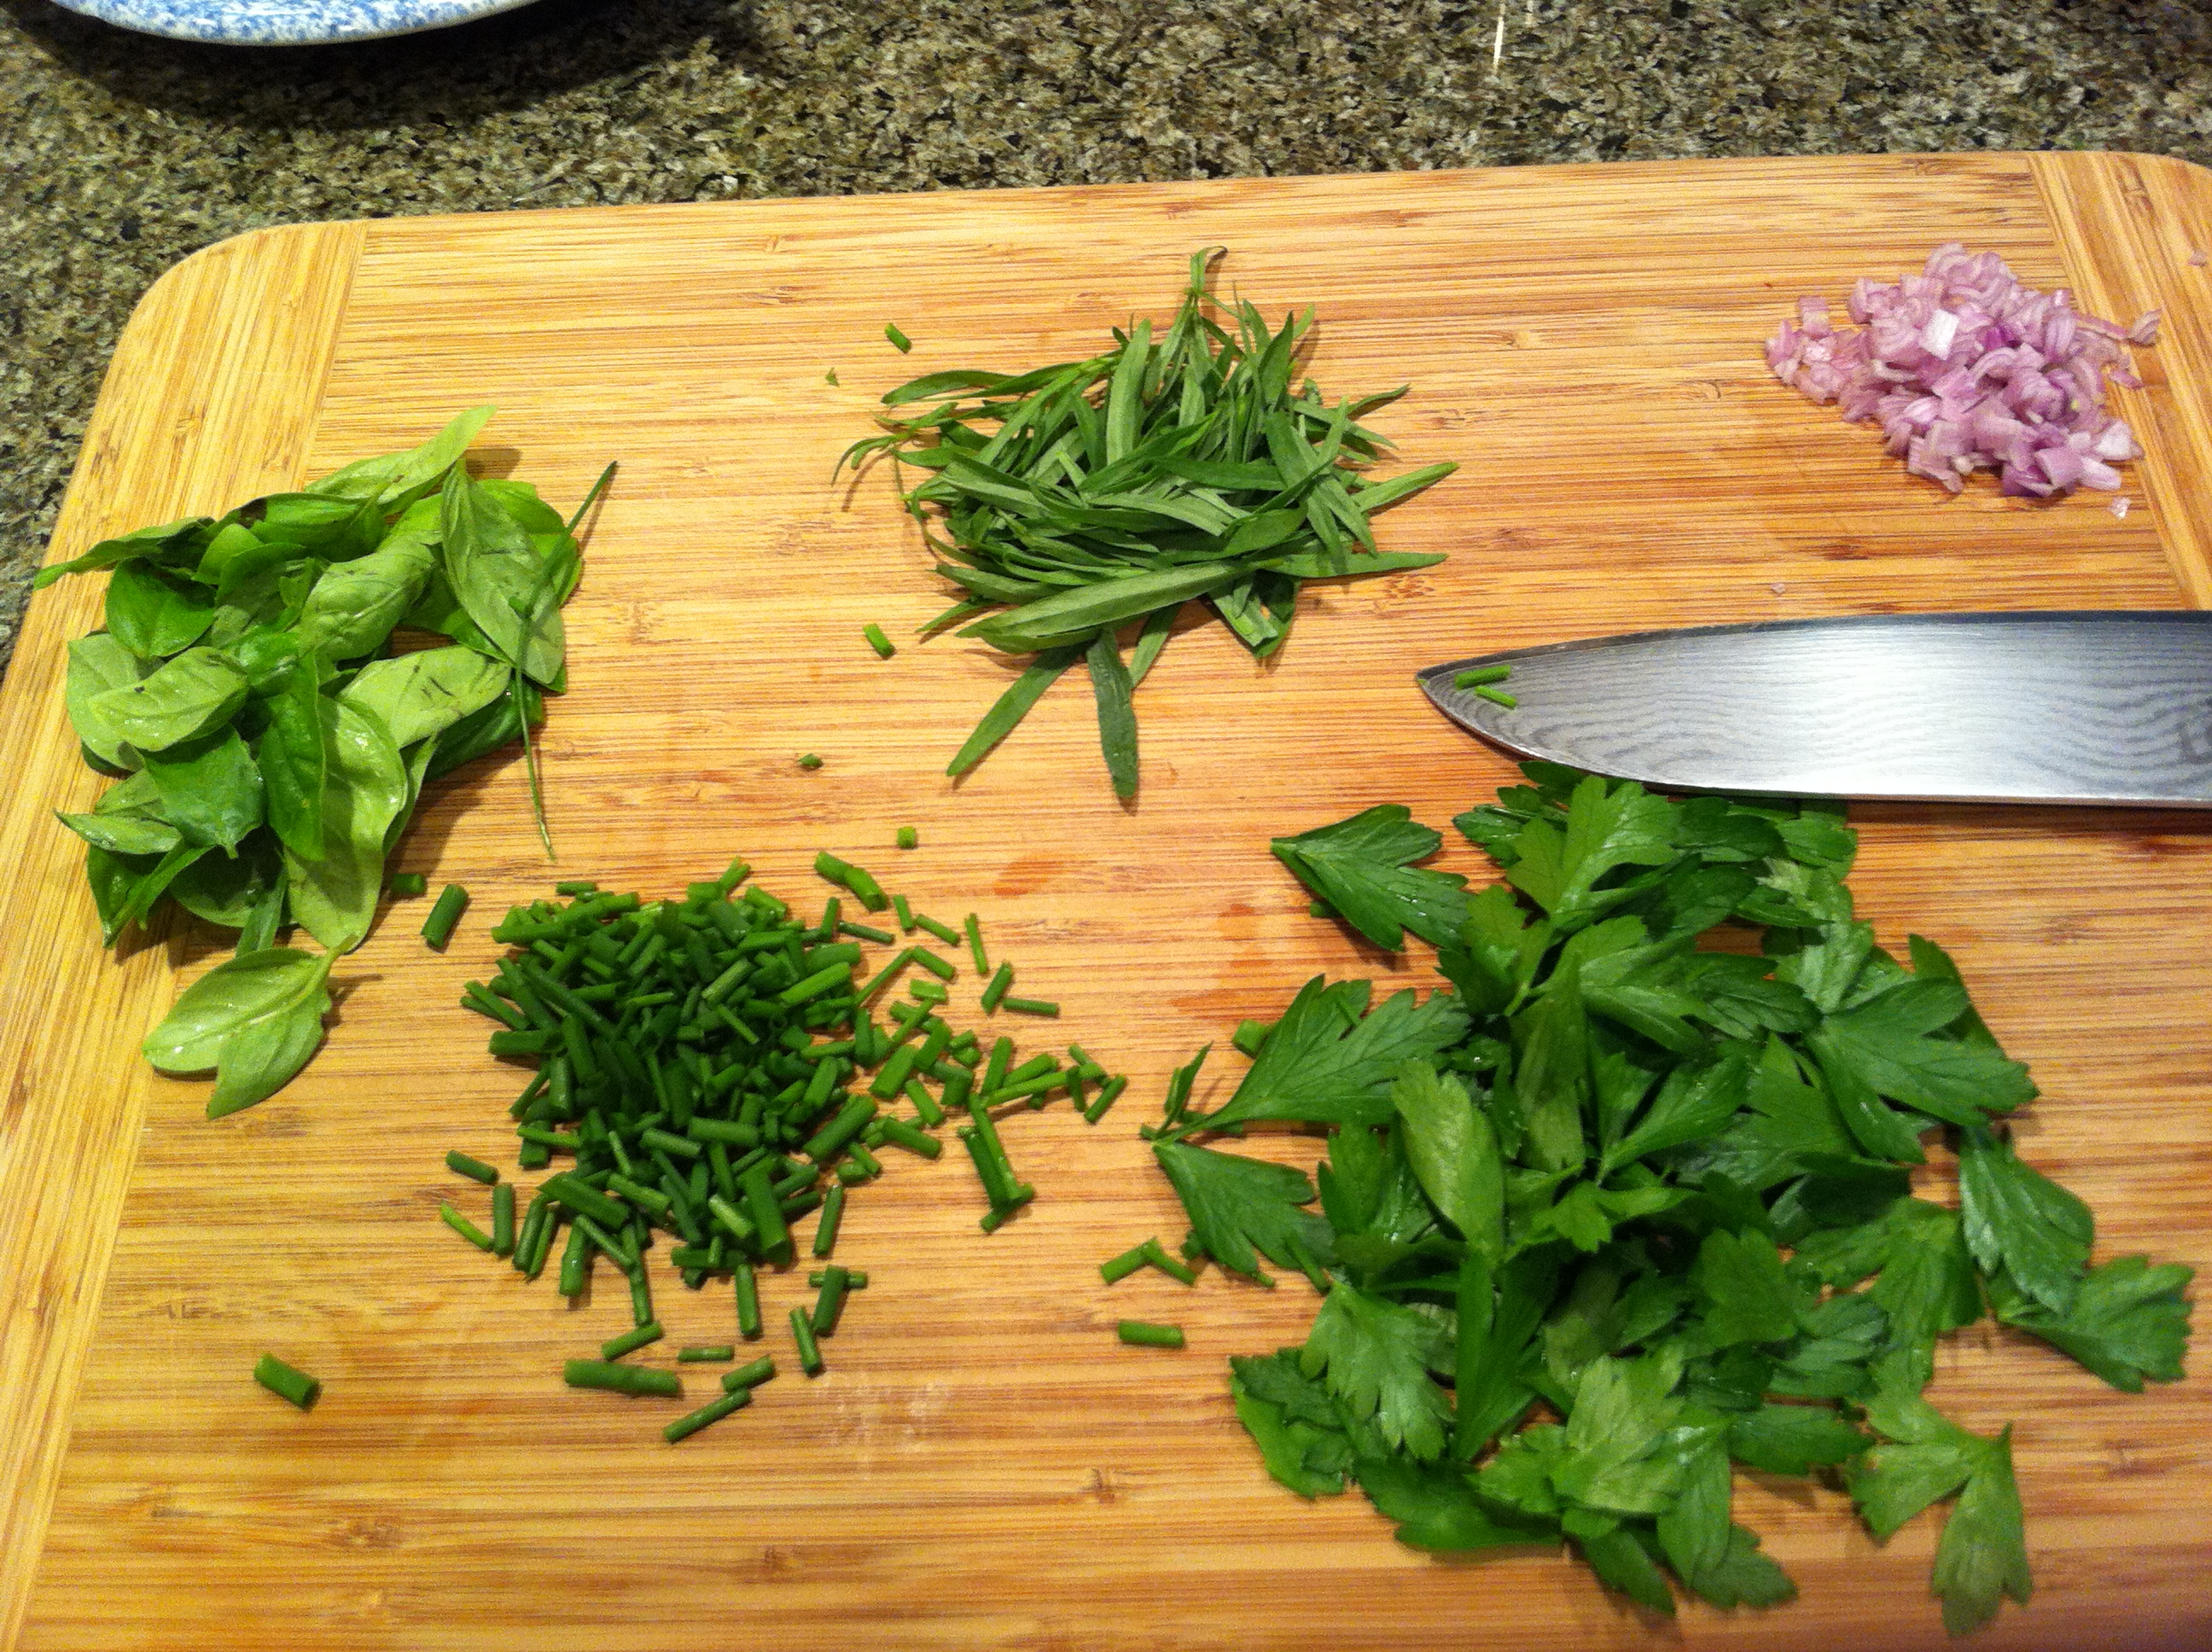
Next, chop up your herbs and shallots:

Hubs Handiwork: perfectly minced herbs and shallots

Then saute the shallots and cumin seeds in some butter, add the corn and continue to lightly saute. Remove from flame and fold in herbs. Add salt and pepper to taste and serve. Delicious warm or cold. Leftovers always welcome.

What do you do with summer corn once your love affair with corn on the cob has ended?

A Midsummer’s Favorite – Roasted Vegetable Gazpacho

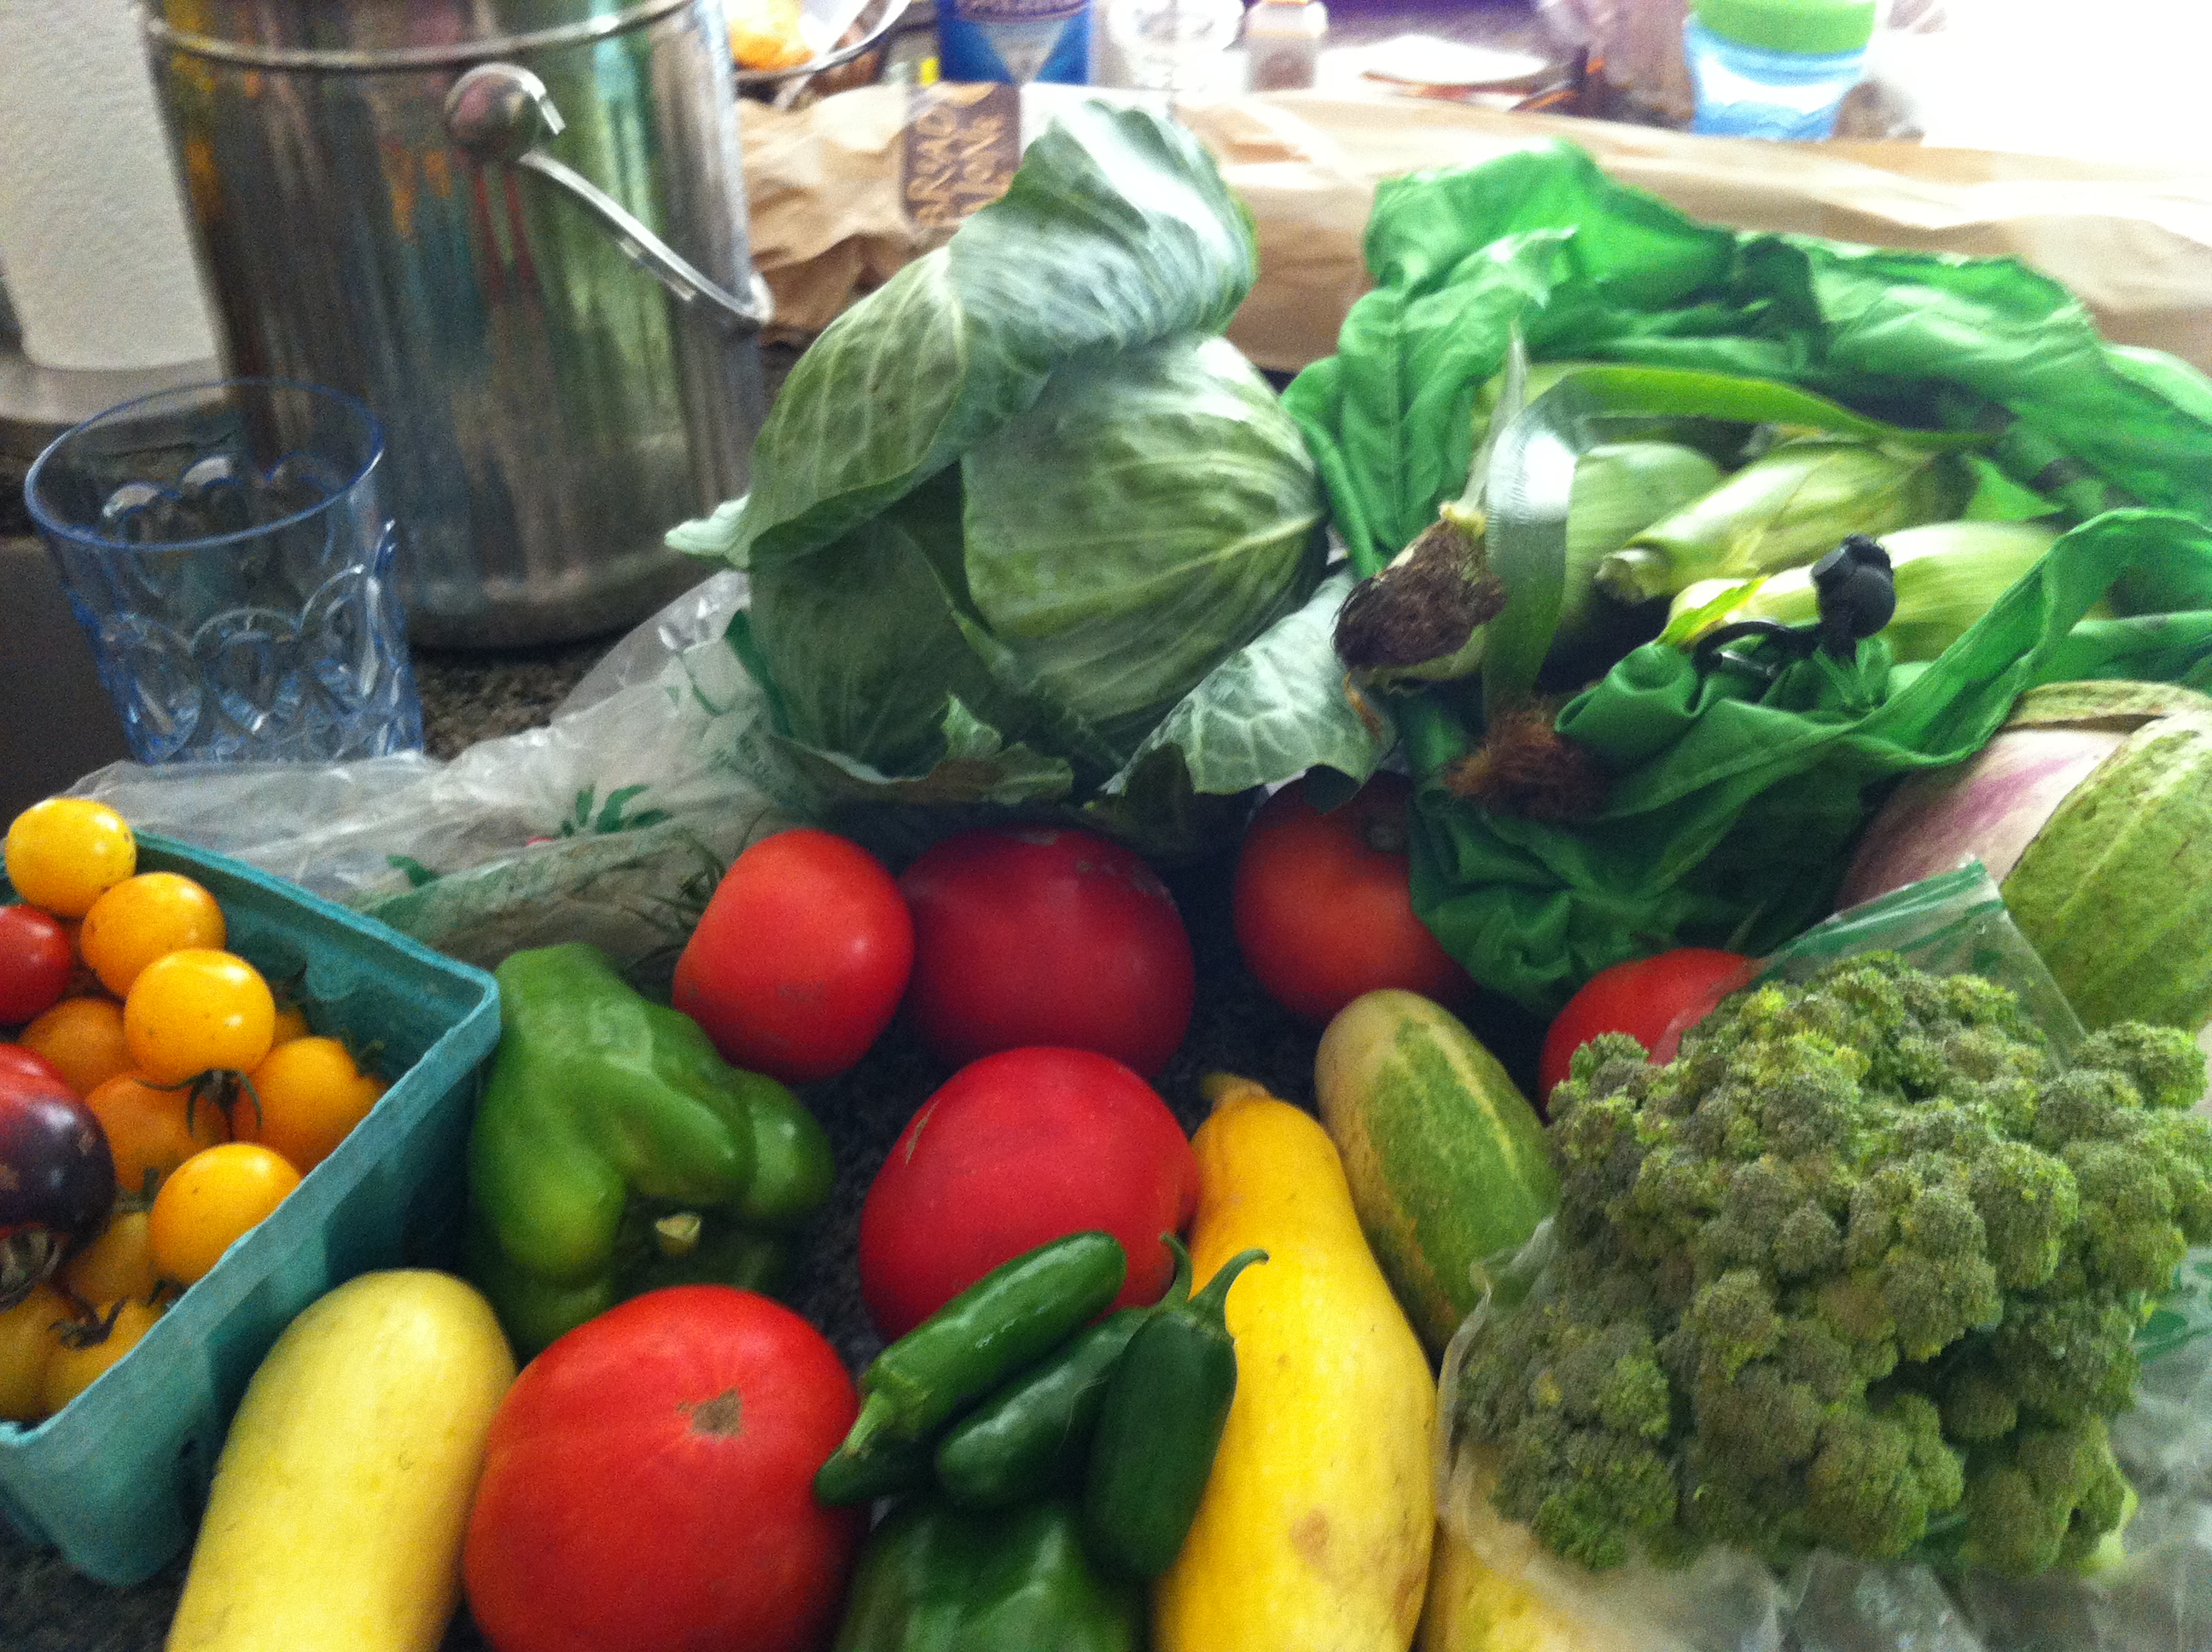
Such a bountiful CSA Pick-up on Saturday…Here it is on my countertop and I already stored the purple potatoes.

CSA Pick-up 8/4/12

I had a few recipes in mind, like Gazpacho and Zucchini Bread. I also wanted to think of something to do with the corn, since we had corn on the cob the night before, and our pick-up included 6 ears. After June graciously picked some kirby cucumbers for us, I considered a standard gazpacho, but then remembered a favorite recipe from summers past.

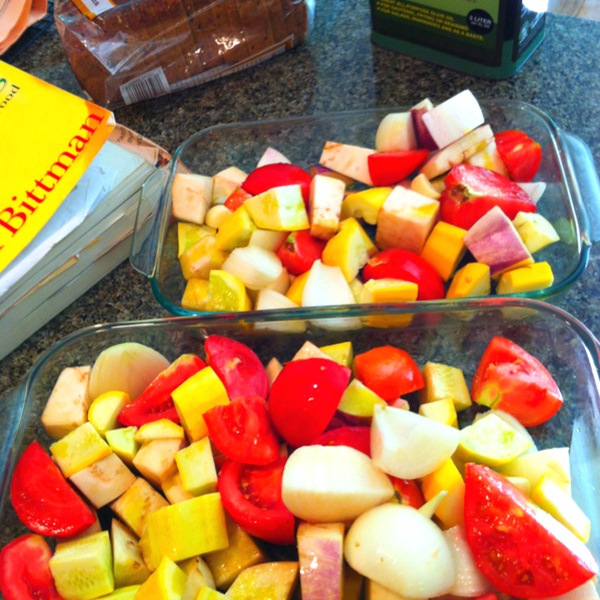
I’ve made this recipe  for Roasted Gazpacho from Mark Bittman many times and it’s always been a success. It’s also a good way to use some vegetables like eggplant, squash, and overly ripe tomatoes in bulk that might be otherwise difficult to use up. In a nutshell, you chop up zucchini, eggplant, tomatoes, onions and garlic, toss with olive oil and roast at 400 degrees. I used yellow squash instead of green zucchini here (picture below). Either works fine – another forgiving recipe.

Preparation for Roasted Gazpacho: Chopped vegetables tossed in olive oil and dash of kosher salt, ready to go into oven.

Cool, purée with 1/4 cup red wine vinegar and 4 cups water. Season with salt and pepper and garnish with chopped pepper, cucumbers, and/or tomatoes to add crunch. Enjoy!

Rebecca, a blogger in Colorado, transcribed the recipe and included a pic, and funnily enough, her final product looks nothing like mine.

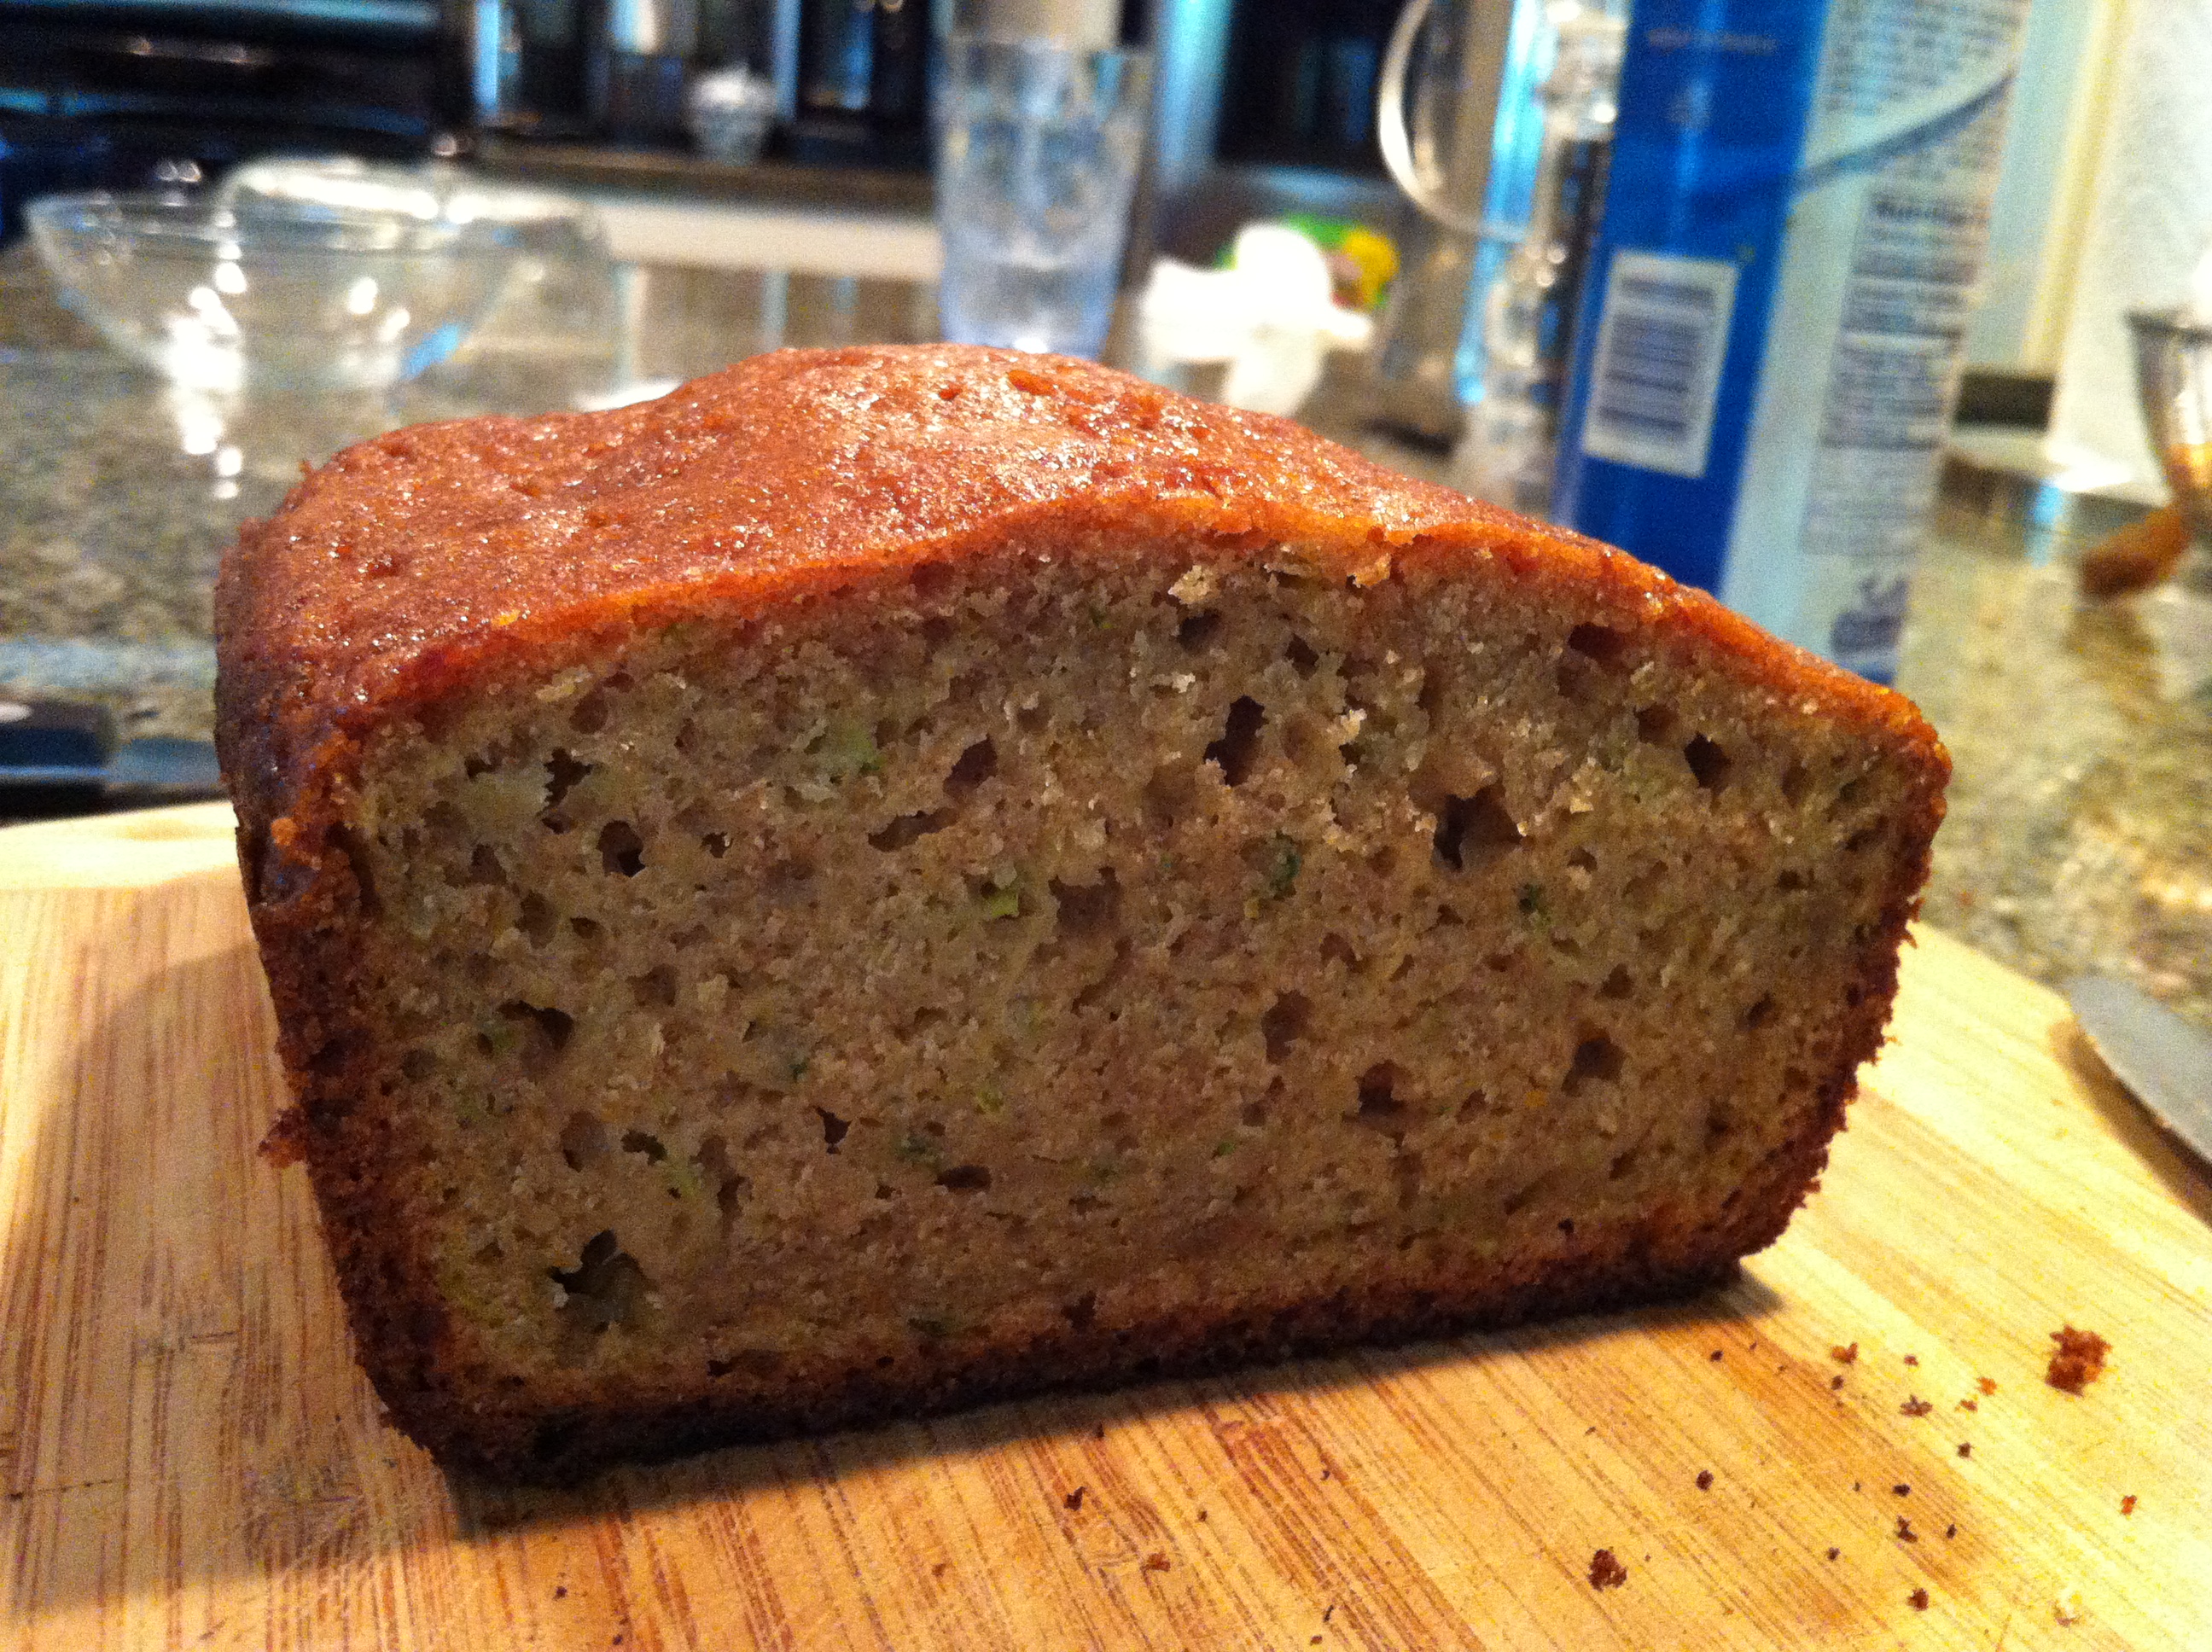
I also made 2 loaves of yummy Orange Zucchini bread.

Orange Zucchini Bread

Our friend Nash passed along the recipe and it was the first time I tried this variation on the classic zucchini bread. The orange rind and juice add a nice touch – slight tartness and interesting accent of flavor. You can also use less white sugar since the orange juice adds natural sweetness than with a traditional recipe (usually calls for 2 cups of sugar).

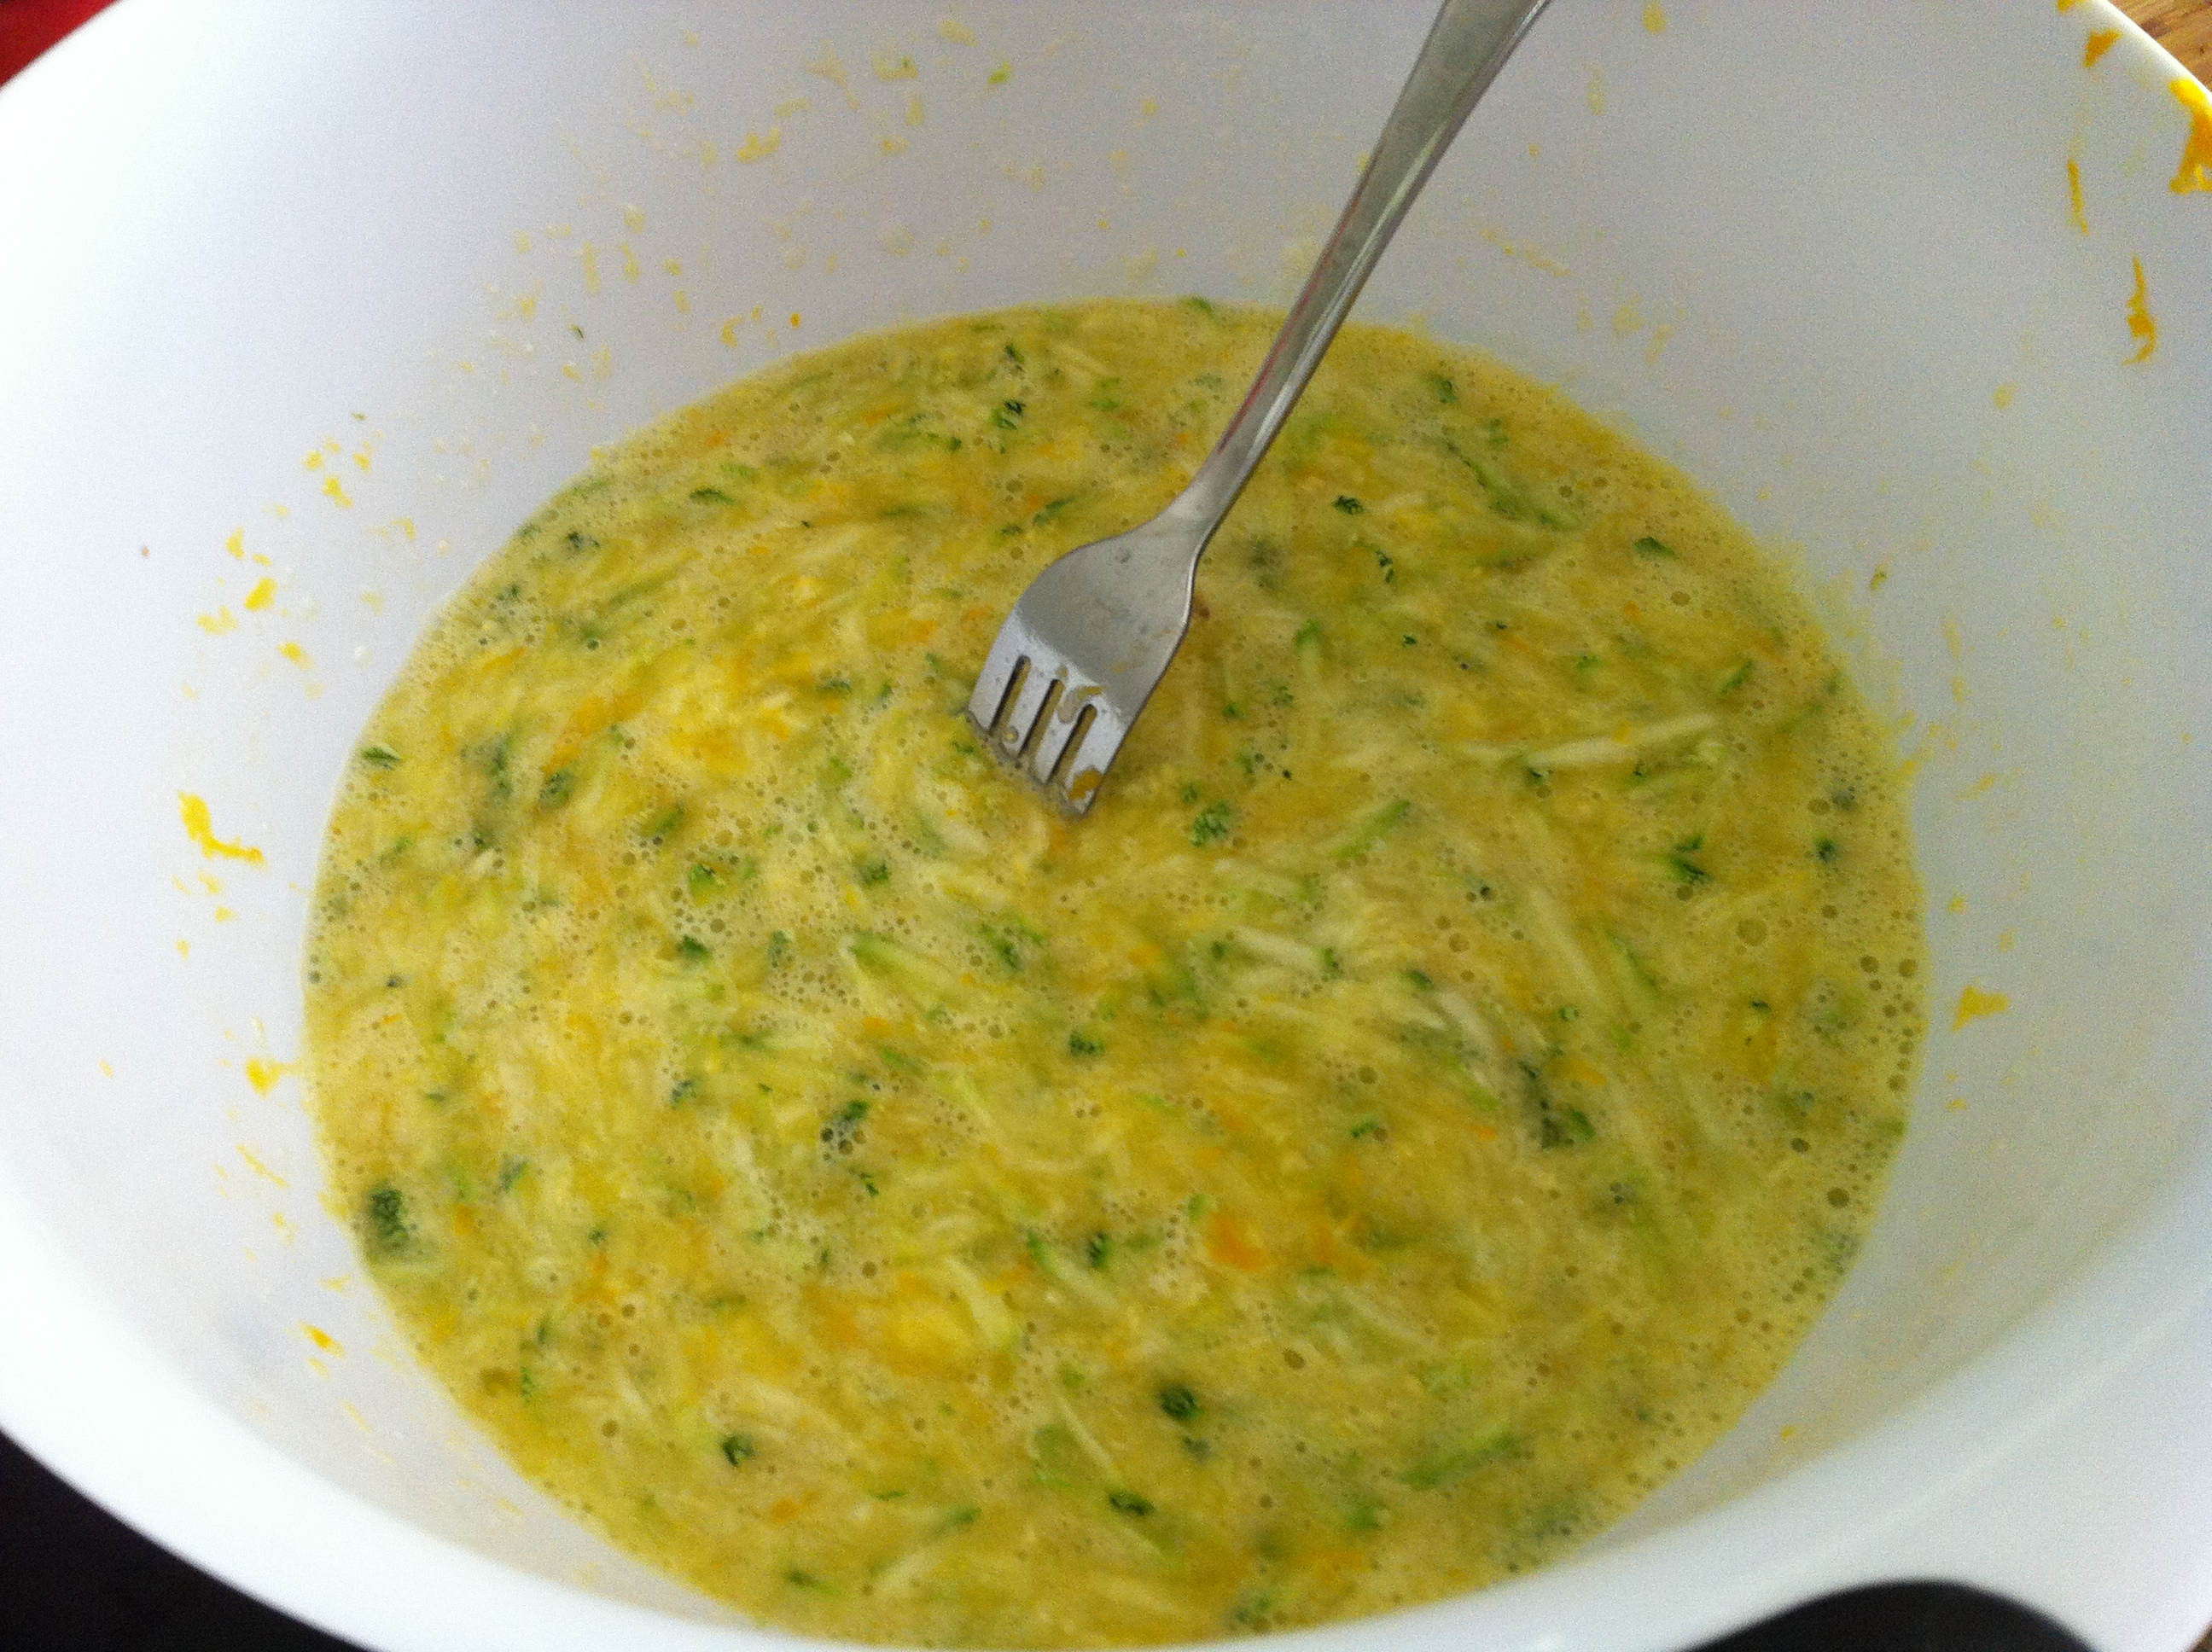
Zucchini Orange Bread batter

Here is the recipe I followed, similar to the Cooks.com recipe I linked to above:

Orange Zucchini Bread

1/2 c. canolaoil
1 1/2 c. sugar
3 eggs
2 tsp. vanilla
3 c. flour [I used 1 cup whole wheat, 2 cups all-purpose]
1 tsp. baking soda
1 tsp. baking powder
1 tsp. salt
1/2 c. orange juice
2 tsp. grated orange rind
2 c. grated zucchini

Instructions:

Mix all dry ingredients and set aside. Then mix the rest of the ingredients and cream well. Add the dry ingredients and mix well. Grease 2 bread pans and bake at 375 degrees for 50-60 minutes. You can add 1/2 cup chopped walnuts to batter as well.

Stay tuned for a great recipe for Sauteed Corn and Herbs…


Vegetables and Trickery

I had absolutely no plans for Friday night dinner. I vaguely thought we’d pick up something ready to go for dinner and relished the absolute lack of planning. While in the car, we made a pit stop at the Farmer’s Market in Sheffield, MA, in search of inspiration for our meal. I was conscious not to be tempted by the wares on display and splurge the night before our CSA Pick-up, and focus only on the meal at hand. I also knew what we had in the house

  • 1 v large zucchini
  • 1/4 head of cabbage
  • Potatoes galore
  • Eggs

Pretty limited selection, I know. We picked up a few ears of corn from a trusted farmer and had hopes that it would be tastier than last week’s. Hubs and I talked over a tomato salad and looked around for some, but only “paste tomatoes” were on display.  Still early in the season, said Dominic and his crew from Moon in the Pond Farm. A vague idea started forming in my mind about zucchini fritters or some kind of veg pancake. I suggested it to Hubs and he looked nonplussed.

I hit the books when we got home and offered a few suggestions based on an old copy of Bon Appetit and my handy How to Cook Everything Vegetarian cookbok by, you guessed it, my food idol Mark Bittman. I suggested this recipe for Shaved Zucchini with Parmesan and Pine Nuts to Hubs. He scoffed – too obvious a use of zucchini, a verboten vegetable. I then suggested some fritter recipes and we settled on Korean Style Crispy Vegetable Pancakes. The fact that the recipe name contained the words “pancake” and “crispy” helped sell it.

Vegetable Trickery: Korean Style Crispy Vegetable Pancake

I followed the recipe with the exception of using rice flour, which I didn’t have on a hand. I halved the recipe and it made 2 large pancakes. My first pancake did not turn out as crispy and I considered it my “tester” pancake, a phrase coined by Hubs. The second pancake is pictured above. I used about a cup of shredded zucchini, a healthy handful of thinly shredded cabbage, as well as a carrot, scallions and chives from the garden.

So that’s where the trickery comes in. You couldn’t individually identify the zucchini or cabbage, but they were in there. On their own, these ingredients would never fly in our house, but mixed into a dish with the word “pancake” in it, I could get away with it. There are a bunch of food writers out there proposing recipes like this all the time, especially for kids.  Things like stashing sweet potatoes in muffins, not to name names [Jessica Seinfeld], but I’m generally not a proponent of this method. I want ingredients to shine and for the people I’m cooking for to know what they are eating. But I mention it here because you could put almost any veg in this dish, serve it with dipping sauce and it would be roundly praised.

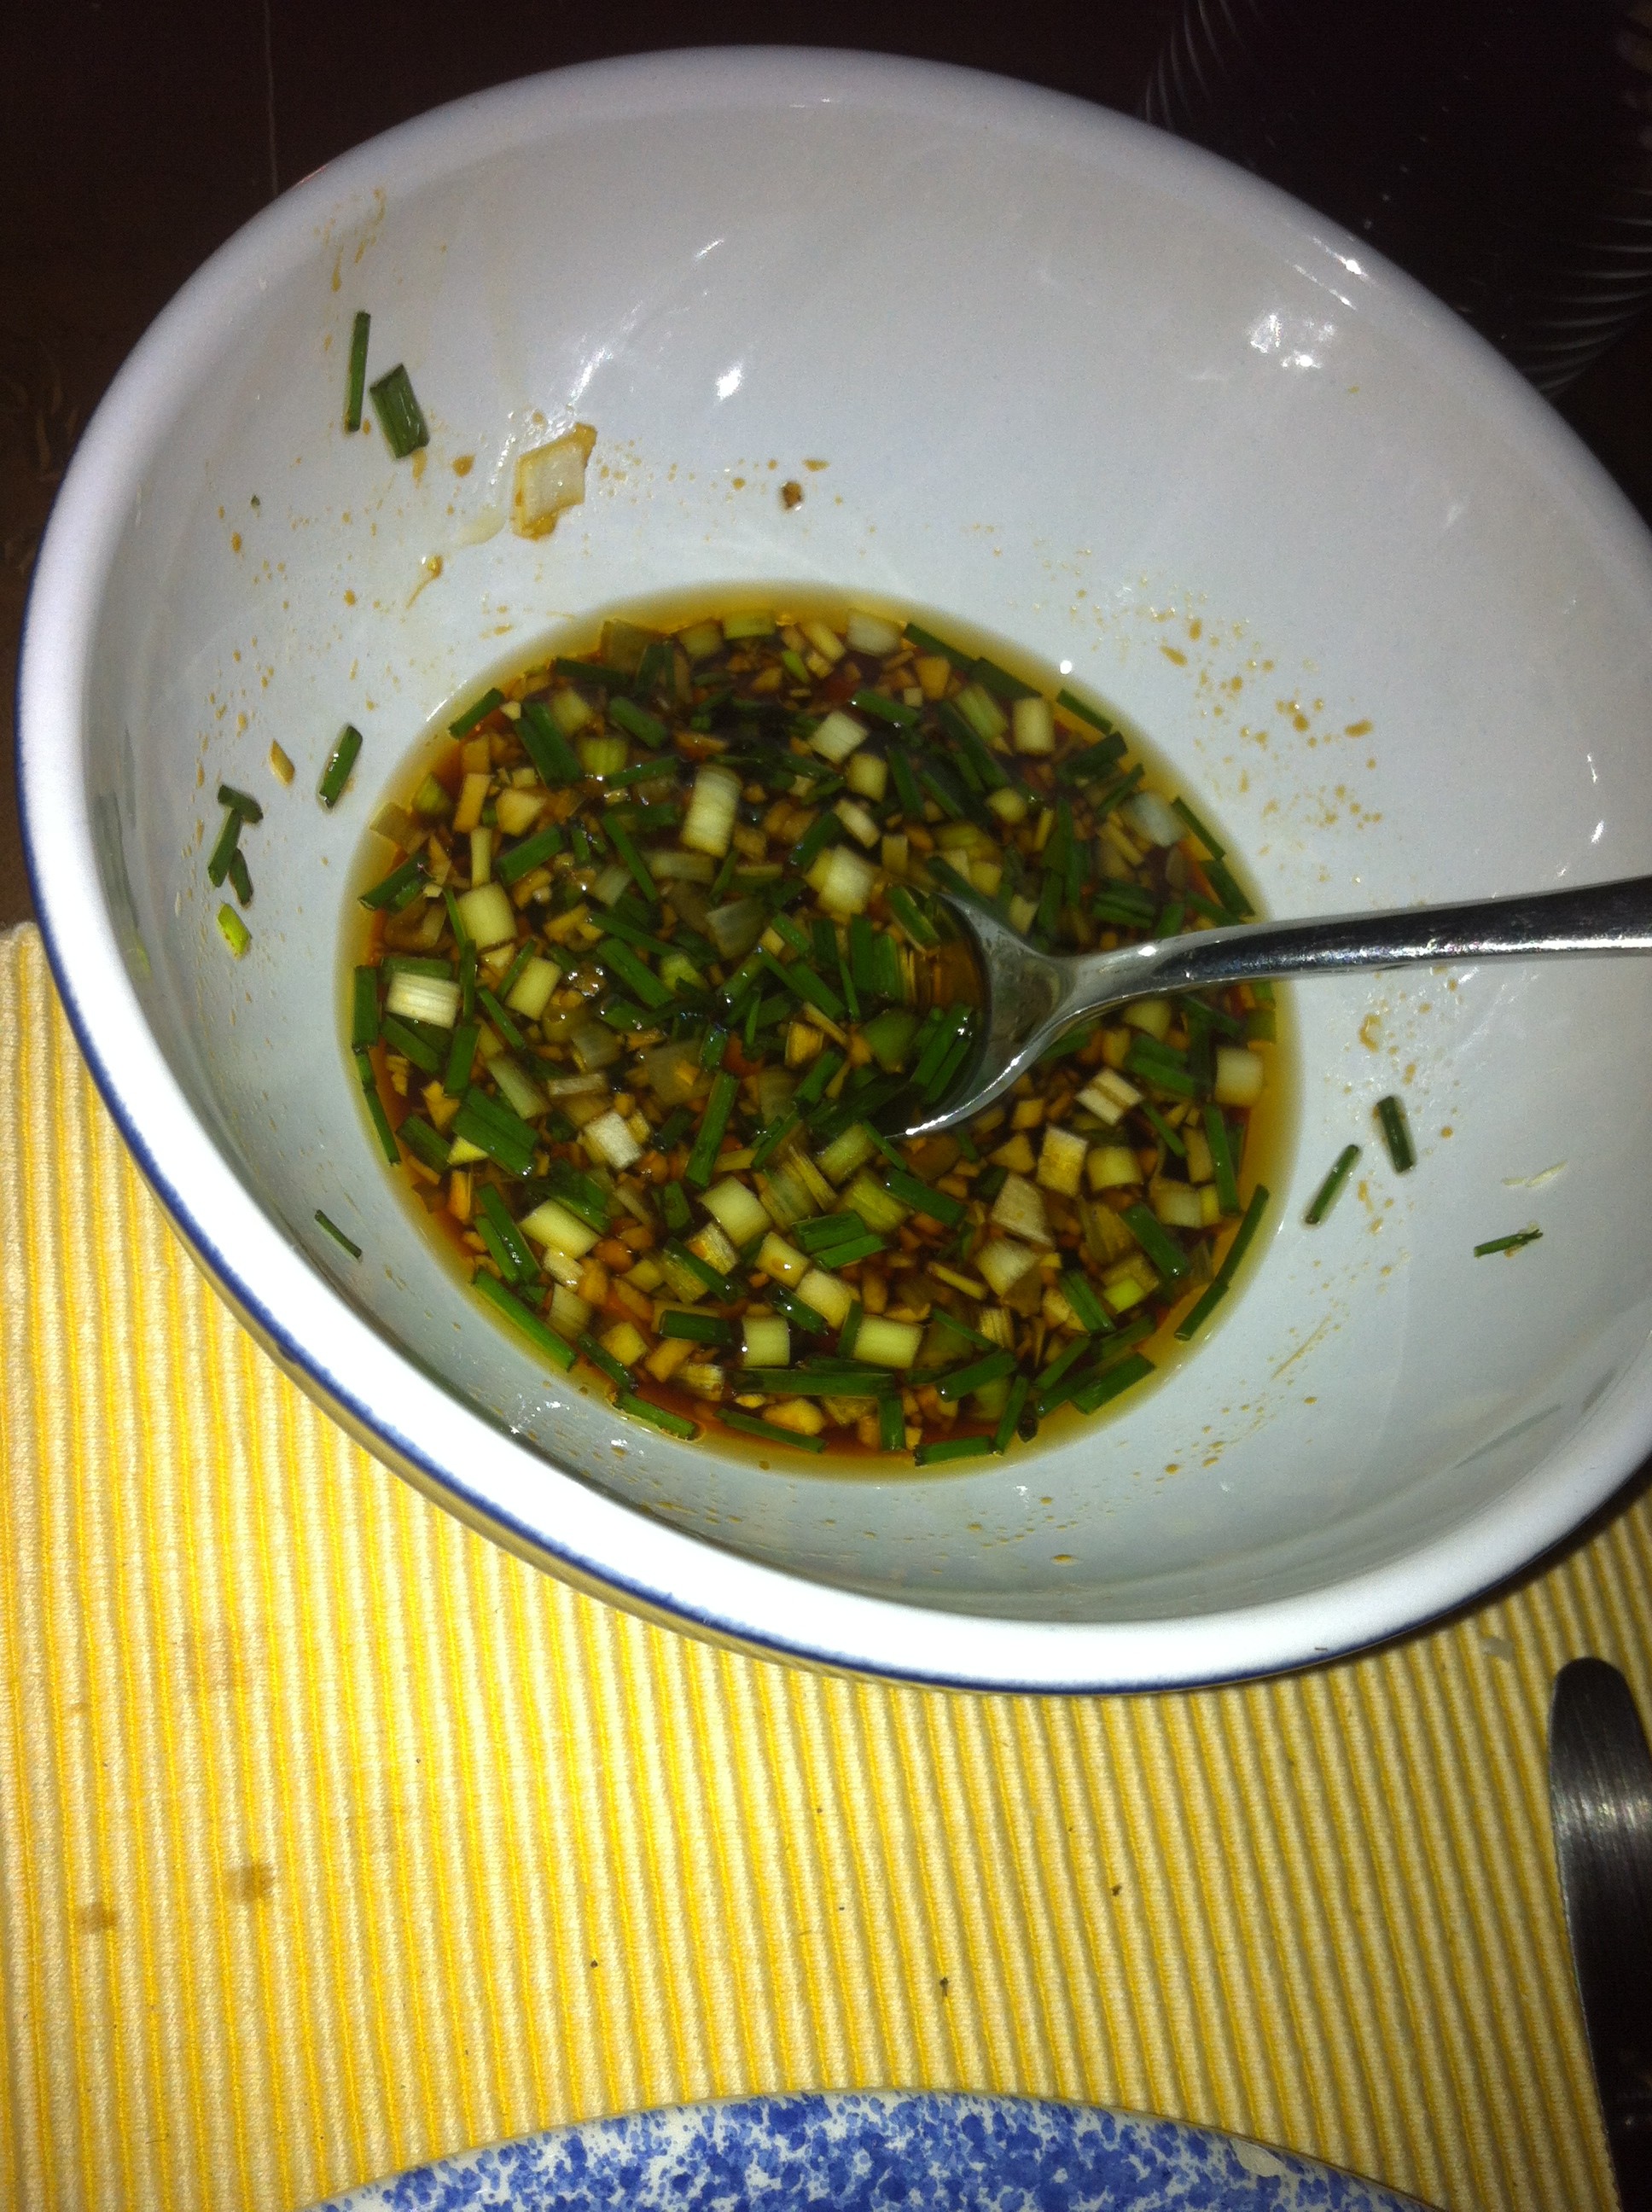
Scallion Ginger dipping sauce

Final word from Hubs: “Pretty good for an impromptu meal.” I would definitely make the Crispy Pancakes again, using rice flour as Bittman recommends. We also had corn on the cob and some mixed greens. The corn was sweet and succulent, with even rows of ears. As it should be.

Shrimp Tacos and All the Fixins

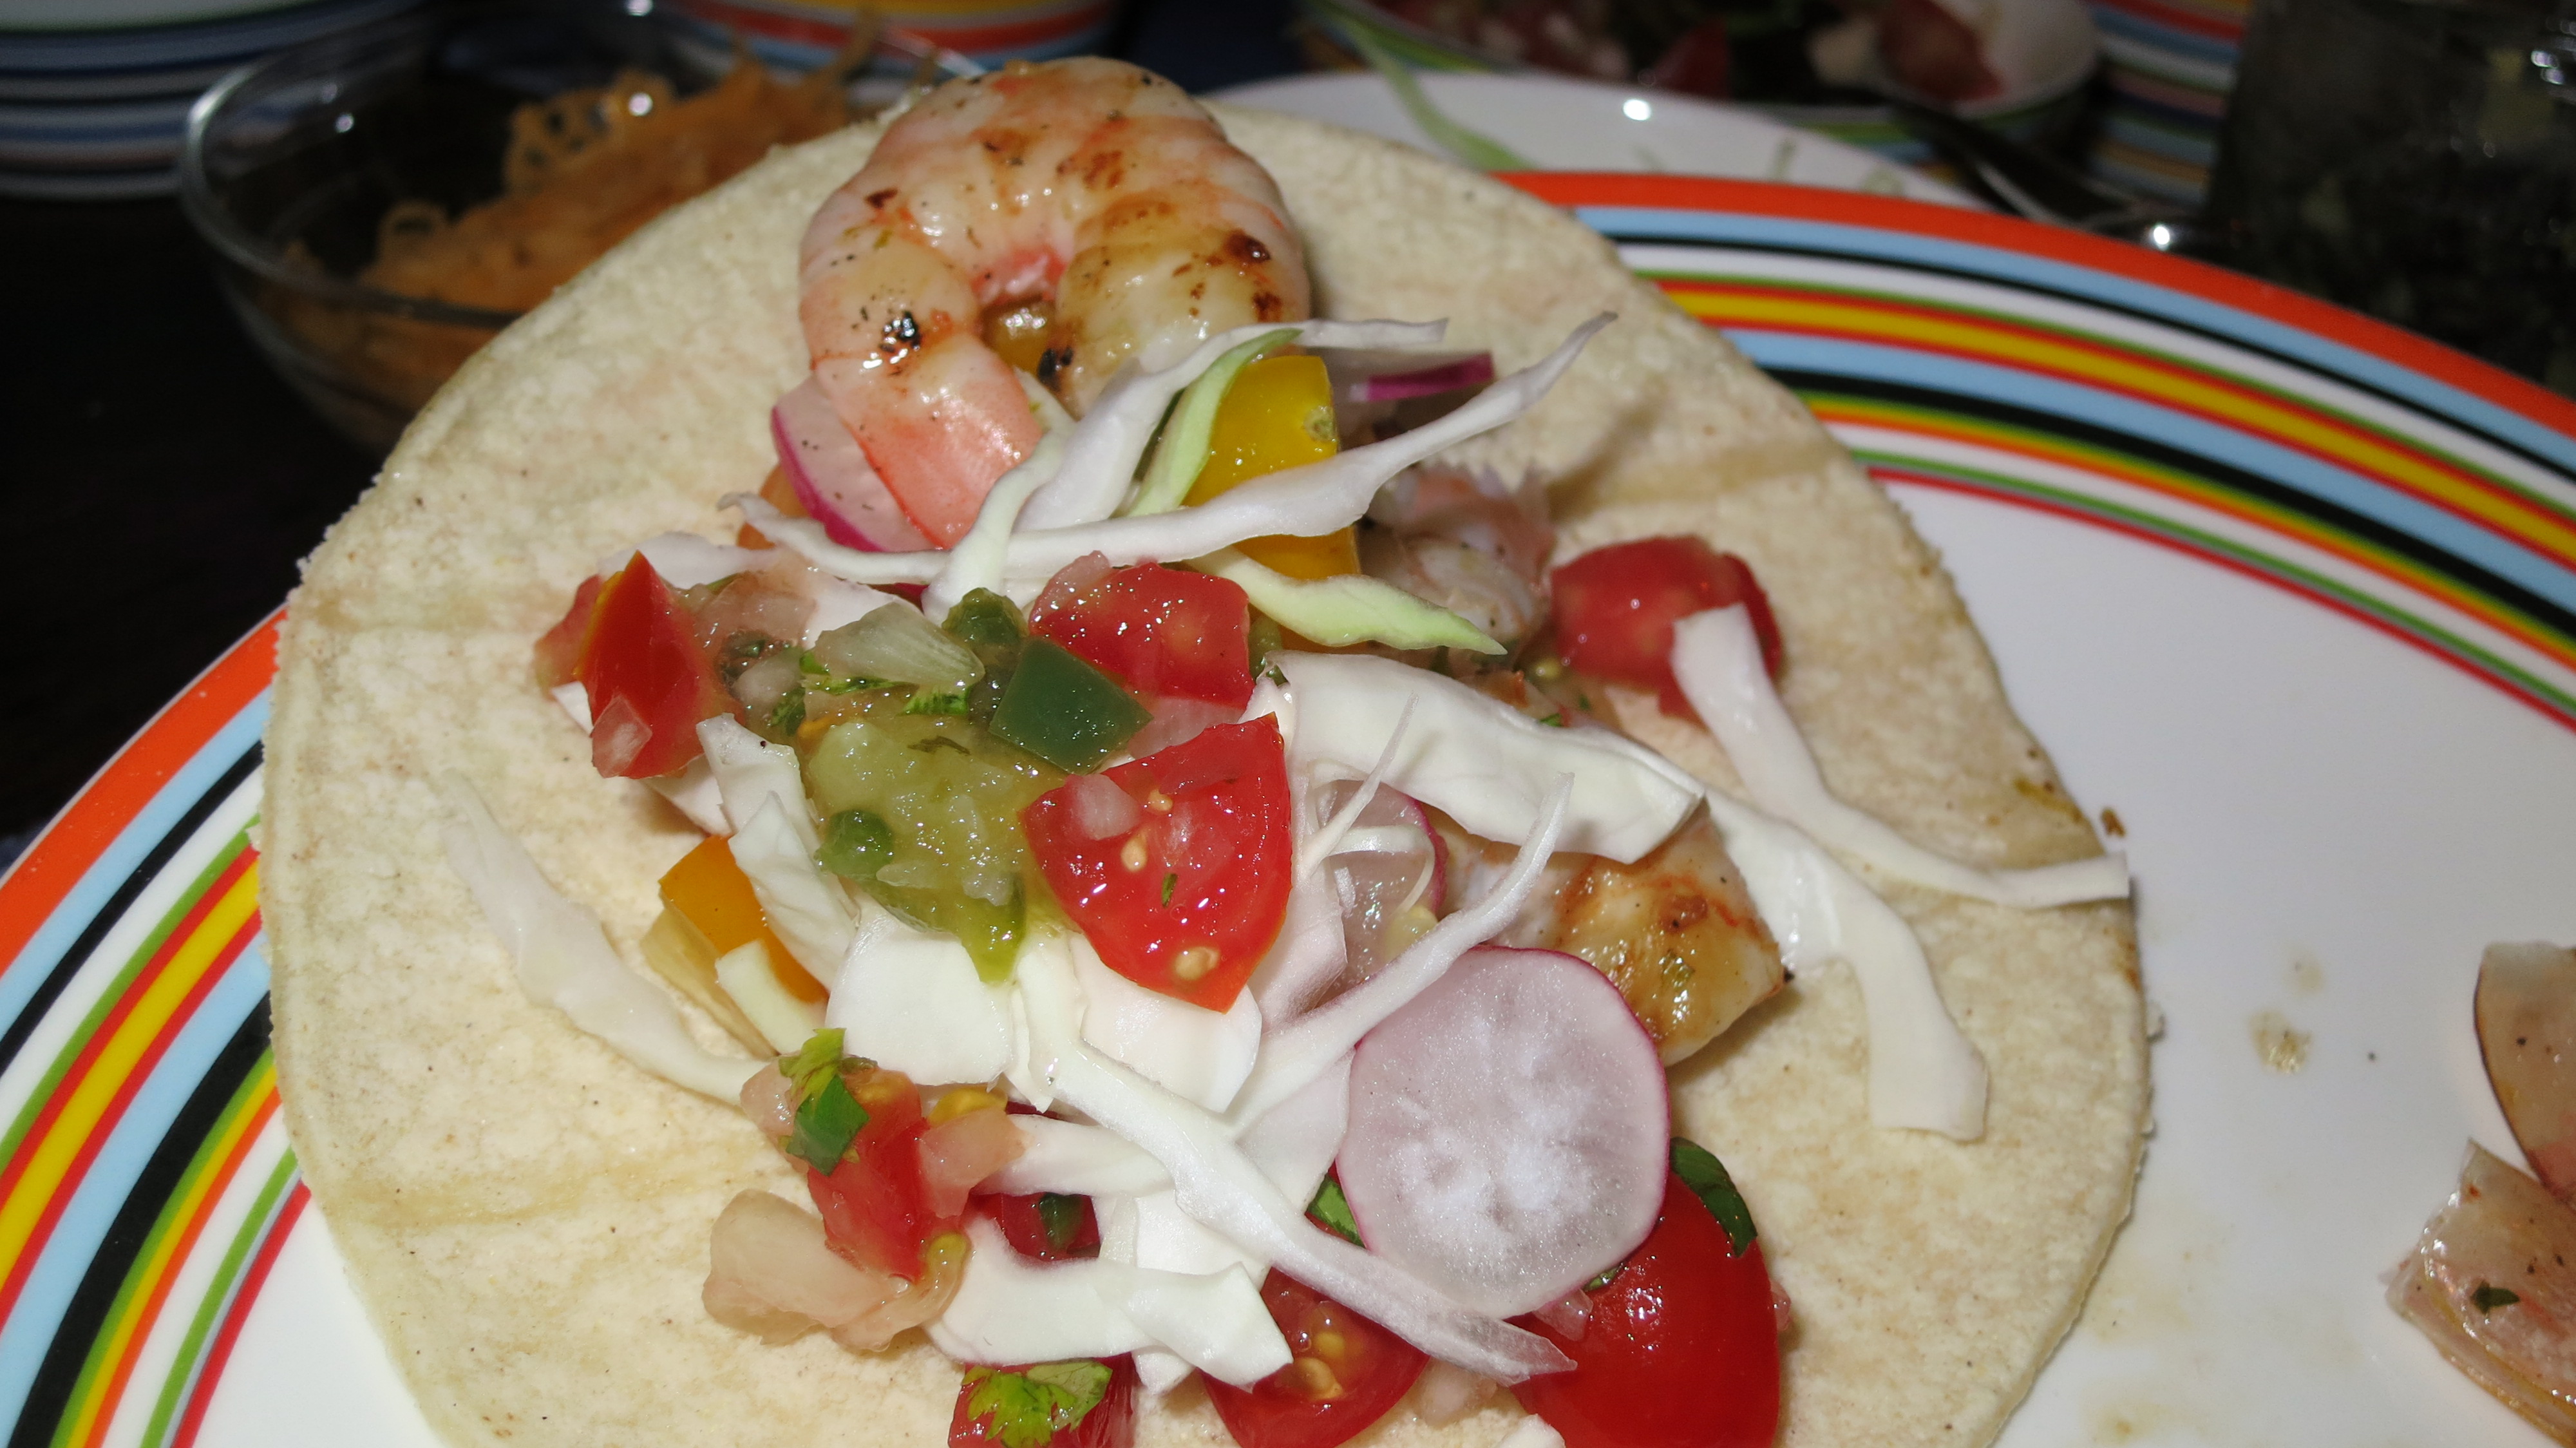
Novagirl, I thought your recipe for Honey Lime Shrimp Tacos was awesome.  I made a few modifications here and there. I added a tablespoon of orange juice to the marinade as I was low on lime juice and used a grill pan to cook the shrimp in my apartment. Here’s the final product:

Honey Lime Shrimp Tacos

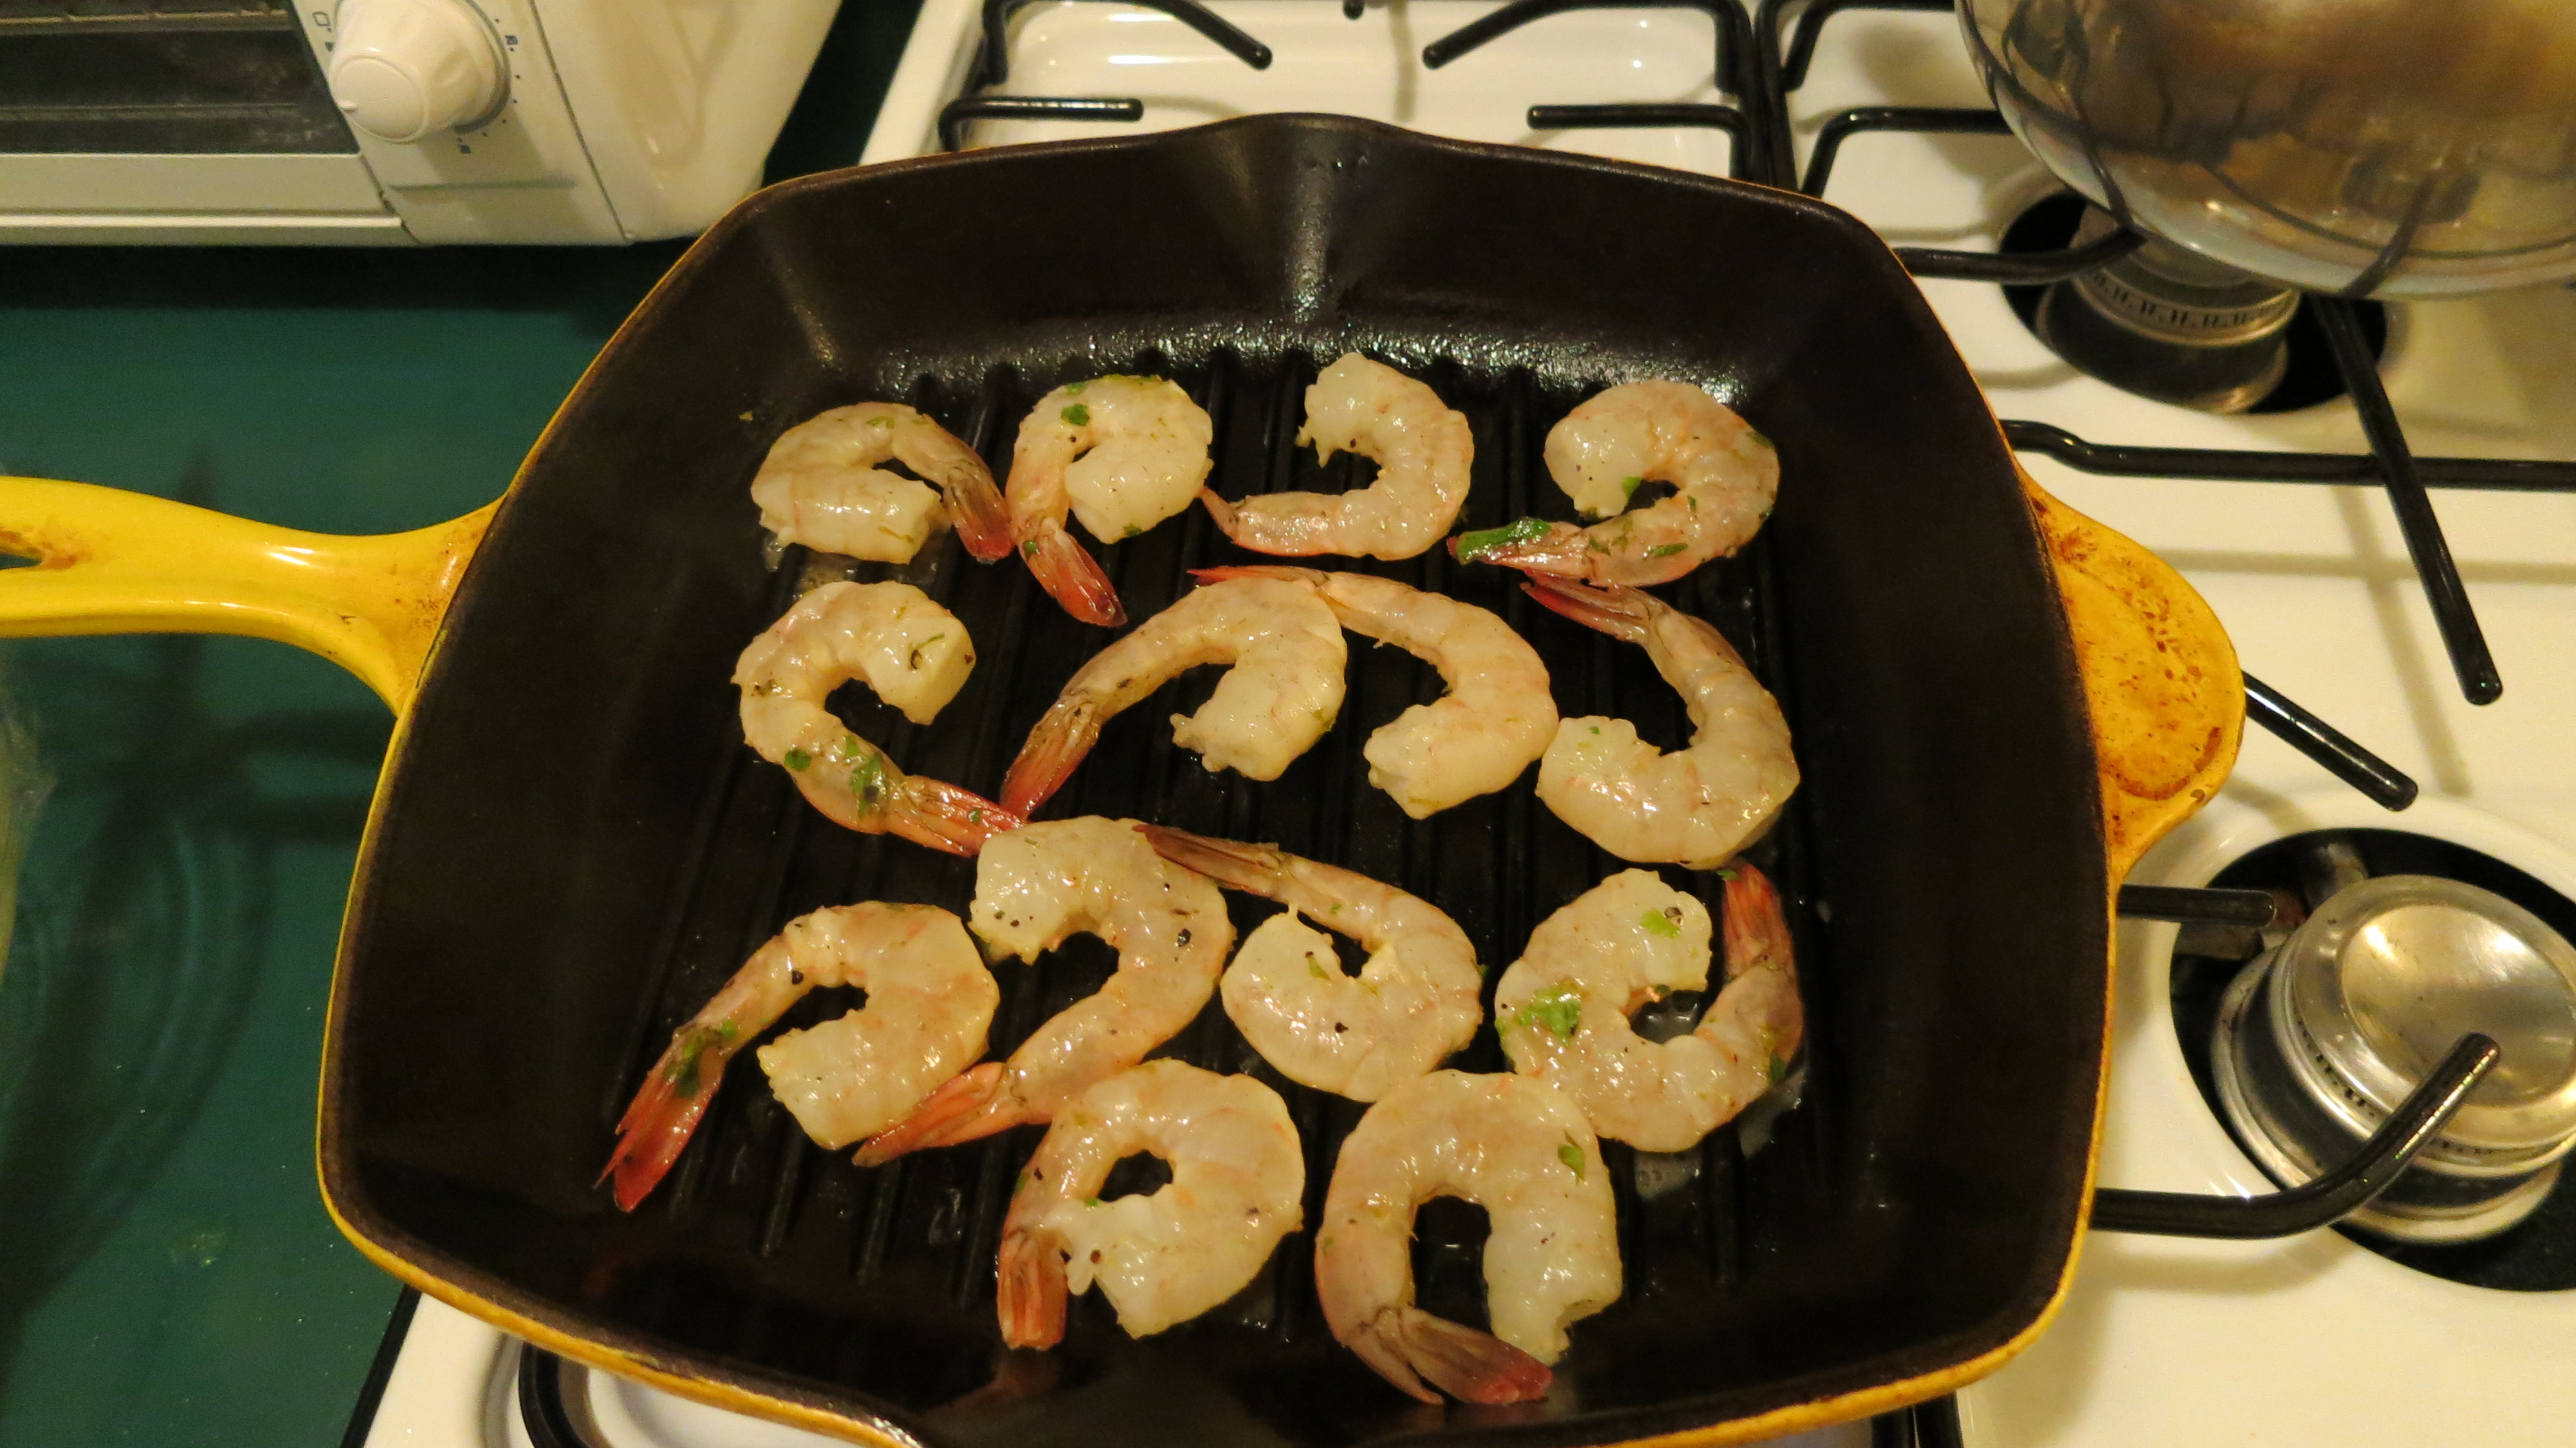
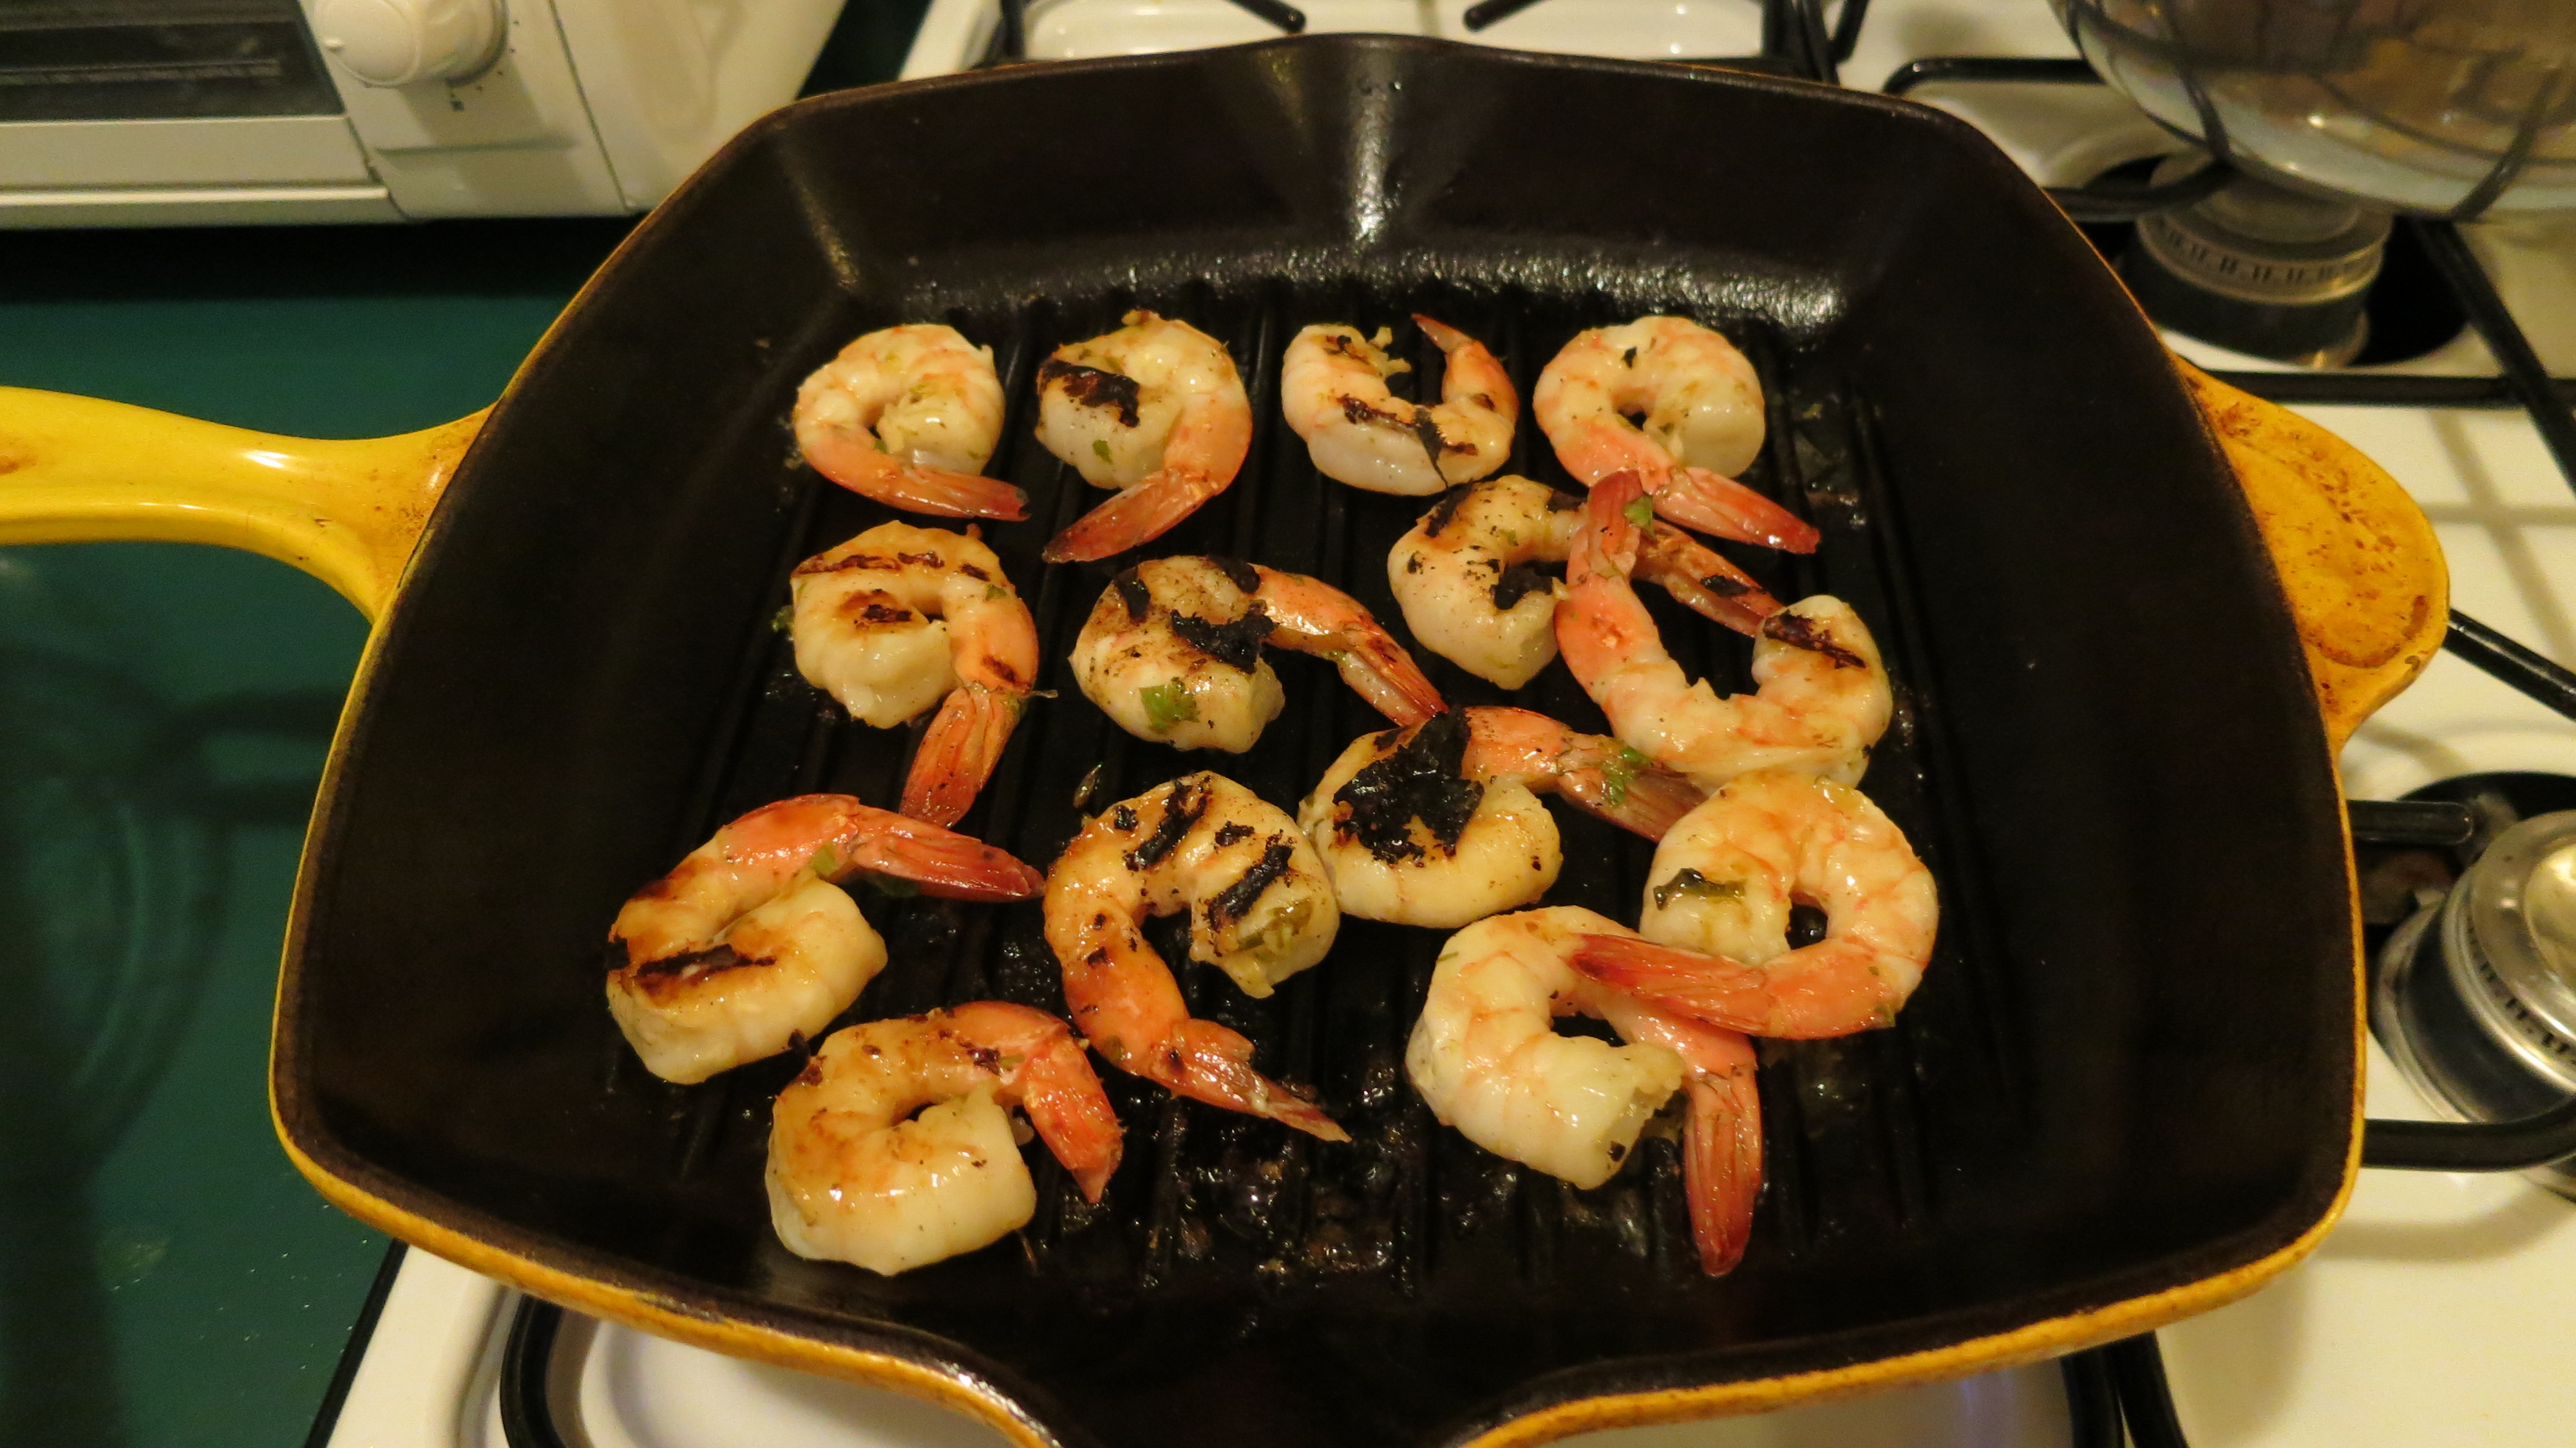
The grill pan worked like a charm. I cooked the shrimp about 2 minutes on the first side, then 1 minute on the second side and they were perfect. Still tender and slightly charred. They missed the smokiness you’d get from a real grill, but this definitely worked in a pinch.

Grilling Shrimp on Grill Pan – side 1

Grilling Shrimp on Grill Pan – side 2

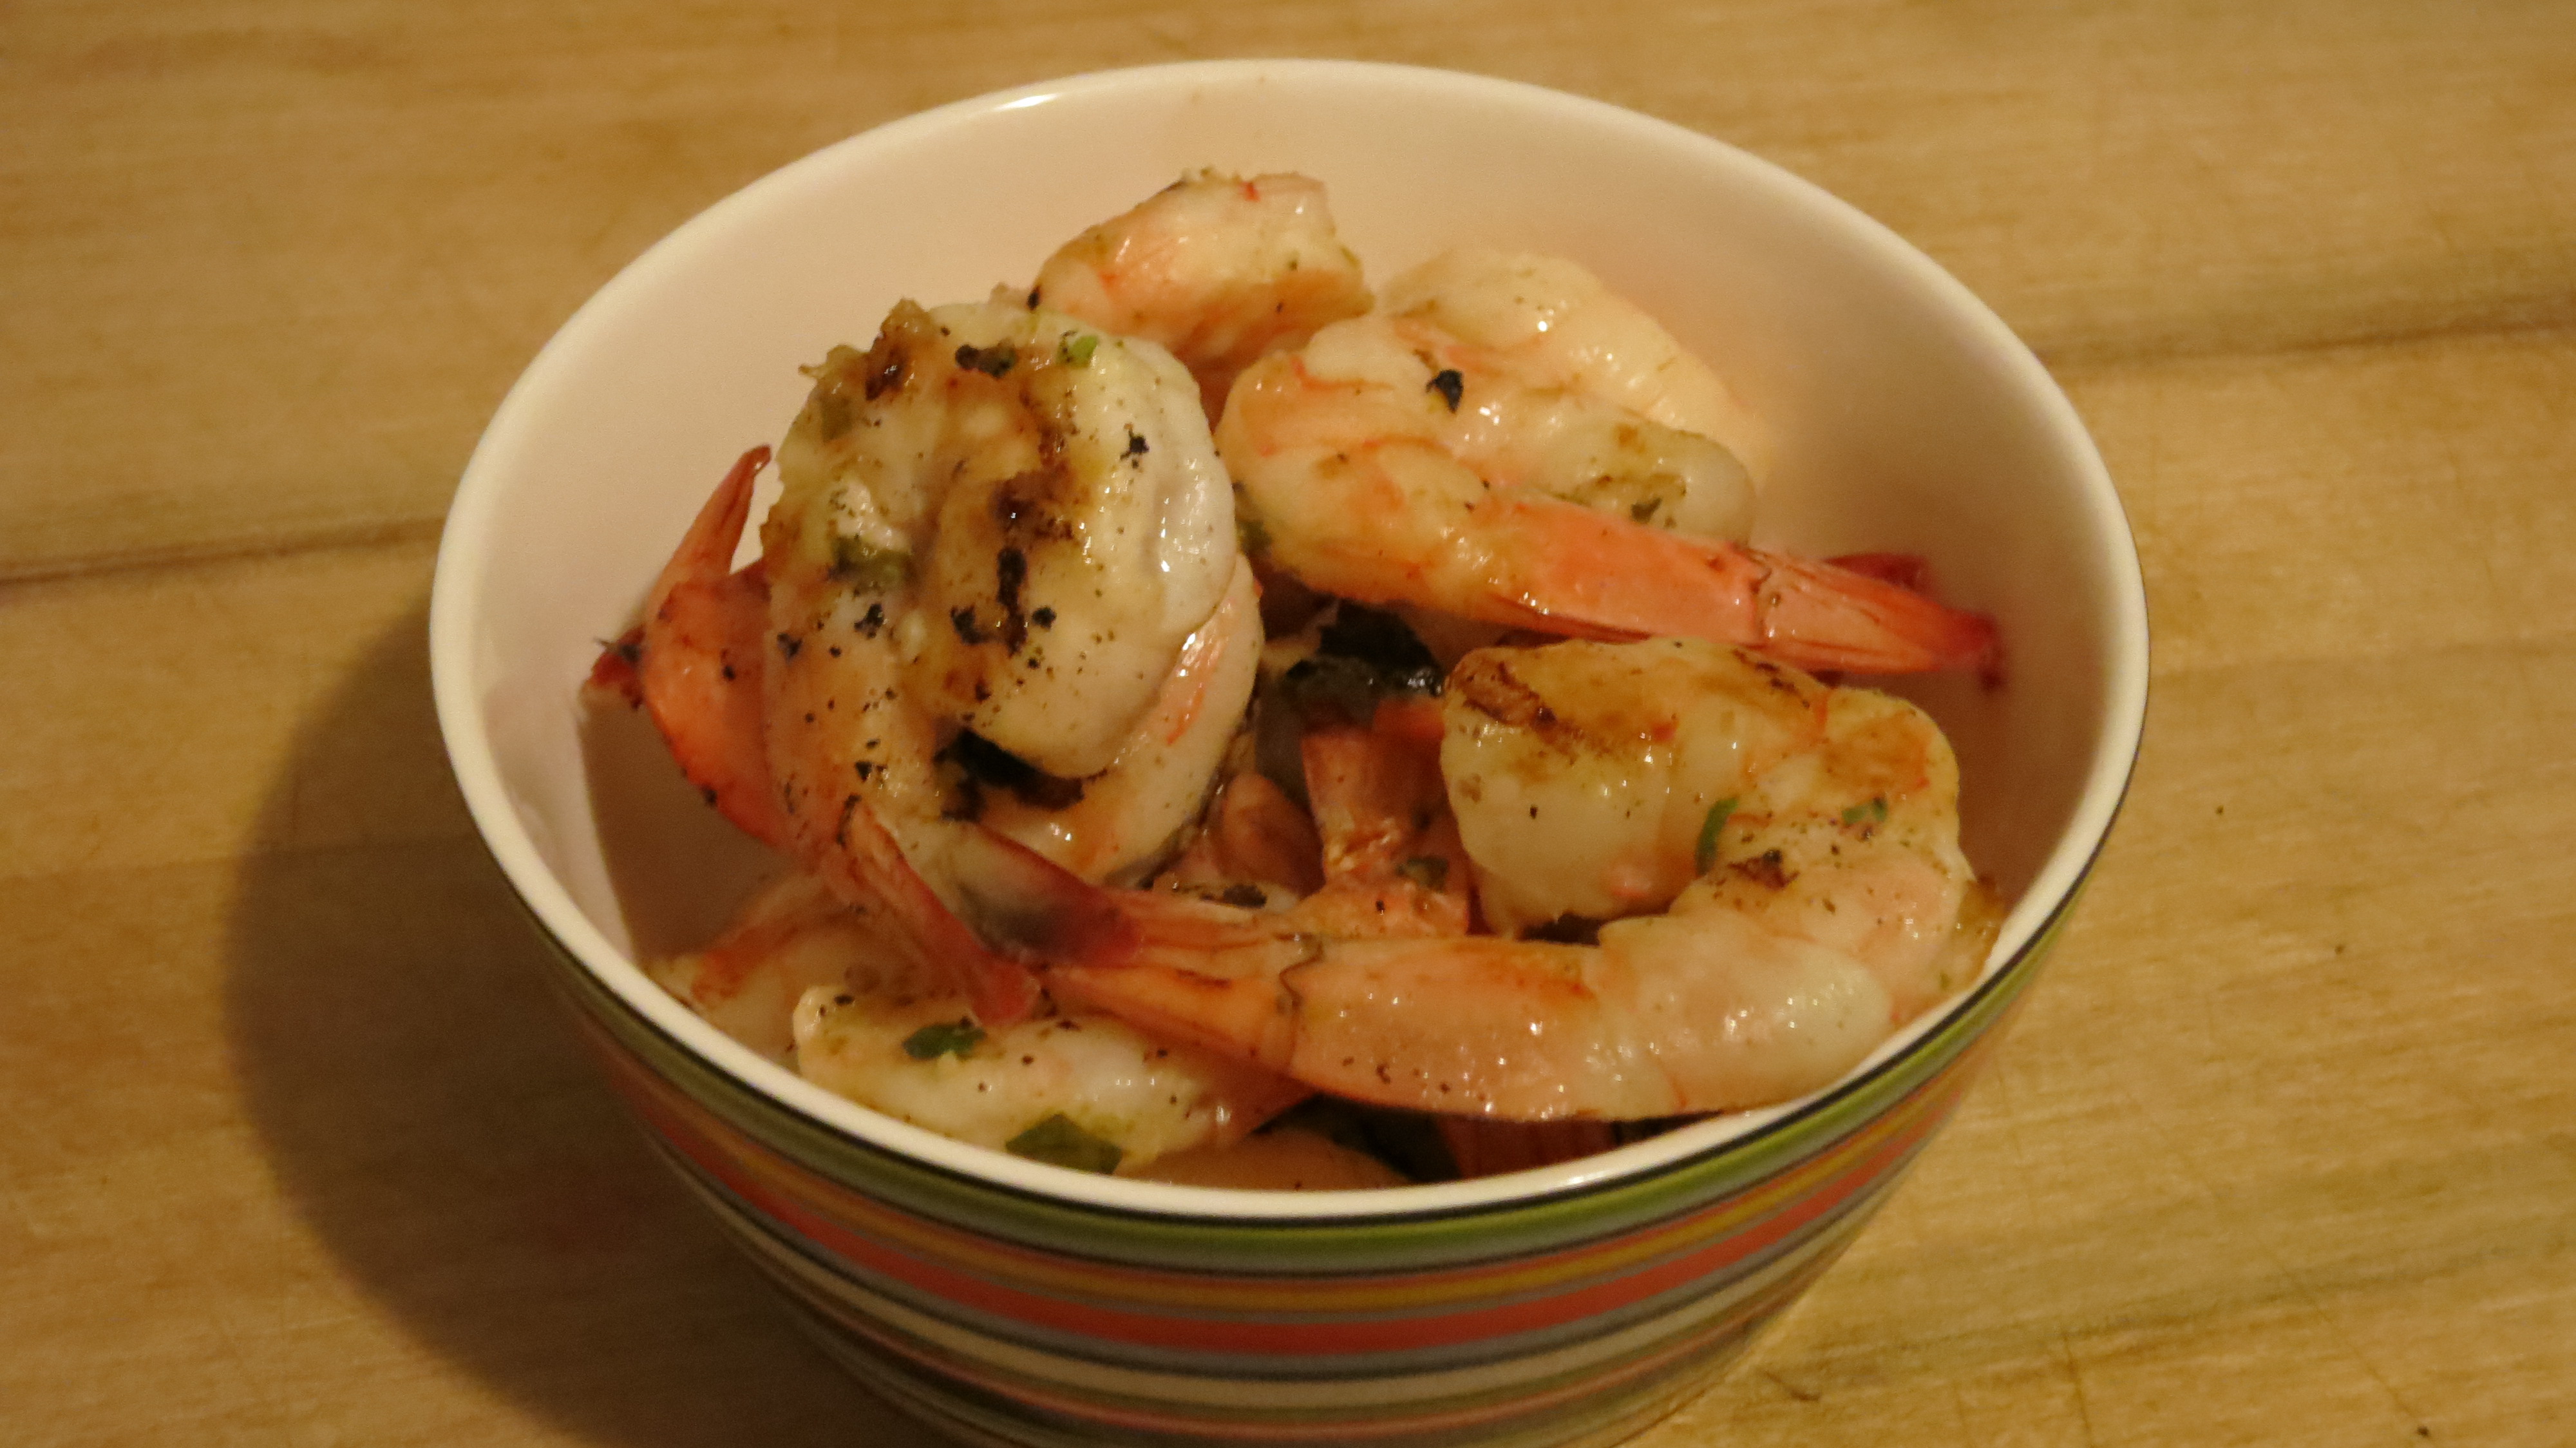
Grilled Honey Lime Shrimp

I was pleasantly surprised at how well the shrimp turned out on the grill pan. Had never cooked them on it before, and it was fast, tasty and gave them nice char marks, too.
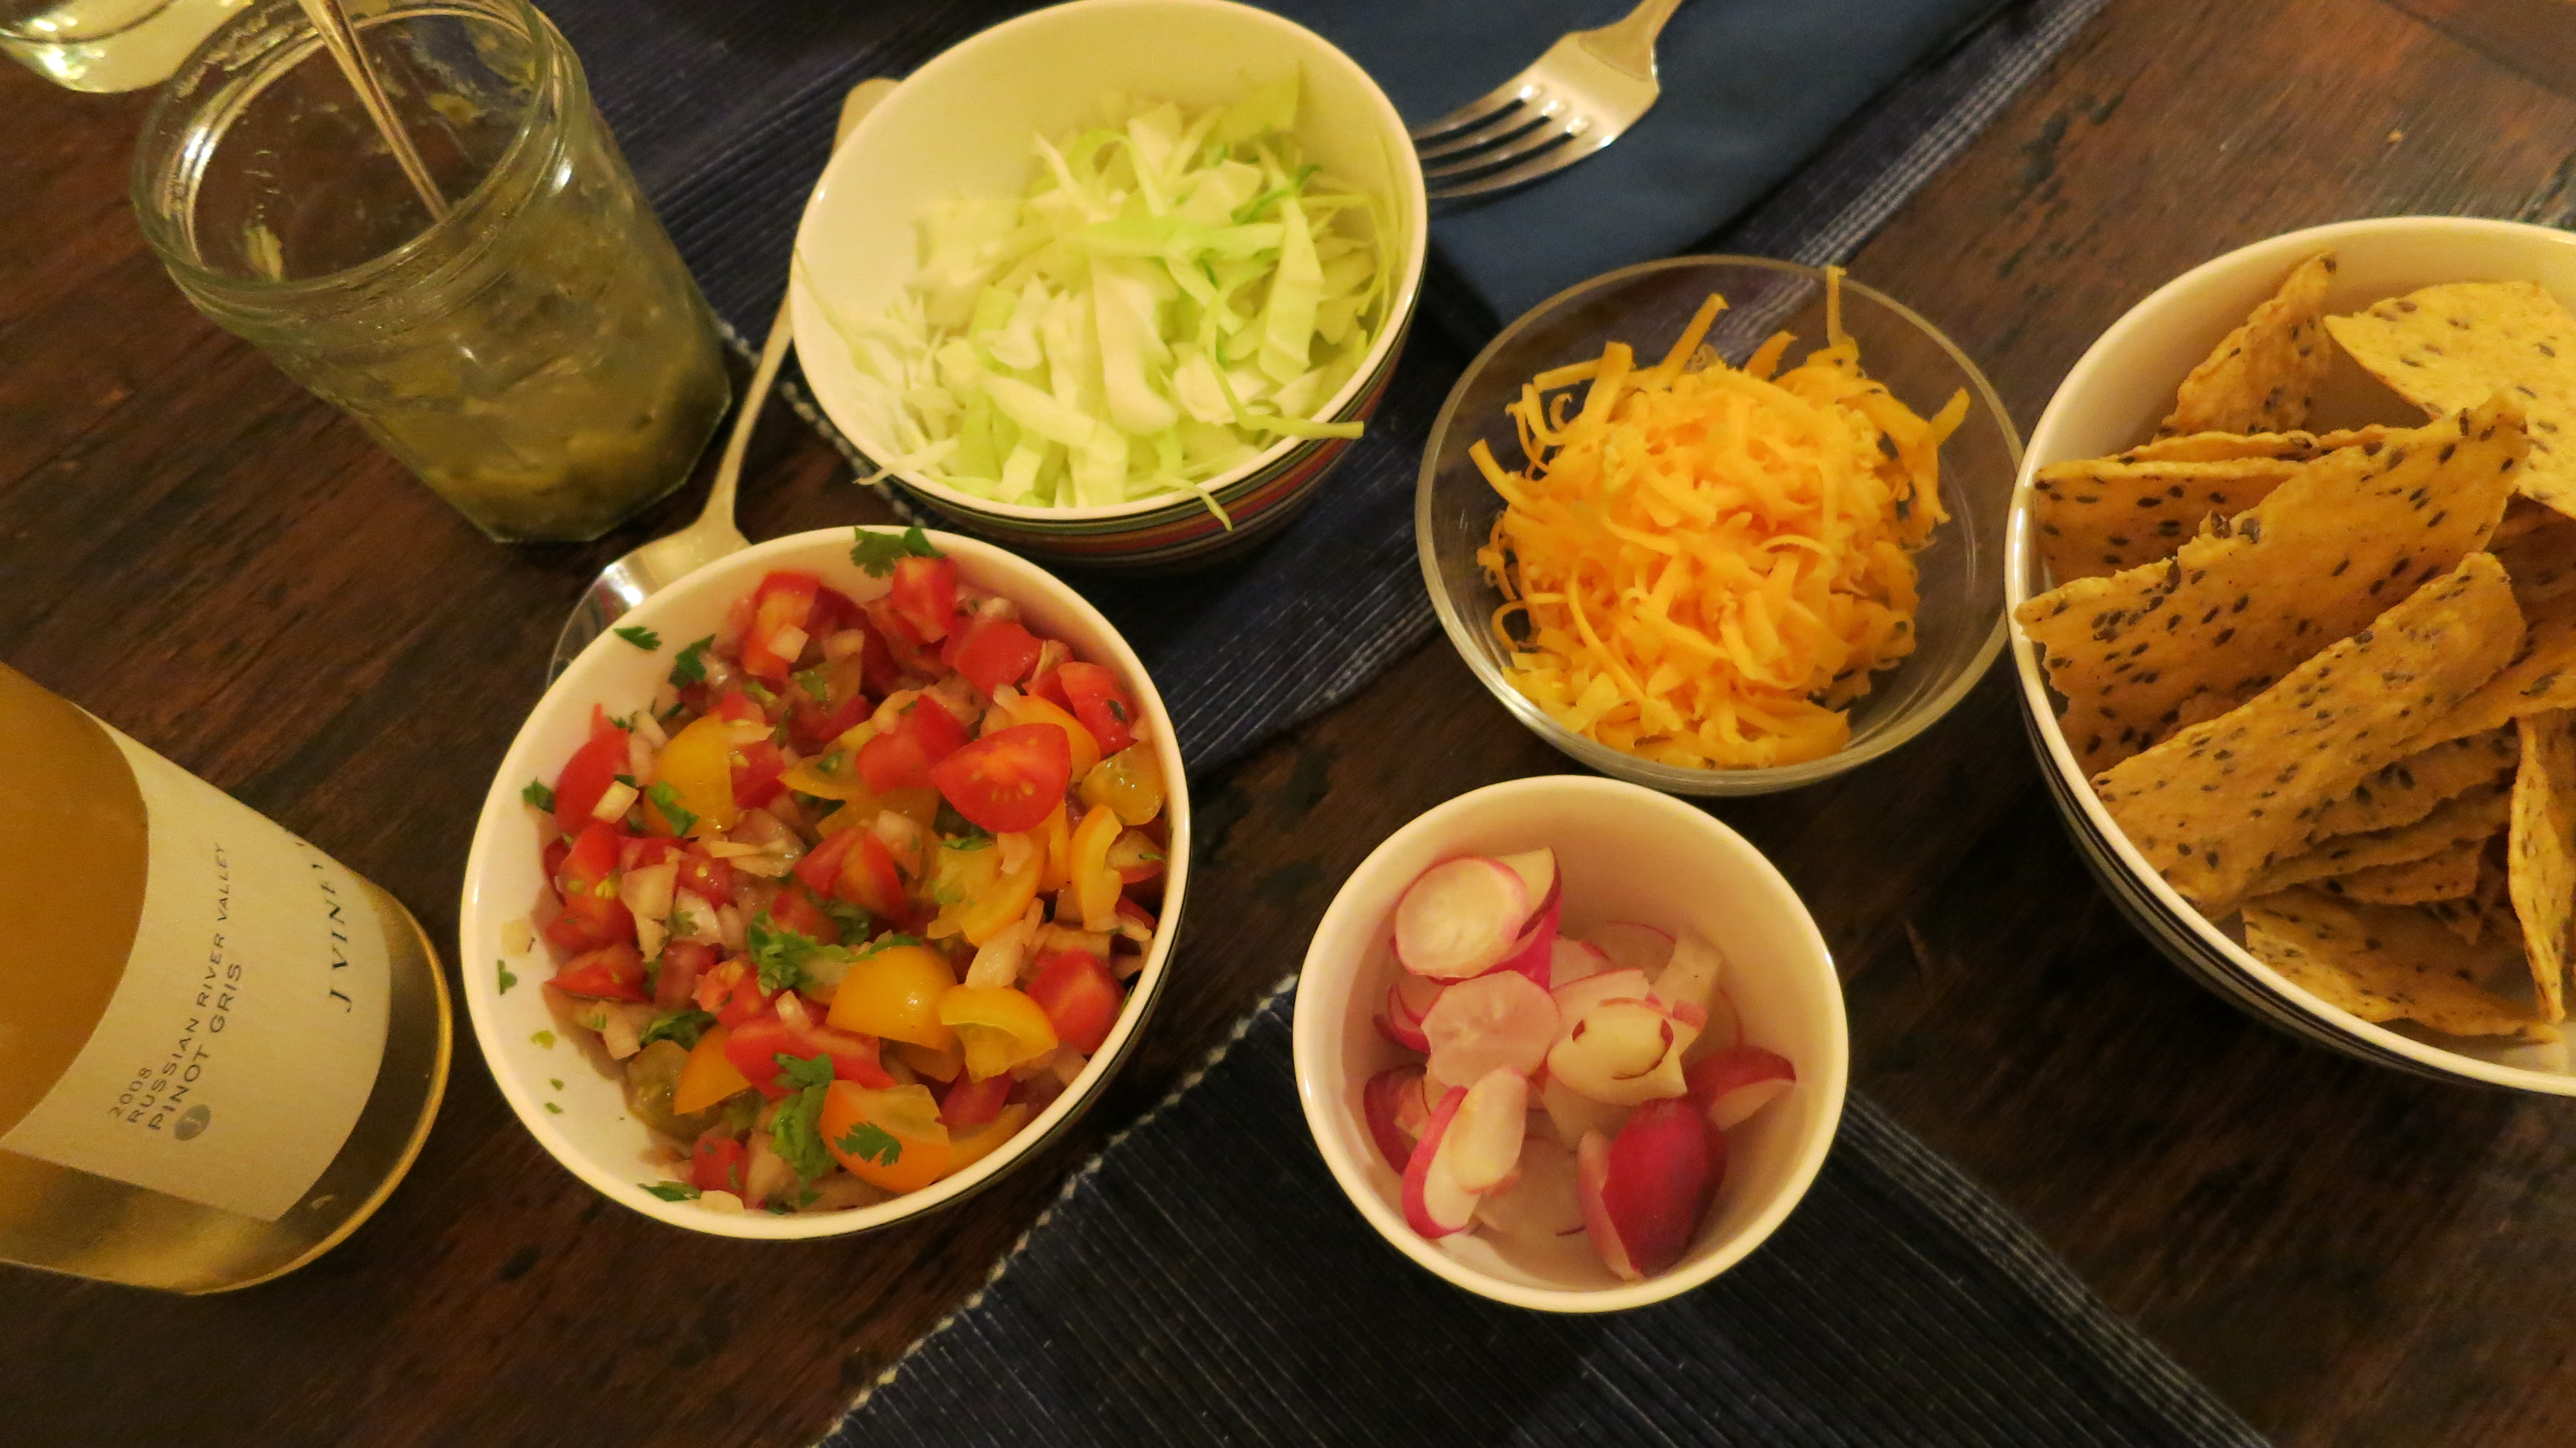
Here is the spread of fixins that I prepared: shredded cabbage, sliced radishes, shredded cheese, salsa verde, pico de gallo, chips and soft corn tortillas.  The cabbage was from my CSA pick-up. and the radishes were a gift from Steve at Berkshire Bounty Farm. As an aside, I still have over half a head of green cabbage left after making a large batch of coleslaw and using it here as an accompaniment to the tacos. It is hard work making use of an entire head of cabbage.

Shrimp Taco Fixins

A few final words on this meal. The shrimp and salsa verde got big thumbs up. The wine pairing of Pinot Gris with the spicy salsas and shrimp worked well, too. The pico de gallo, while easy on the eyes, was lacking something. We thought it was salt, so Hubs added a healthy dash, but that wasn’t it. I think I was too aggressive on seeding the tomatoes, leaving it too dry as I had suspected earlier. Lesson learned.