Apple Picker Extraordinaire

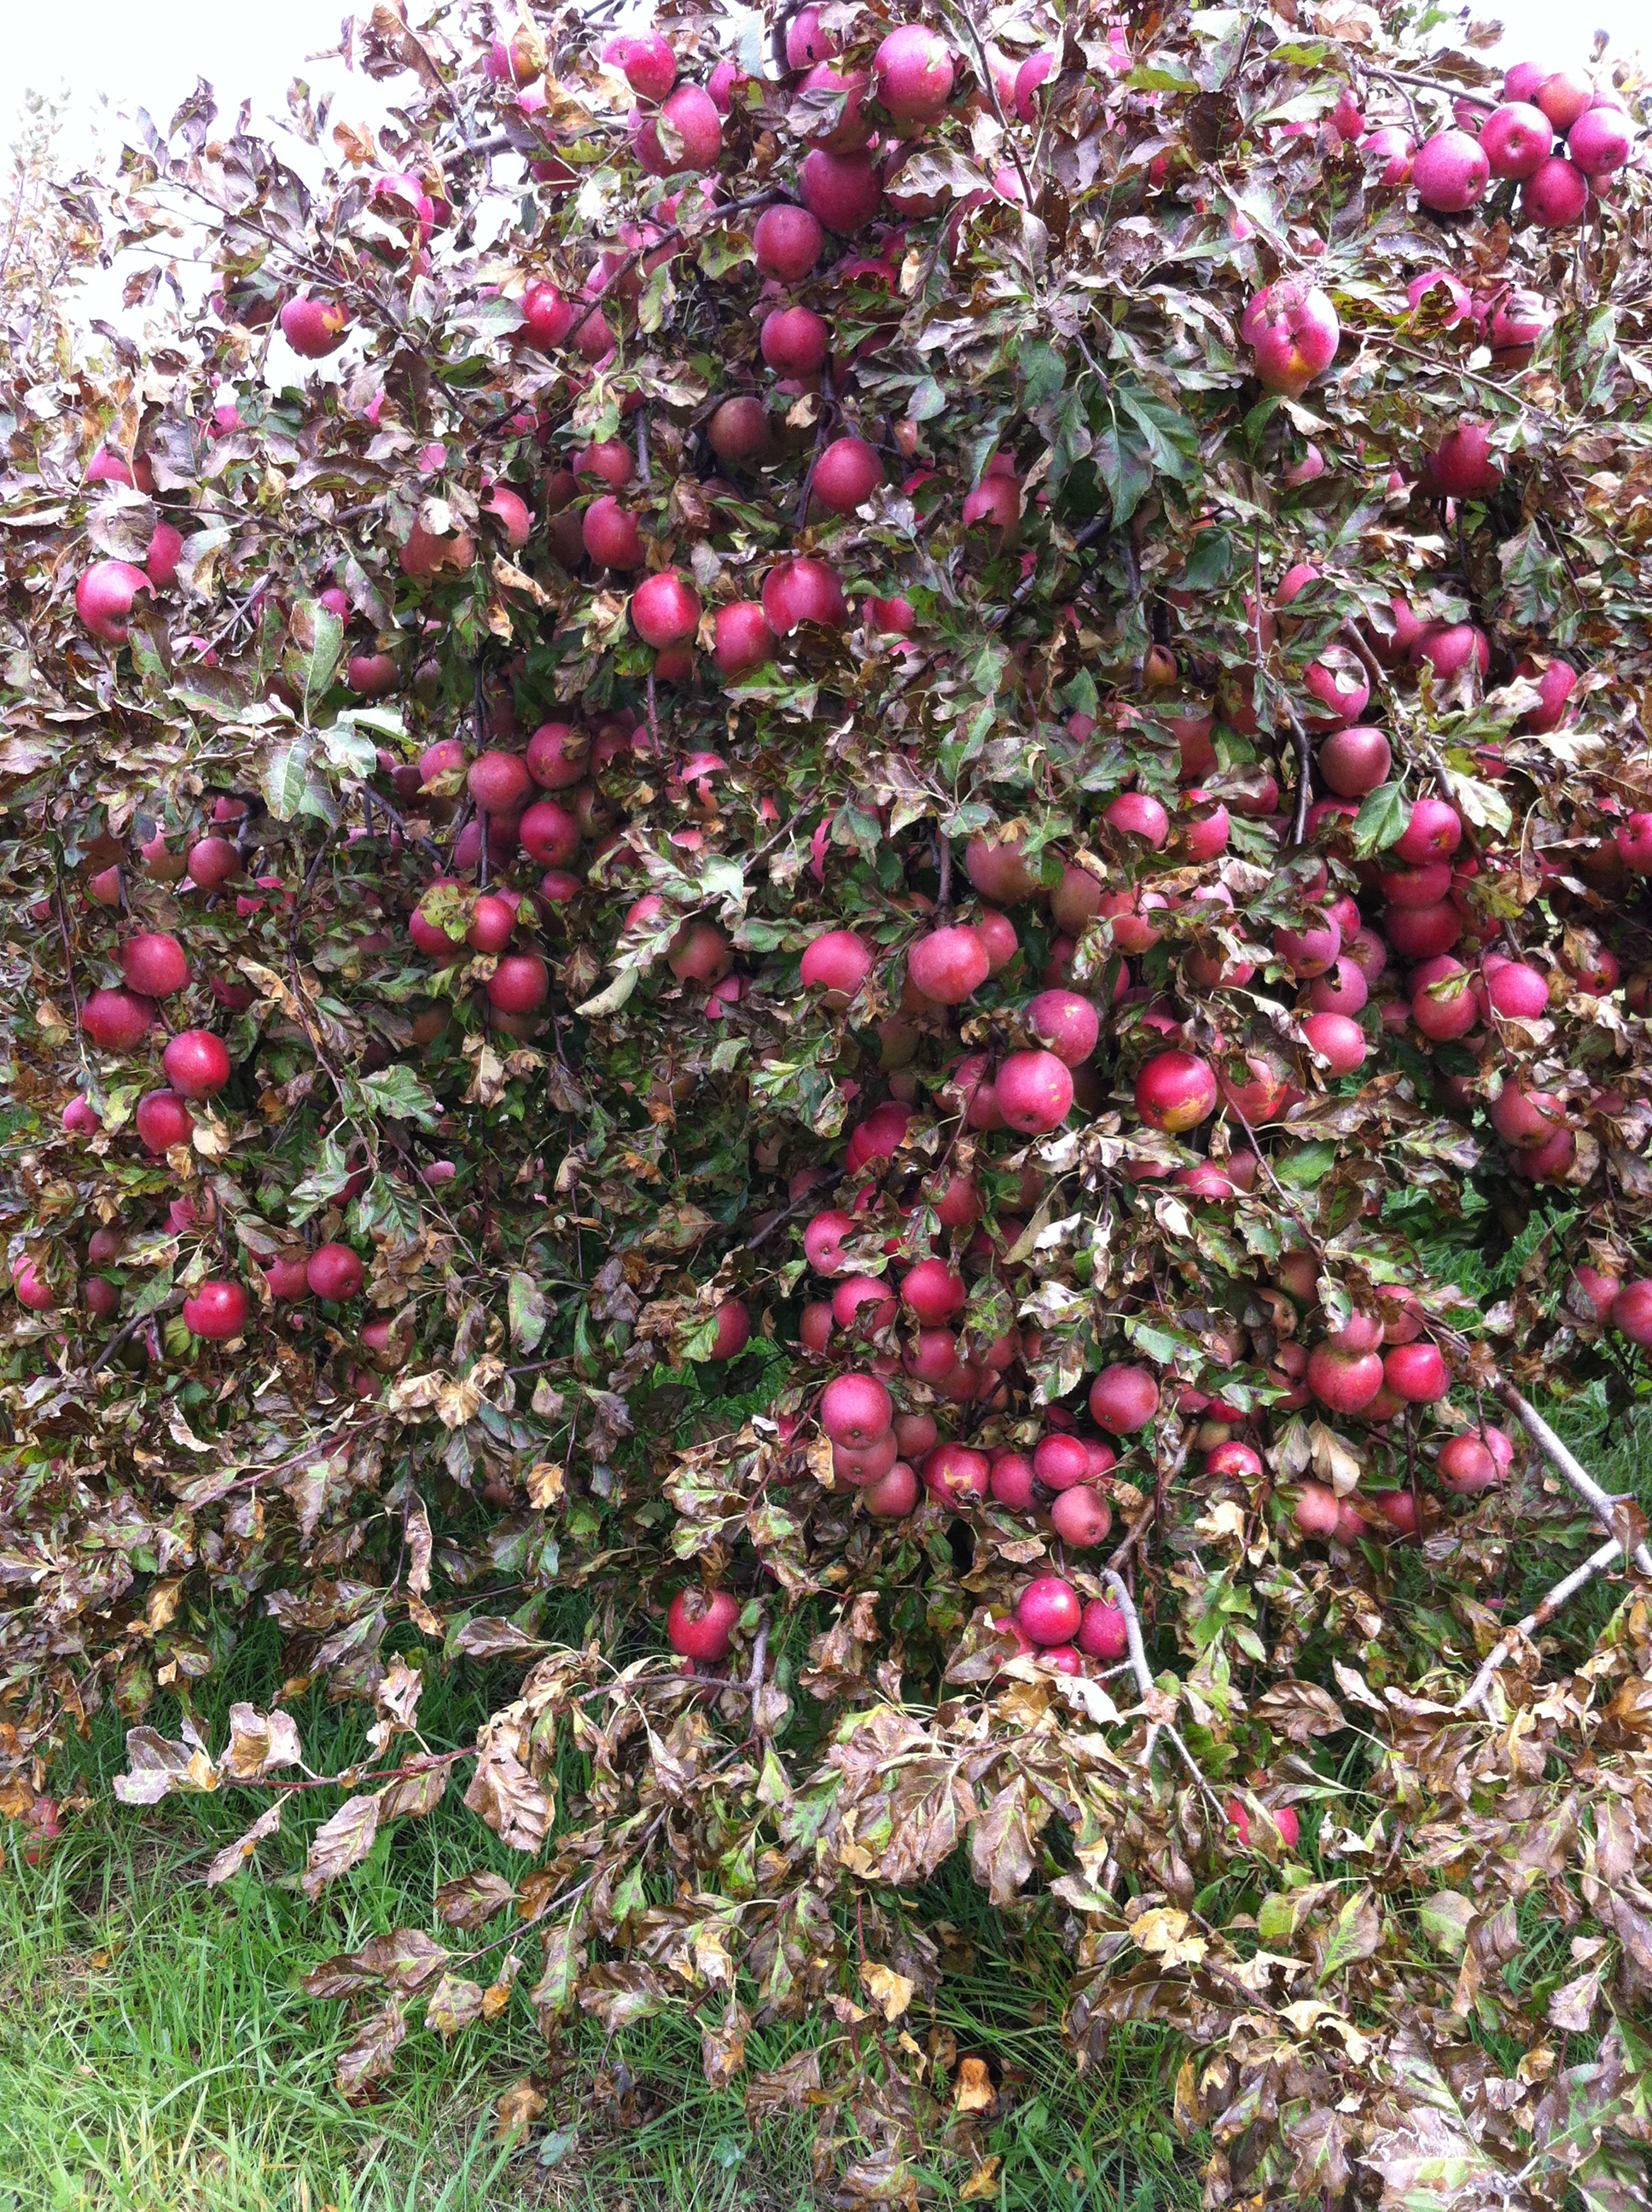
Macoun Apples @ Riiska Brook Farm

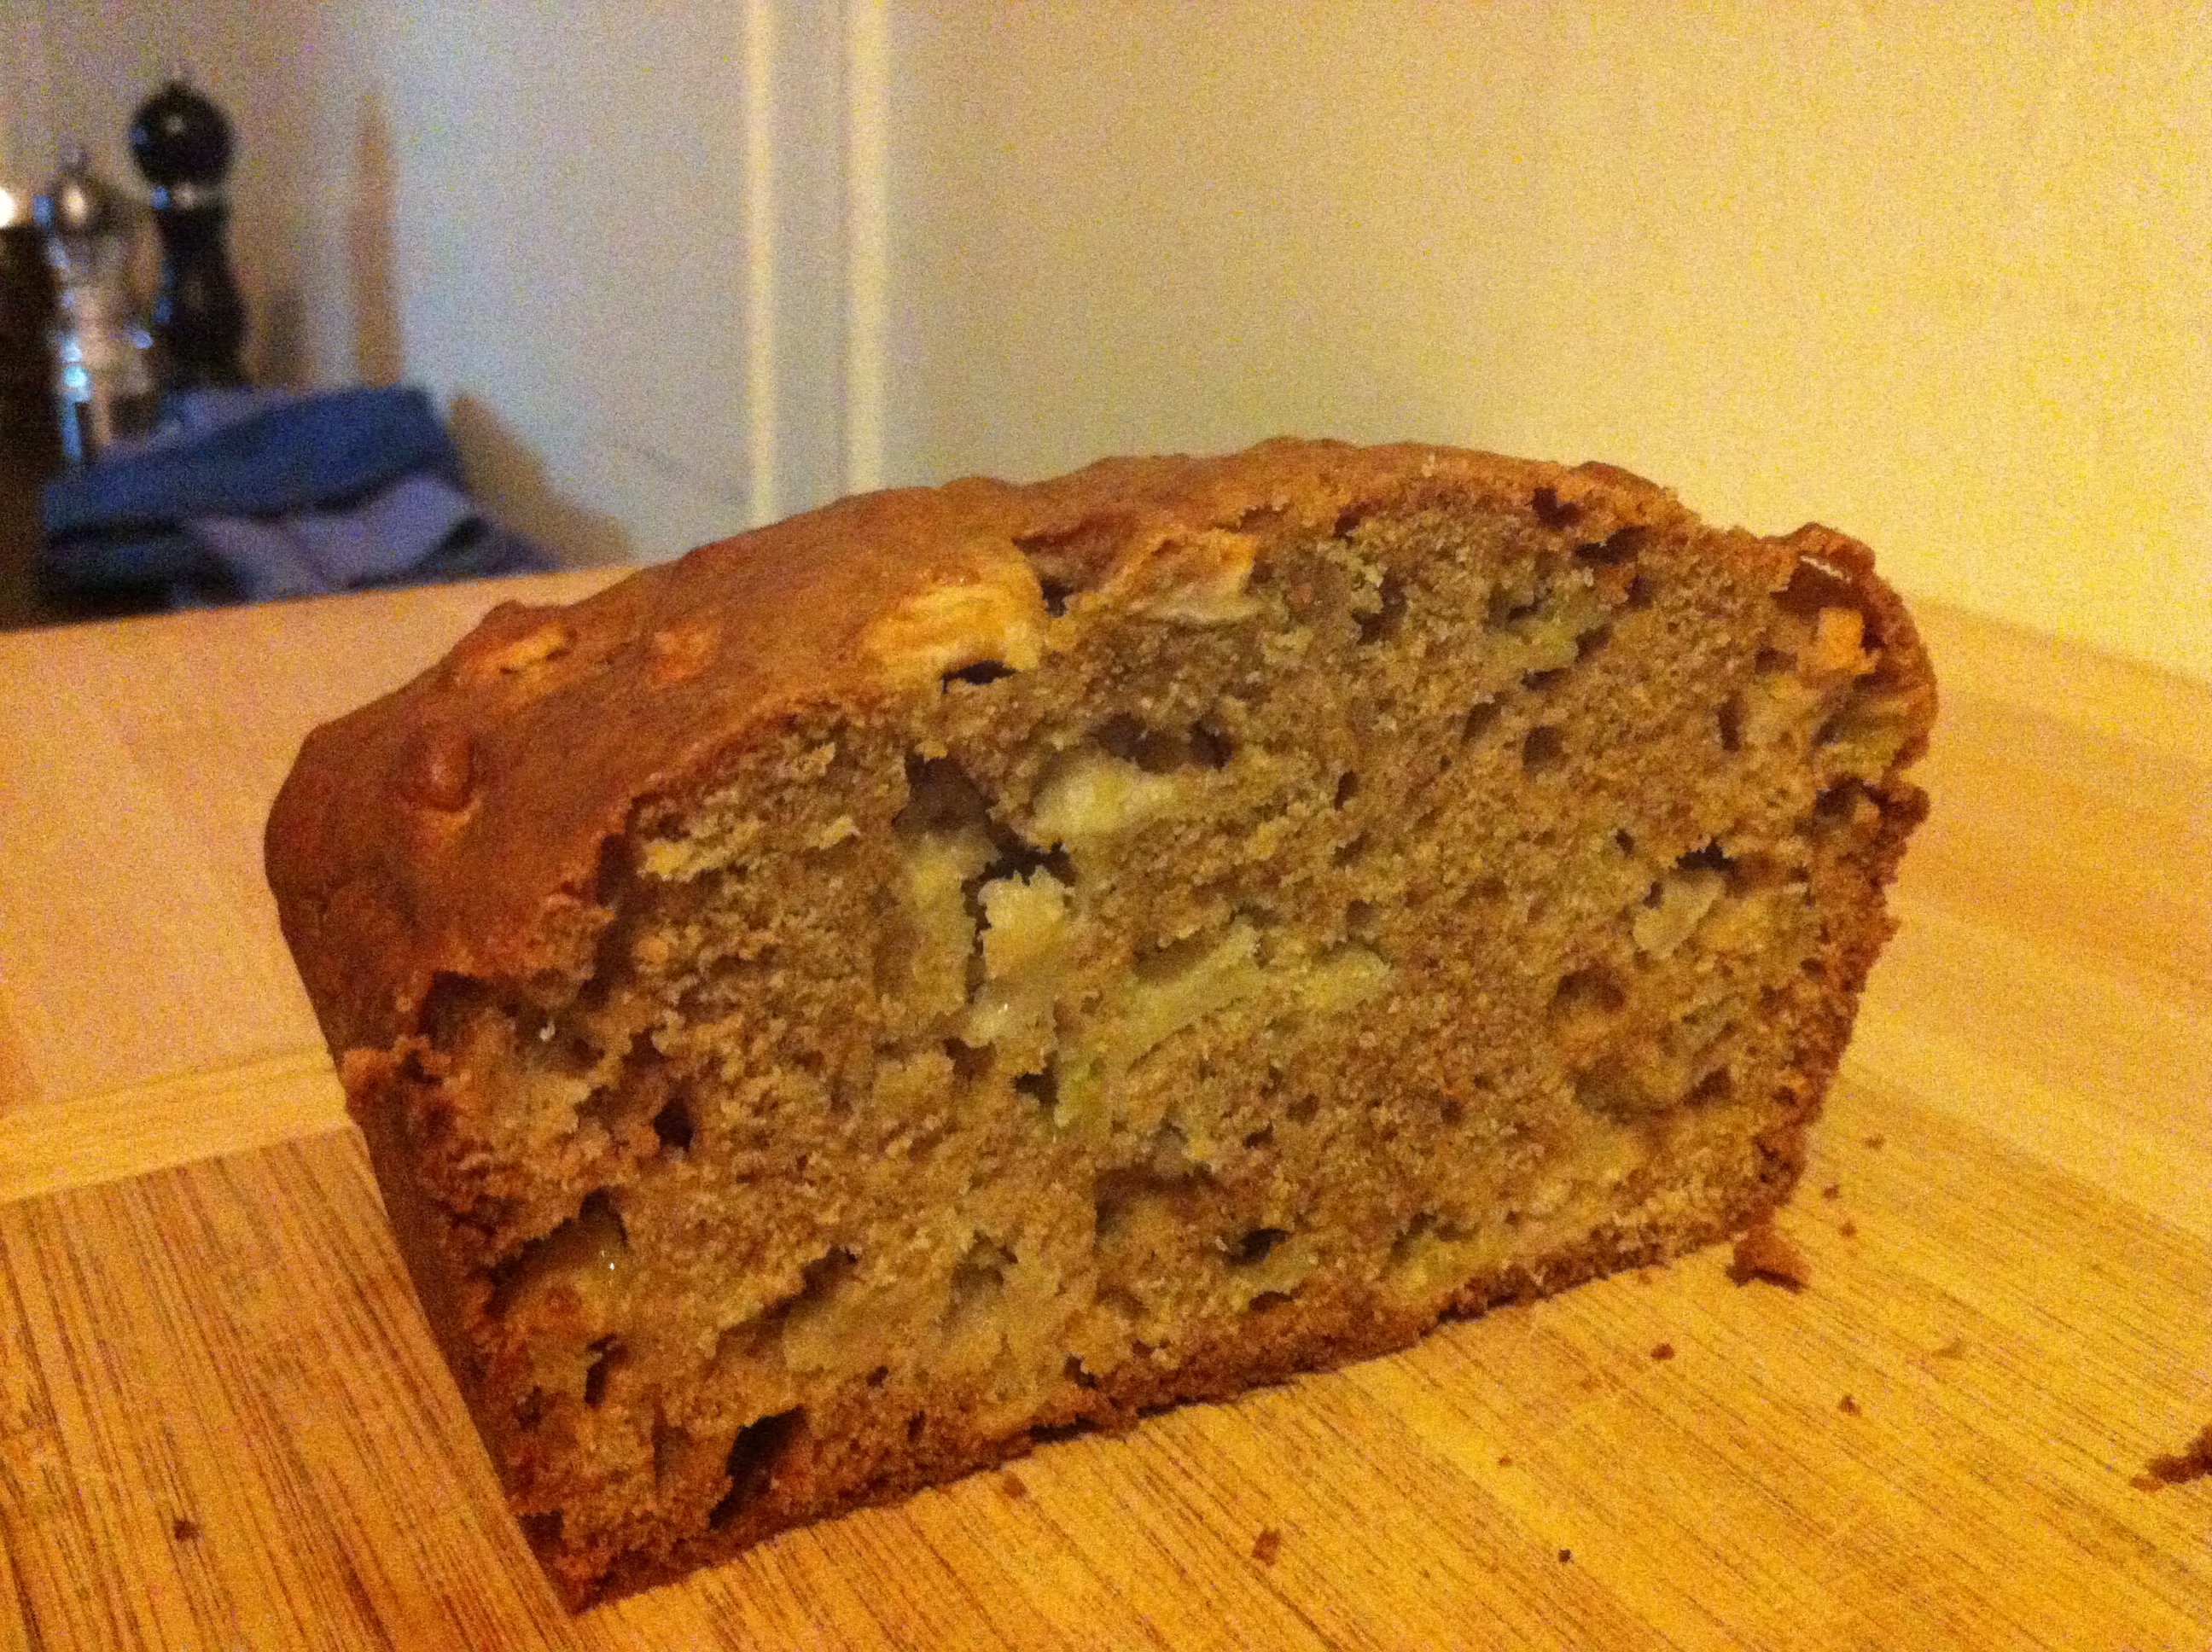
Rustic Apple Orange Quick Bread

Last weekend we visited the lovely and peaceful Riiska Brook Farm in Sandisfield, MA. We were delighted to find the trees laden with apples, begging to be picked. Because of this year’s funky weather, some orchards in the area were hit hard by an early season frost. Apparently, Riiska’s trees suffered no such damage.

After eating more than our fill of crunchy Macoun, Empire, Fuji, Gala and Braeburn apples, I thought of what to prepare with our peck. I was intrigued by the “No Crust” Apple Pie recipe from the From Scratch Club blog and had planned to bake that. But when I awoke unnaturally early on Saturday morning, it seemed more appropriate to bake for breakfast.  I thought about  a variation of the yummy Zucchini Orange bread I baked during the summer. Apples and oranges go together, so why not? I had some OJ in the fridge, too. I consulted a few recipes and not finding one to my likening (i.e., did not want to use shortening), I improvised a little and hoped for the best. Improvising and baking  don’t usually go together, but the quick bread spirits must have been looking favorably upon me. This recipe below produced 2 delicious, moist, rustic and not overly-sweet Apple Orange Loaves.  Yum. I used a mix of apples, and gave them a rough chop. The result made for an attractive loaf, too.

Rustic Apple Orange Quick Bread Recipe

2 cups all purpose flour
1 cup whole wheat flour
1  teaspoons cinnamon
1 teaspoon baking soda
1 teaspoon salt
3 eggs
1 cup sugar
1/2 cup orange juice
1 cup vegetable or canola oil
1 tablespoon vanilla
2 cups, peeled, chopped apples (roughly 3 apples)

Instructions:

Preheat oven to 325 degrees. Grease 2 loaf pans. Mix flour, cinnamon, soda,  and salt  together. In a large mixing bowl, beat eggs and add vanilla, sugar and oil. Add orange juice. Slowly add dry mixture – batter should be quite thick. Stir in apples.

Pour into 2 greased loaf pans. Bake for 1 hour and check for doneness by inserting a toothpick. Bread is ready when it is lightly browned on top. Raise temperature to 350, if needed, and bake an additional 10-15 minutes. Remove from oven and place loaf pans on wire rack to cool for 10 minutes before removing from pans. Enjoy.

Yield: 2 loaves

Apple Picker Extraodinaire @ Riiska Brook Farm

Tuesday night and What’s for Dinner? Roasted Cod with Garlic Bread Crumbs

Hyper-local radish toasts, Roasted Fresh Atlantic Cod from Iceland (ok, not local, but sustainable) with homemade garlic bread crumbs, and green salad with balsamic vinaigrette. The radishes are the last of this summer’s – proud to say we grew them in our recently moved raised bed. I read somewhere that radishes are the EASIEST vegetable to grow. We have had 3 or 4 failed crops until now. Clearly, I should stick to the kitchen. The cod is from Whole Foods (along with the greens), and the bread crumbs I made a few weeks ago.

This post will contain a few tips and one quick and easy weeknight recipe.

Surprisingly good: Radish Toasts

Tip #1: Radish toasts (or crostini or bruschetta if you want to get fancy) are an easy to make hors d’ouevres or starter that appears much fancier than it is (that is, if you like spicy, crunchy radishes). Slice up some baguette and some breakfast radishes, put a generous daub of butter on one side of the baguette slice, place a few slices of radish on top and sprinkle with good sea salt. Rinse, repeat, indulge. Yum!

Tip #2: You are literally throwing money out the window if you buy breadcrumbs in the store. I have seen a small bag sold for $5 or $6 in the specialty foods shop. Next time you have a day old baguette or Italian bread, don’t toss it. Hold on to it for another day or two until it is completely dried out/stale. Once it feels like a baton, take it to a box grater and go to town. It will make a bit of a mess, but grate the baguette like you would a carrot and ta-da, you’ve got homemade bread crumbs you can store in a glass jar on the shelf for months. The important thing is to make sure there is no more moisture in the bread, otherwise you’ll have mushy, and eventually, moldy bread crumbs. You can also cube it and put it into the food processor to make bread crumbs (less muscle), or make croutons out of them for your salad or soup (more effort).

Tip #3: Easy weeknight recipe that’s healthy to boot:

Roasted Cod with Homemade Garlic Bread Crumbs

  • 2 cod (or other dense white fish) fillets, about 6-8 ounces each
  • 1/2 cup homemade bread crumbs
  • 2 tablespoons olive oil
  • 1 garlic clove, minced
  • few sprigs parsley, chopped (or other fresh herb)
  • Salt and pepper
  • Lemon slices (for garnish)

Instructions:

Heat one tablespoon of olive oil in small pan over low-medium heat. Once heated, add garlic and saute for 1-2 minutes until fragrant, but don’t burn it. Add bread crumbs, salt and pepper and any other spices you’d like. Sautee for 5-6 minutes until bread crumbs are toasted evenly, but again, be careful not to burn (apparently, I do this frequently). Add parsley and mix, set aside.

Heat oven to 450 degrees. Place cod on a baking dish and drizzle remaining olive oil on fillets, sprinkle with salt and pepper. Place in oven. Turn 1/4 after 2 minutes, and repeat until last side is reached. Then remove baking dish and spoon bread crumbs on top. Bake cod for another 2 minutes, checking to ensure that bread crumbs are browning, not burning. Remove from oven and place on plate. Garnish with lemon, if desired, and more parsley.

Homemade Edamame Kale Quinoa Inspired by the Specialty Foods Counter

They say never to go grocery shopping when you’re hungry. I was so tempted to load up on prepared foods yesterday at Guido’s Marketplace in Great Barrington, but used my limited will power to stave off the urges. Guido’s Quinoa Edamame Salad (pictured below) looked divine  on an empty stomach. I liked that kale was one of the ingredients – it basically makes any recipe healthy in my book – and edamame, too (super food + protein). I nearly ordered a large container when I remembered that I had a bunch of kale in my CSA pick-up, and since it had been frosty, it needed to be prepared pronto.  Hold up, wait a minute, I was going to prepare this from scratch. I snapped a picture to capture the ingredient list (thank you, Guido’s) and hurried to the check-out counter.

Tempted: Quinoa Edamame Salad @ Guido’s Marketplace

While I unloaded the cart, I started making my mental map of prep steps.  I didn’t know the quantities, or the preparation instructions, but I was willing to wing it, even work under pressure as my belly was grumbling.  The first step would be to cook the quinoa (brilliant, I know). While the quinoa cooked, I’d prepare the vegetables and herbs (edamame, kale, parsley) and whip up the dressing. Mind you, these are all assumptions that I made.

I did a quick search online to confirm the cooking time for quinoa and found a great tip fromThe Kitchn blog. While boiling the quinoa, add a whole clove of garlic and a branch of rosemary to add an additional layer of flavor.  I loved this – the quinoa simply prepared like that tasted good enough to eat. But I powered forward, and to cut to the chase, the dish turned out great. If I had had more foresight, I’d have asked for a sample of Guido’s, so I would have had a taste benchmark as well. But, for a visual comparison, you can see my dish below. Not bad on the eyes, and pretty darn good on the palette. Recipe below photo for the adventurous.

Craving satisfied: Edamame Kale Quinoa Salad

Ingredients:

1 cup dry quinoa
2 cups water or broth
3 cloves garlic peeled, 1 smashed, the other 2 cloves minced
1 sprig of rosemary (optional)
1 tablespoon lemon juice
5 tablespoons olive oil
1 cup of edamame (if frozen, prepare according to package)
1 bunch of kale or tuscan kale, center ribs removed
1/2 cup of flat leaf parsley, washed and chopped
1-2 dried chili peppers (optional)


Instructions:

Rinse the quinoa well. Put the quinoa and water or broth in a small saucepan, add 1 clove smashed garlic and sprig of rosemary (if using), and bring to a boil. Cover and simmer for 15 minutes until all water is absorbed. Fluff with fork and let cool.

While quinoa is cooking, steam kale for 2-3 minutes. Remove from steamer with tongs and chop roughly. Place kale, chopped parsley, and edamame in mixing bowl. In a smaller bowl, prepare the dressing by combining remaining garlic, lemon juice, salt and pepper and chilis (if using). Whisk in the olive oil, and adjust seasoning as needed.

Once quinoa has cooled, add to bowl with vegetables and drizzle salad dressing over it. Stir gently to combine. Serve immediately, or store for 1-2 days.

Yield: 6-8 servings

Late Summer Crunchy Veggie Salad

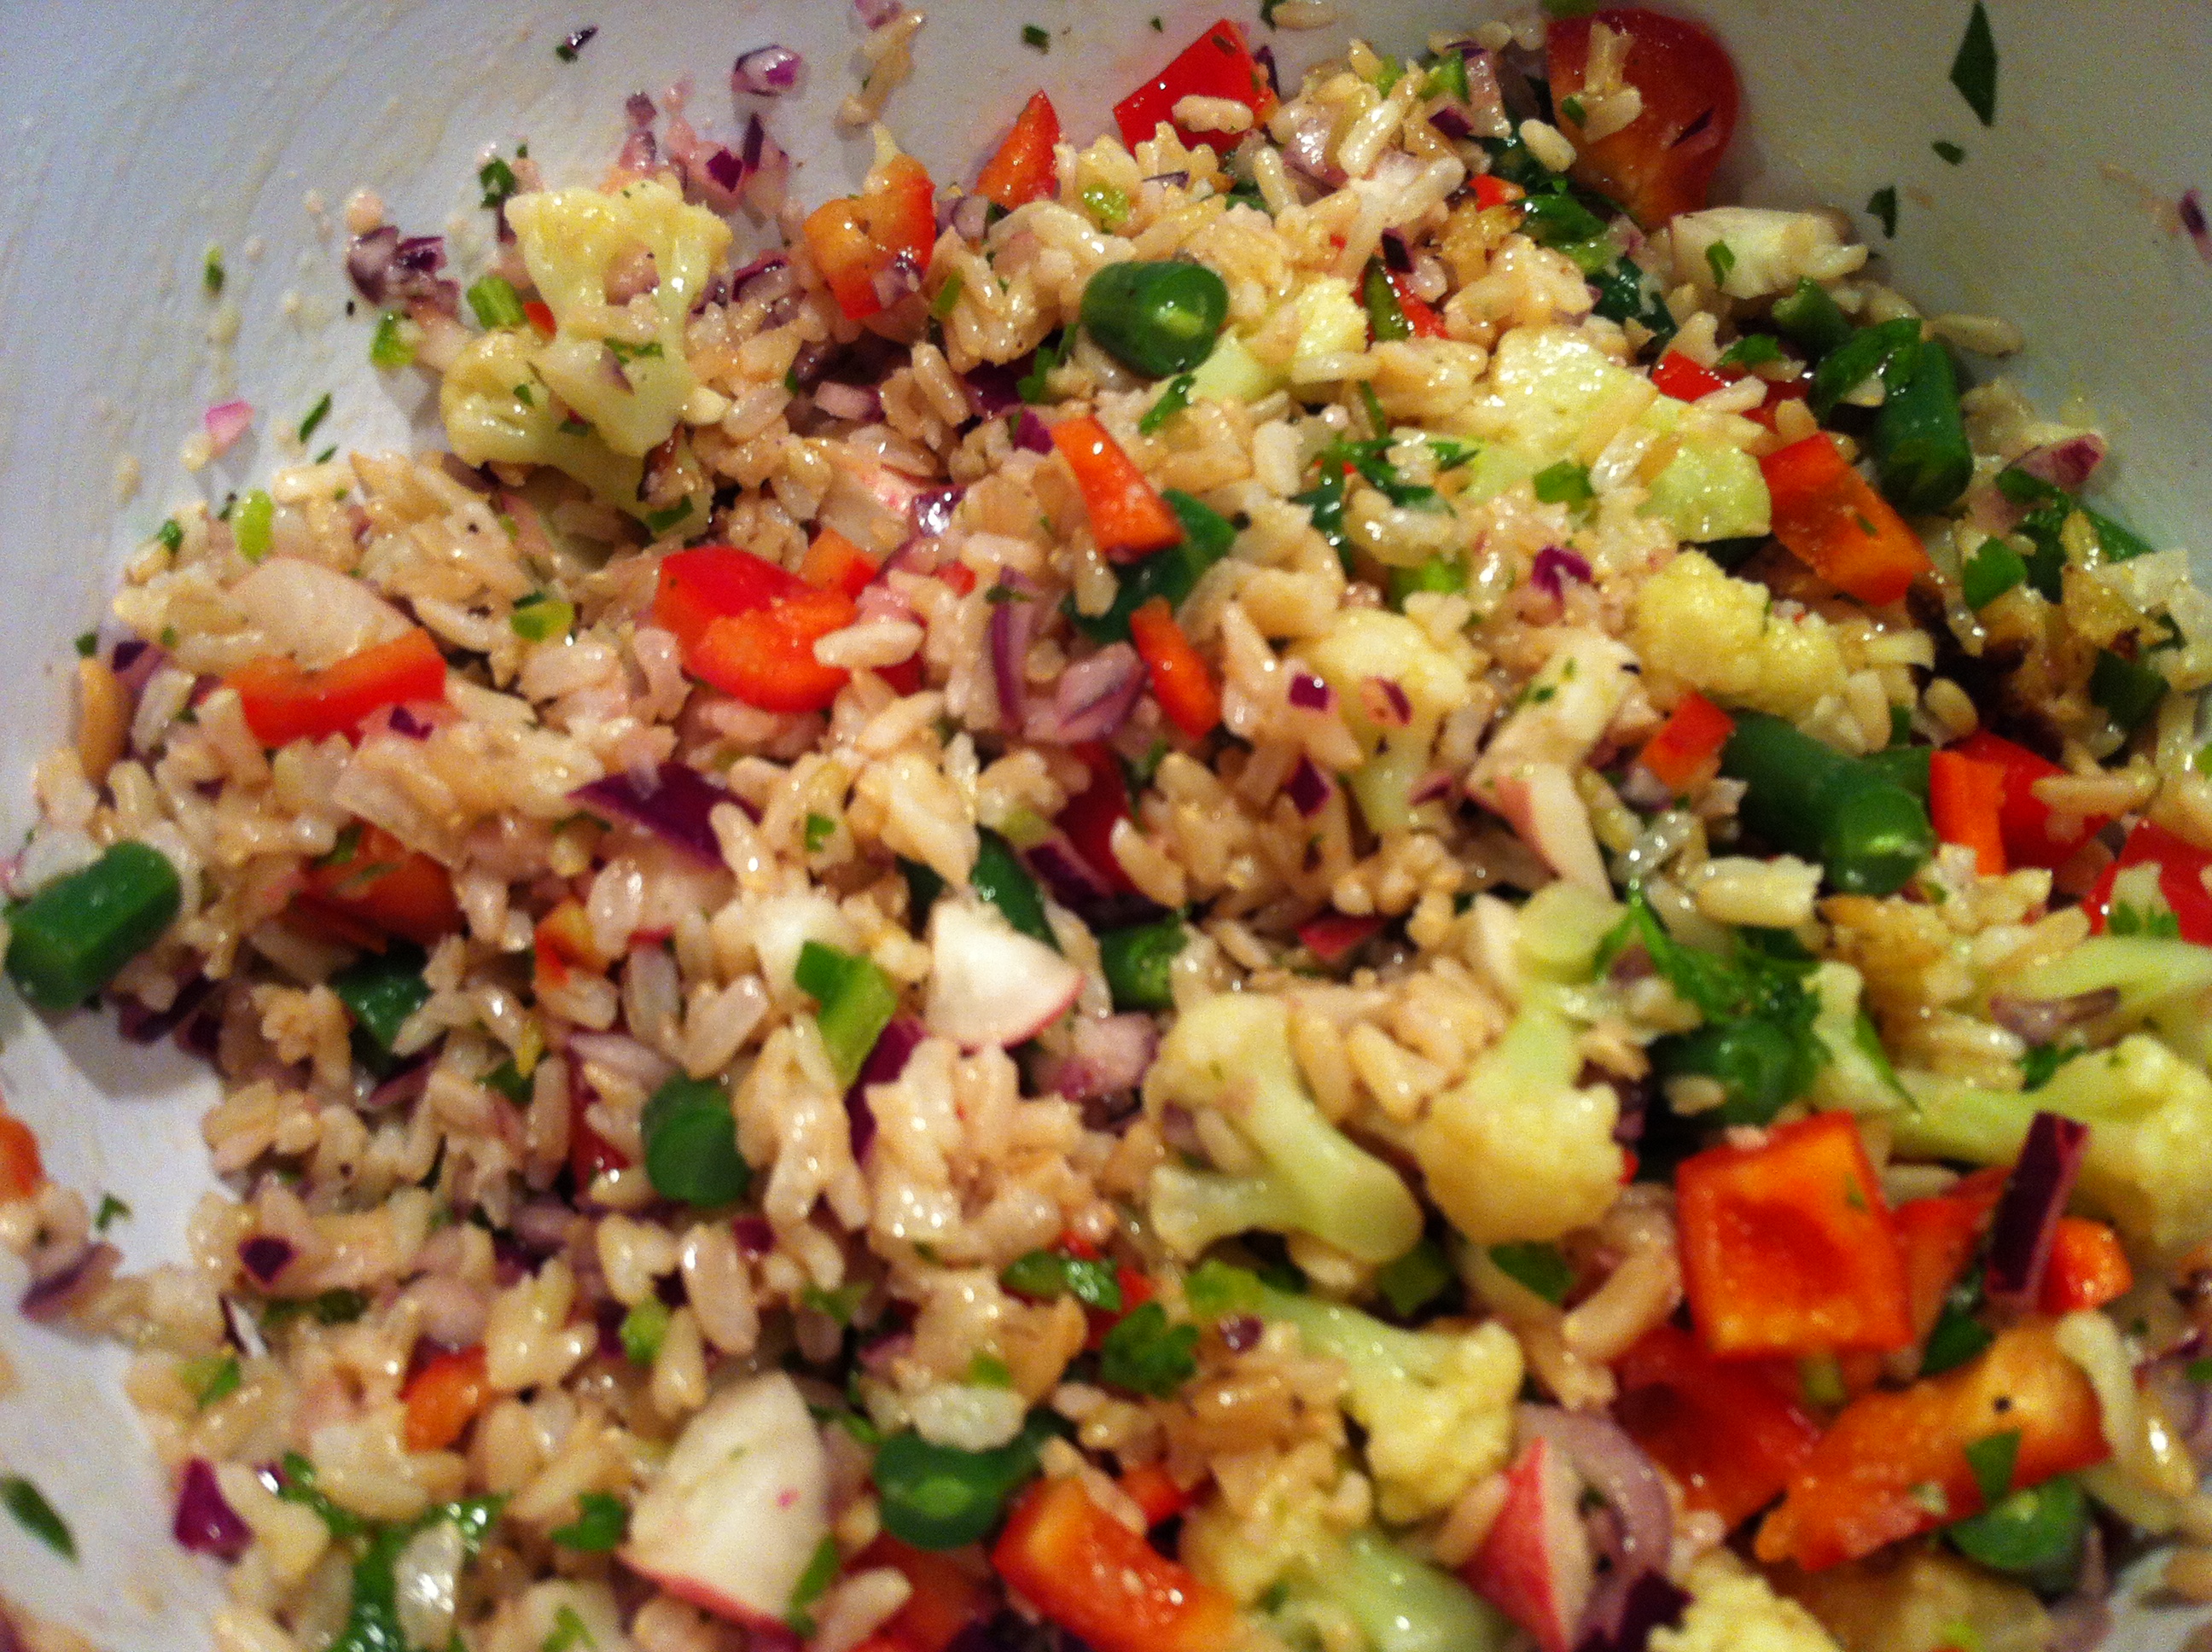
I had called this a vegetable and brown rice salad in an earlier post, and realized that it makes it sounds awfully boring. Very health food store-y, and not in a good way. So I’ve re-branded my headline in the hopes that it will encourage more folks to give this awesome, flavorful, deeply-textured, nutrient-dense dish a try. This was a perfect lunch dish, and one that you can prepare in advance, good for 1-2 days.

Late Summer Veggie Salad: Layered colors and textures

Here is an updated version of the recipe:

Summer Veggie Rice Salad
adapted from Bon Appetit June 2012

1 small shallot, chopped
2 tablespoons chopped flat-leaf parsley
2 tablespoons lemon juice
1/3 cup extra-virgin olive oil, divided
Kosher salt, freshly ground pepper
2 cups cooked brown rice, cooled
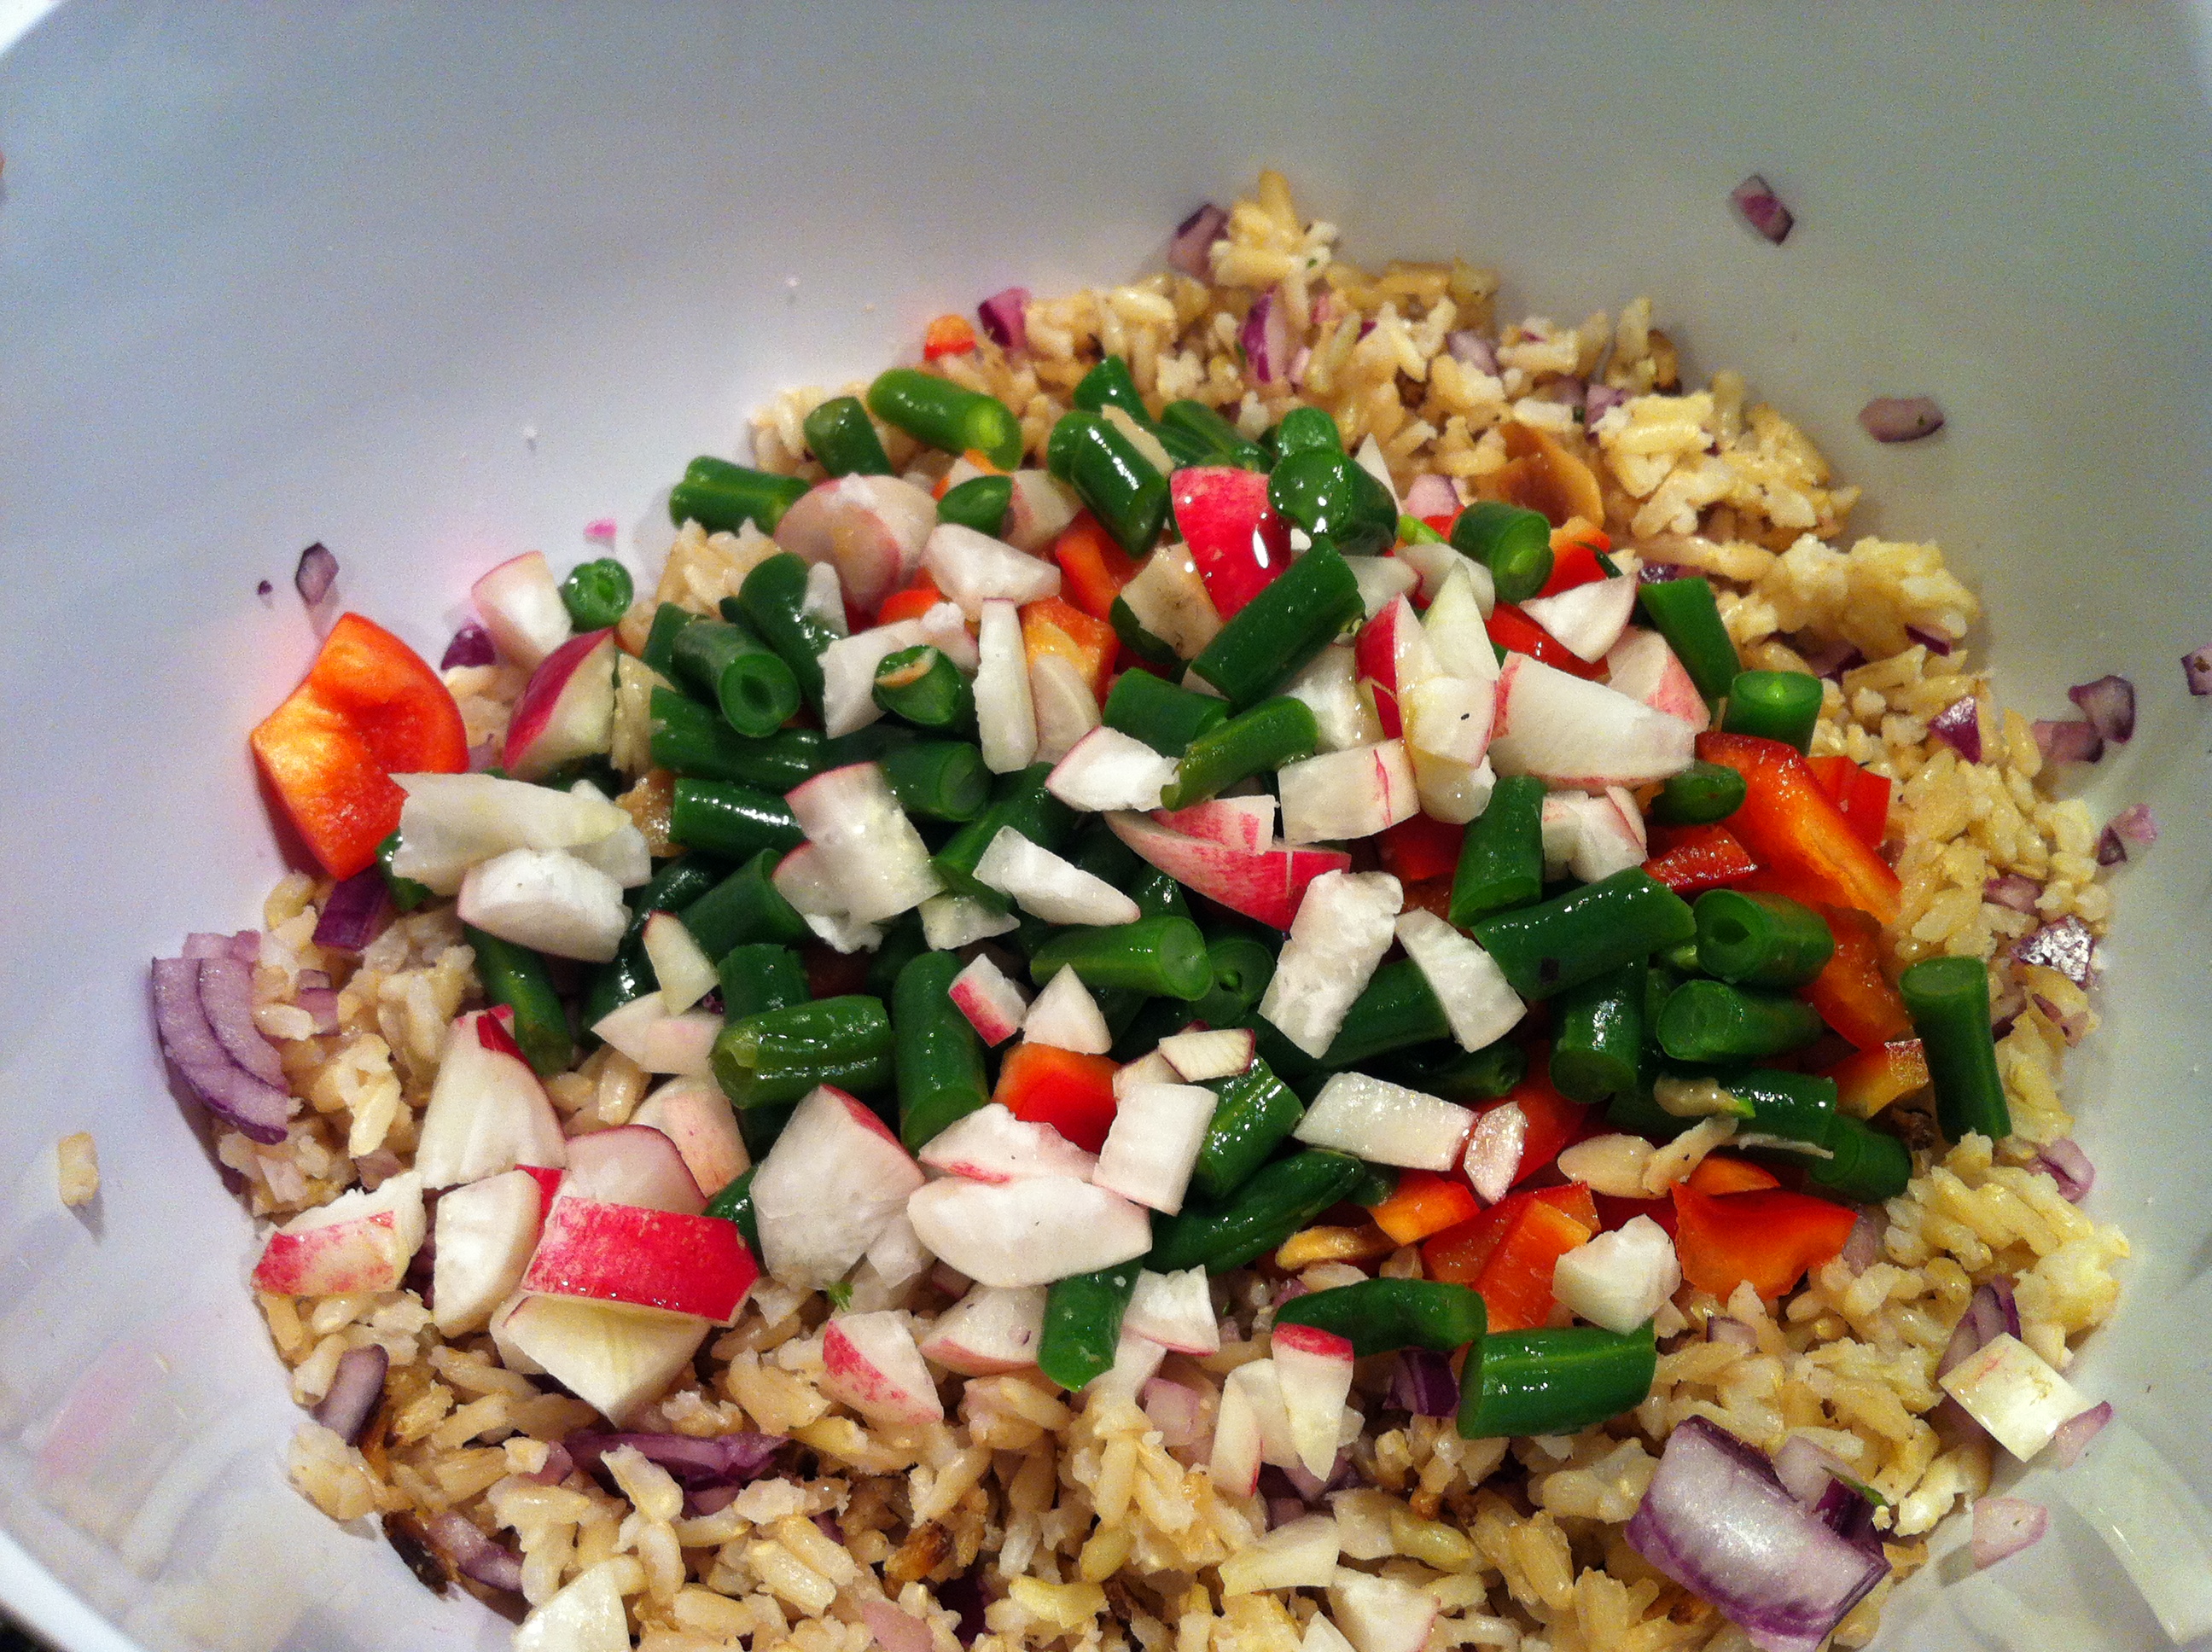
2 cups bite-size pieces assorted vegetables  (I used radishes, steamed cauliflower, bell pepper, green beans)
1 jalapeno pepper, minced
3/4 cup torn mixed leafy greens, sprouts, and herbs (Optional – I didn’t have any on hand, so skipped it)
1/3 cup chopped red onion or scallions

Preparation

  1. Make the dressing: mix shallot, parsley and lemon juice together in a bowl and season with salt and pepper. Slowly drizzle in oil and use whisk to mix dressing.
  2. Place remaining ingredients in a large bowl; drizzle with 3 Tbsp. dressing and toss to coat. Pass remaining dressing alongside for drizzling over.


And for those interested, origins of Ingredients:

– Cauliflower, bell peppers, jalapenos, onions, garlic: WSF

– Sauteed Green beans: Citarella Market (I cheated on this one, these were already prepared when I bought them)

– Breakfast radishes: our garden

Late Summer Veggie Salad

Red Cat Pepper Pasta Back Again

In case you didn’t notice, there are a LOT of peppers in this picture

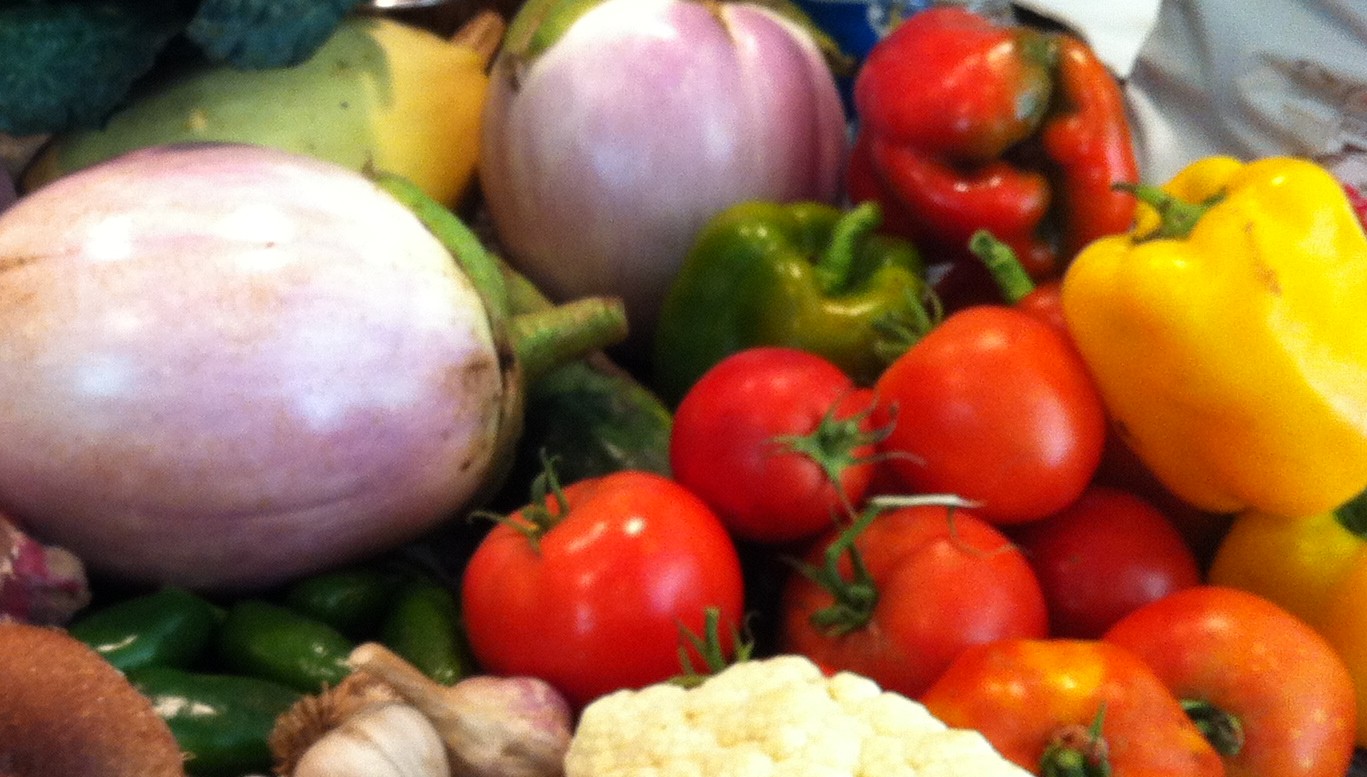
CSA Pick-up 9/22/12. Extreme close up of peppers (bell peppers and jalapenos)

What’s a gal to do with these beauties? I’m all good on the “putting up” front. I’ve got more frozen julienned yellow, red, and green bell peppers than I know what to do with from previous pick-ups.  I thought back to a recipe from the Red Cat restaurant cookbook that Hubs and I used to prepare somewhat regularly. We also used to be Red Cat regulars and remain big fans.

Red Cat cookbook

The recipe for Bucatini with Peppers and Anchovies was salty, savory and full of texture, but always a little greasy.  The recipe also called for Italian frying peppers, which I would never have on hand and would inevitably require a special trip to the store.  Over the years, I’ve also tried to prepare  meals with  protein as the centerpiece, rather than carbohydrates. So the recipe fell to the wayside. But I thought about dusting it off and refreshing it with some of my surplus CSA ingredients.

Here’s how I updated it: I substituted fresh bell peppers for the frying peppers and used a fresh jalapeno in place of the dried chili flakes to add heat. Oh, and I used spaghettini instead of bucatini – bucatini are a long, tubular pasta shape and generally a specialty pasta. I also used less panko than the recipe called for. This, combined with the juicy bell peppers made for a moister dish than previous attempts. This recipe is going back in the rotation, with my recent updates. One tip: don’t be afraid of the anchovies. They lend flavor, saltiness and depth to the sauce. The dish does NOT taste fishy at all. Ask Hubs.

Ingredients:

200 grams of spaghettini, or other long, thin pasta that you have on hand
3 tablespoons of olive oil
3 medium cloves garlic, thinly sliced
6 anchovy fillets, minced
2 large red, orange and/or yellow bell peppers, stemmed, seeded and thinly sliced lengthwise
4-5  pepperoncini  (the chartreuse-colored, jarred peppers you find in the grocery), sliced horizontally
1 jalapeno, stemmed, seeded and minced
1/4 cup panko, or dried bread crumbs
1/4 cup grated Parmiggiano
Pinch crushed red pepper flakes (about 1/8 teaspoon)
Handful chopped parsley
1/2 lemon

Directions:

Cook the pasta according to the package directions to al dente doneness.

Meanwhile, heat the oil in a wide, deep, heavy saute pan over medium-high heat. Add the garlic and anchovies and cook for about 3 minutes, mashing the anchovies until they disintegrate. Add the bell peppers and jalapeno and cook for about 3 minutes, stirring, until the peppers soften. Add the pepperoncini, stir and remove the pan from the heat.

In a small bowl, combine the bread crumbs, Parmesan cheese, pepper flakes and parsley.

When the pasta is nearly done, reserve 1/2 cup of pasta water. I recommend using a glass measure cup, because it has a handle and you can scoop up the water easily without burning yourself. When pasta is al dente, drain it and add it to the pan with the anchovy and pepper mixture. Add half of the the bread crumb mixture, along with a splash of the pasta water. Squeeze the lemon half over the pan, using a small strainer or your hand to catch any seeds, and toss to combine.

Divide the pasta among shallow serving bowls. Top with remaining bread crumb mixture and serve. Add a splash of olive oil if pasta is dry.

Yield: 2 generous servings


Masochism in the Kitchen

So with my massive haul from Wolfe Spring Farm, I had to get cracking on Saturday afternoon.

CSA Pick-up 9/22/12. Photo styling courtesy of Hubs

With the crisp evenings we’ve been having, I felt some sort of soup was in order and so the planning began. Soup is always a good way to use lots of veg, and forgiving, too. After some deliberation with Hubs, I decided on a Minestrone-style Vegetable Soup. This would be my lead dish for the weekend. I mapped out my other dishes and figured out which ingredients I could prep simultaneously. I would prep the ingredients for the vegetable soup and Freekeh Pilaf at the same time, since I could chop onions and garlic for both dishes in one shot.

Timing was also a factor, so I decided to put up some of the vegetables because it would be impossible to consume all in the week. The veggies are organic, and most have a short shelf life. I would freeze the bell peppers and roasted eggplant (must chop all peppers first, and grill the eggplant), as suggested by Agrigirl in a comment last week. And the tomatoes would turn into Sweet Tomato Jam, but not until Sunday.

And lastly, why not make some kale chips?

At one point, I had 5 dishes going in various stages of preparation in the sink, on the stove, in the oven and on the grill. Controlled chaos at best. Or, why chefs and cooks who do this, day in, day out, impress me to no end. Like I said, it was my own personal form of self-torture. If I knew how to insert a table into this post, I’d have a matrix with the following headers: Ingredients, Dish, Cooking Method. That’s how much I had goin’ on. And this didn’t even include Saturday night dinner!

The good news is that the “lead” dish du jour, the Vegetable Soup, turned out delicious. I call it Minestrone-style because I used tomatoes and it has a light tomato base, but I didn’t use any beans or pasta, which you usually find in a Minestrone soup. Here is my recipe, and like most others, consider it a starting point and alter it based on what you have in your cupboard.

Ingredients:

3 tablespoons olive oil
1 medium or large onion, chopped
3 cloves garlic, sliced
1 carrot diced,
2 stalks celery, chopped (I didn’t use because we didn’t have any, but highly recommend)
8 cups vegetable broth (or chicken broth for the carnivores)
1 cup tomatoes, chopped, cored and seeded
2 small potatoes,  diced in 1/2 inch,
1 Parmiggiano cheese rind (I keep the rinds in a plastic bag in the back of my fridge. Use in risottos and soups, add great flavor)
1 cup winter squash, diced (I used spaghetti squash and surprisingly, turned out great. Had never used it in a soup)
1 bell pepper, chopped
1 cup shredded cabbage (left over from last week’s pick-up. A head of cabbage goes a looong way)
Large handful of parsley, leaves only, chopped
Salt and pepper to taste

Instructions:

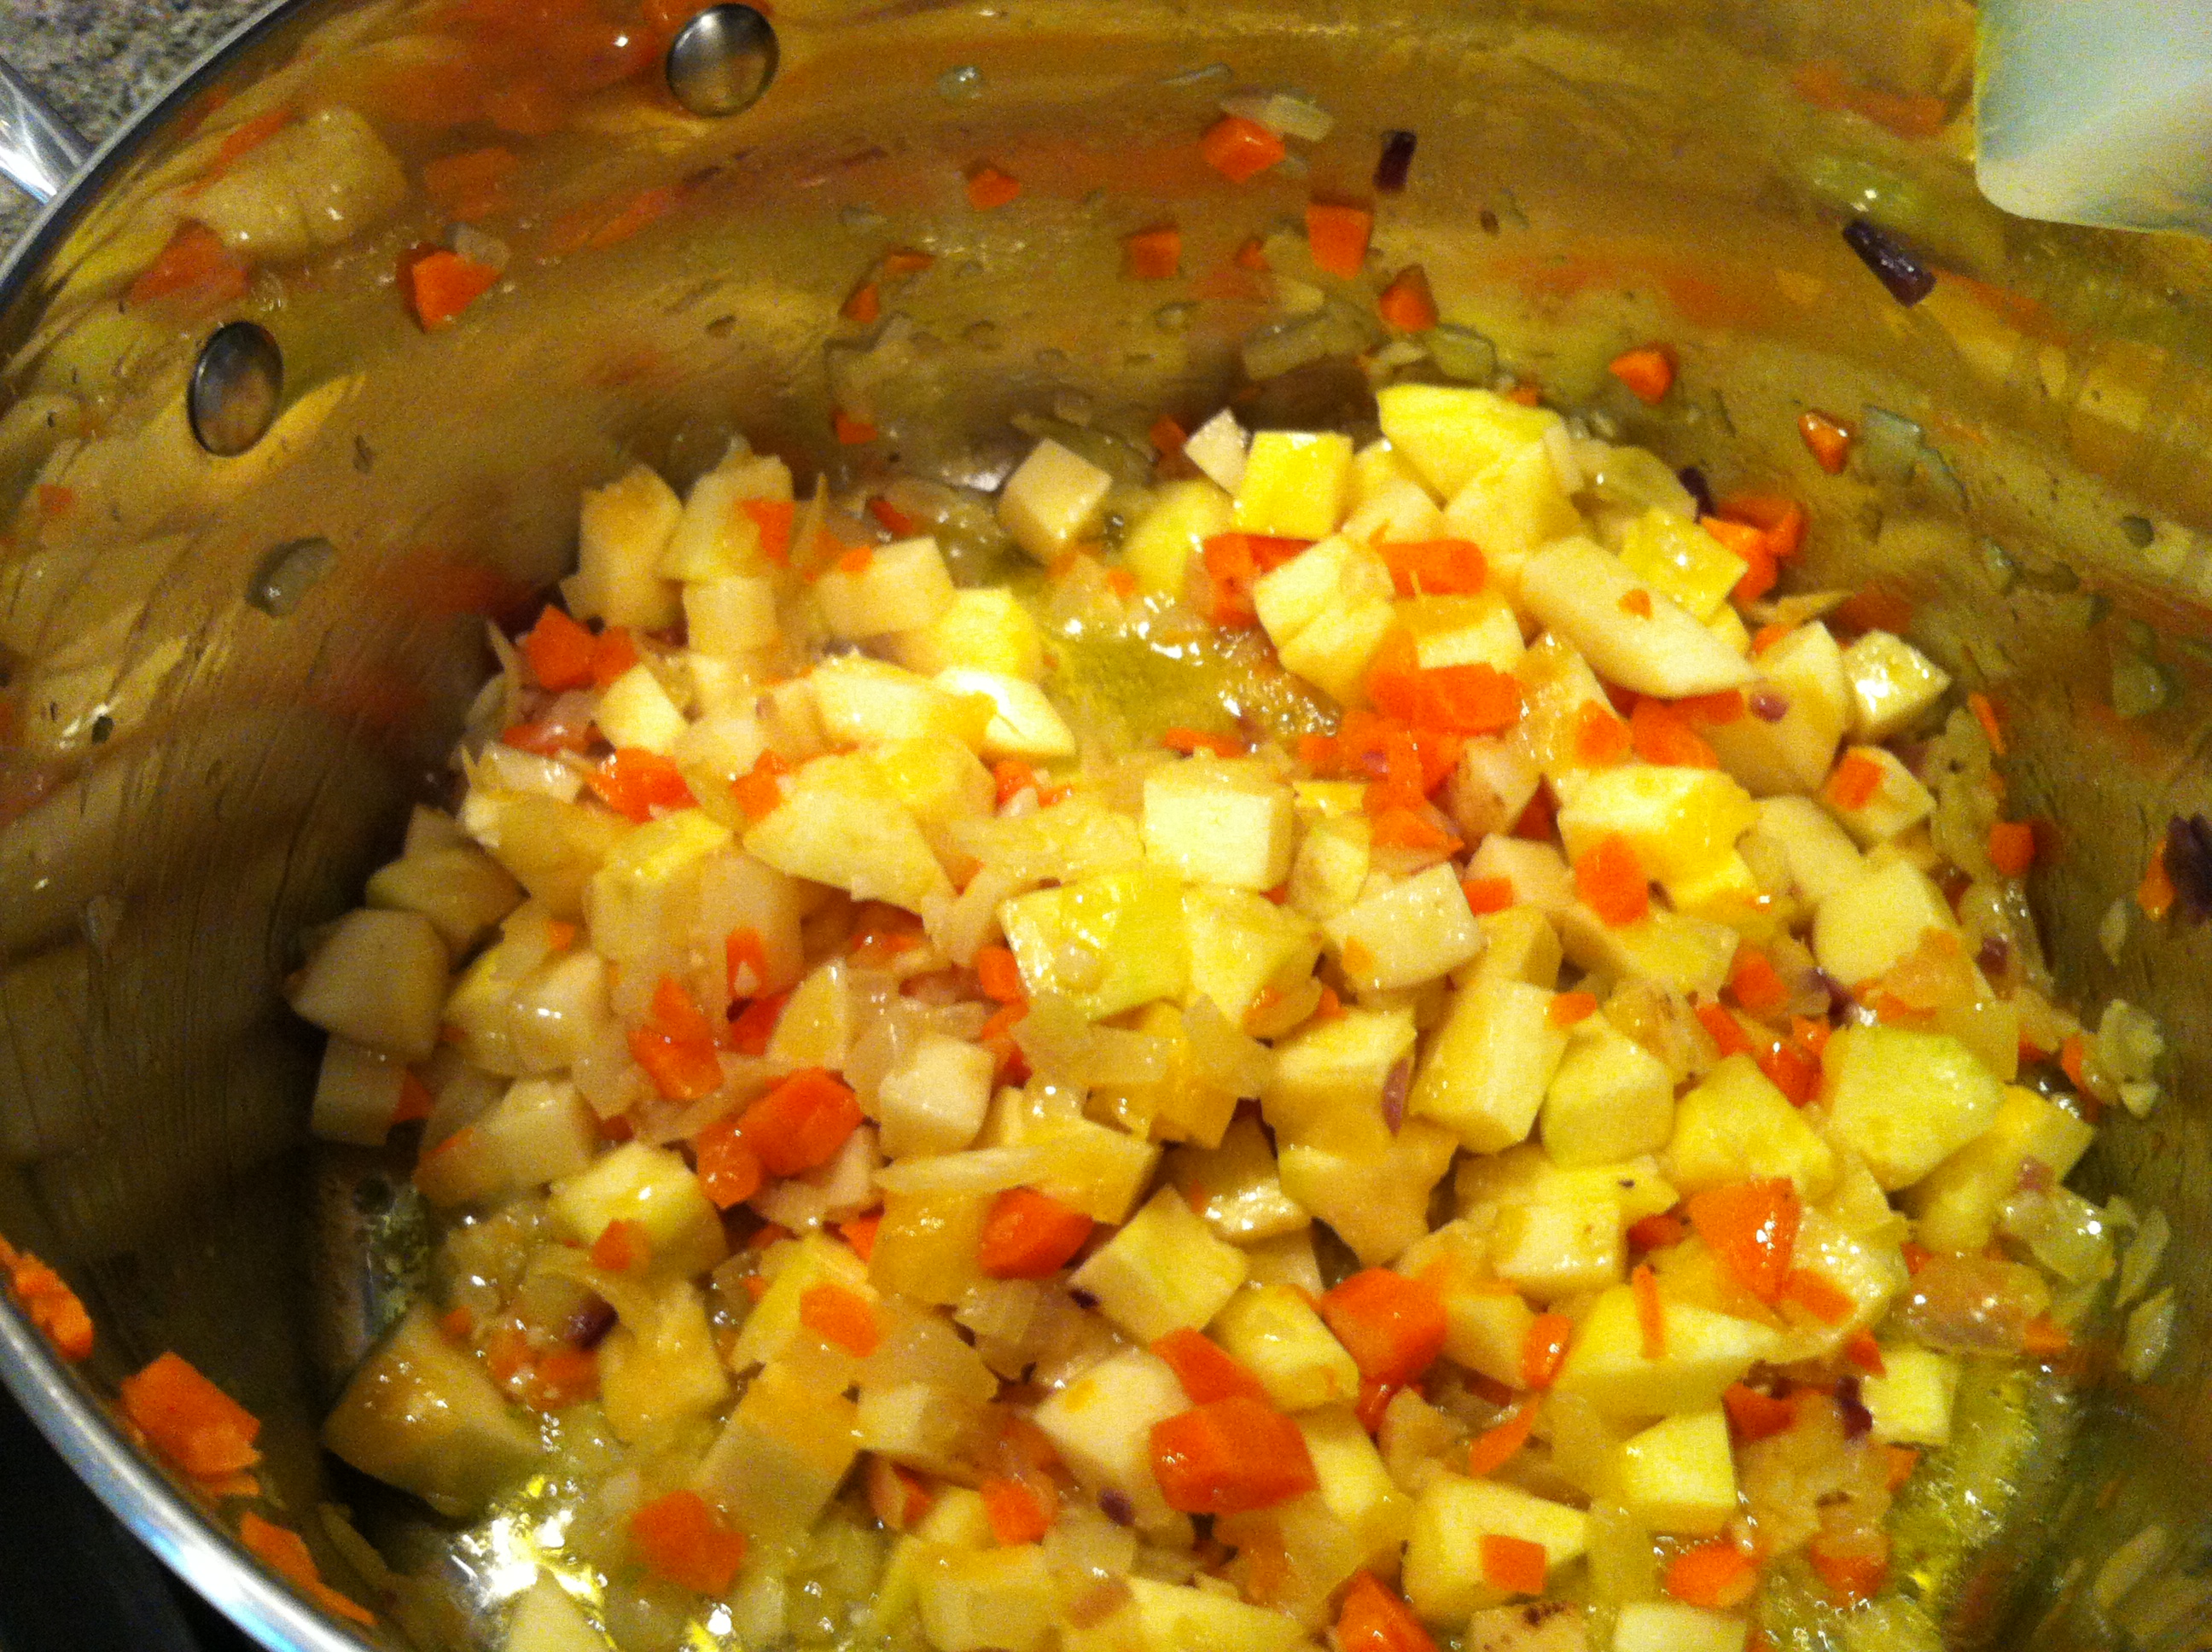
In large soup pot, on low-medium heat, saute onions and garlic for 5 minutes in olive oil. Add carrots and celery and continue to saute until vegetables are softened.  Add potatoes, squash and bell pepper (or whichever “hard” vegetables you are using – turnips, parsnips would also be great). Saute for 2-3 minutes to give vegetables some color.

Sauteed “hard” vegetables in the pot

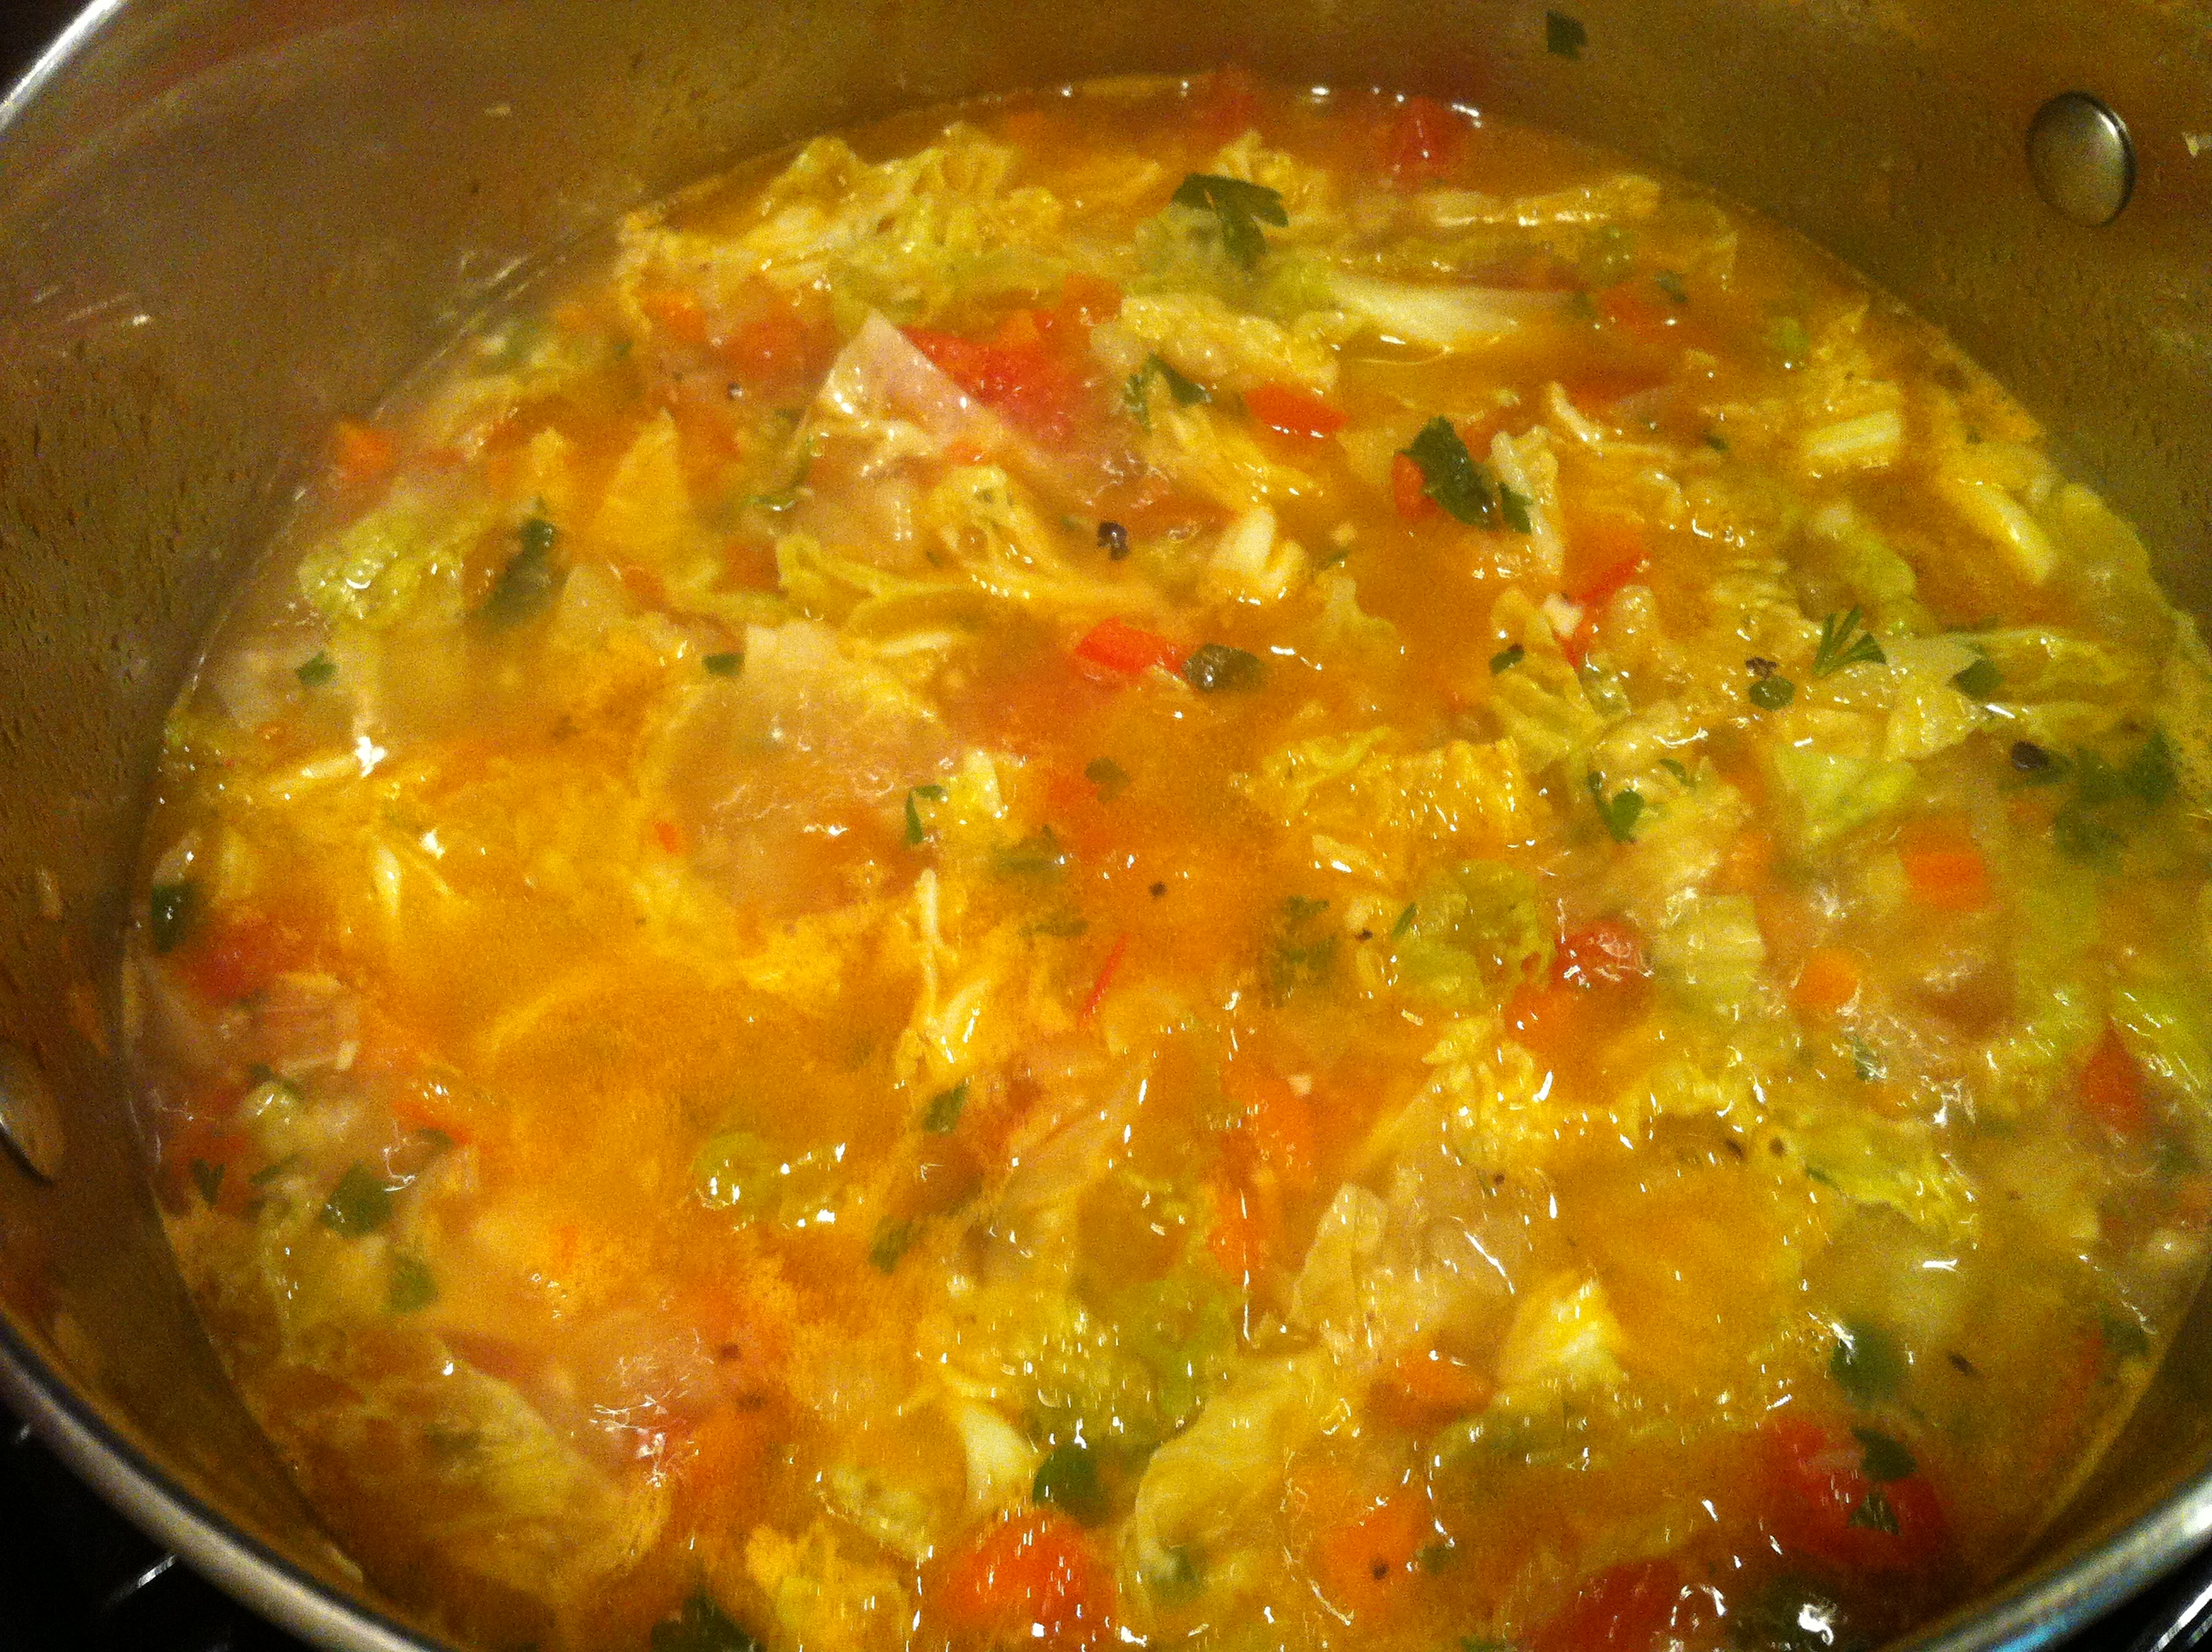
Add liquid – broth and chopped tomatoes, and Parmiggiano rind, if using. Bring to a boil and let simmer for 20 minutes, or until “hard” vegetable soften. Add cabbage and parsley (or other “soft” vegetables or greens, like zucchini, kale, collard greens, etc). Season with salt and pepper, simmer for an additional 15-20 minutes. Allow to cool. Serve with shredded Parmiggiano cheese and a drizzle of olive oil, if desired.

Yield: 6 – 8 servings

Minestrone-style Vegetable Soup

What’s left in the basket from my CSA Pick-up? Cauliflower, a cucumber, cherry tomatoes (I was greedy with these), watermelon, raspberries (not worried about the fruit) and 2 shiitake mushrooms. Looking for suggestions for the shiitake mushrooms and cauliflower. Any ideas?

Freekeh: The Best Grain You’ve Never Tasted

Who has tasted Freekeh? It is a very old grain, like farro, that is also very good for you (like farro). It is green wheat that has gone through a roasting process.   It is high in protein, insoluble fiber, has a low glycemic index and is tasty, to boot. Freekeh can be prepared like rice, or most other whole grains, and used in similar recipes. It has a nice bite to it, and slightly nutty taste. You can find it in the bin foods section of some grocery or health foods stores, or pre-packaged (harder to find, I think). What’s not to like, right?

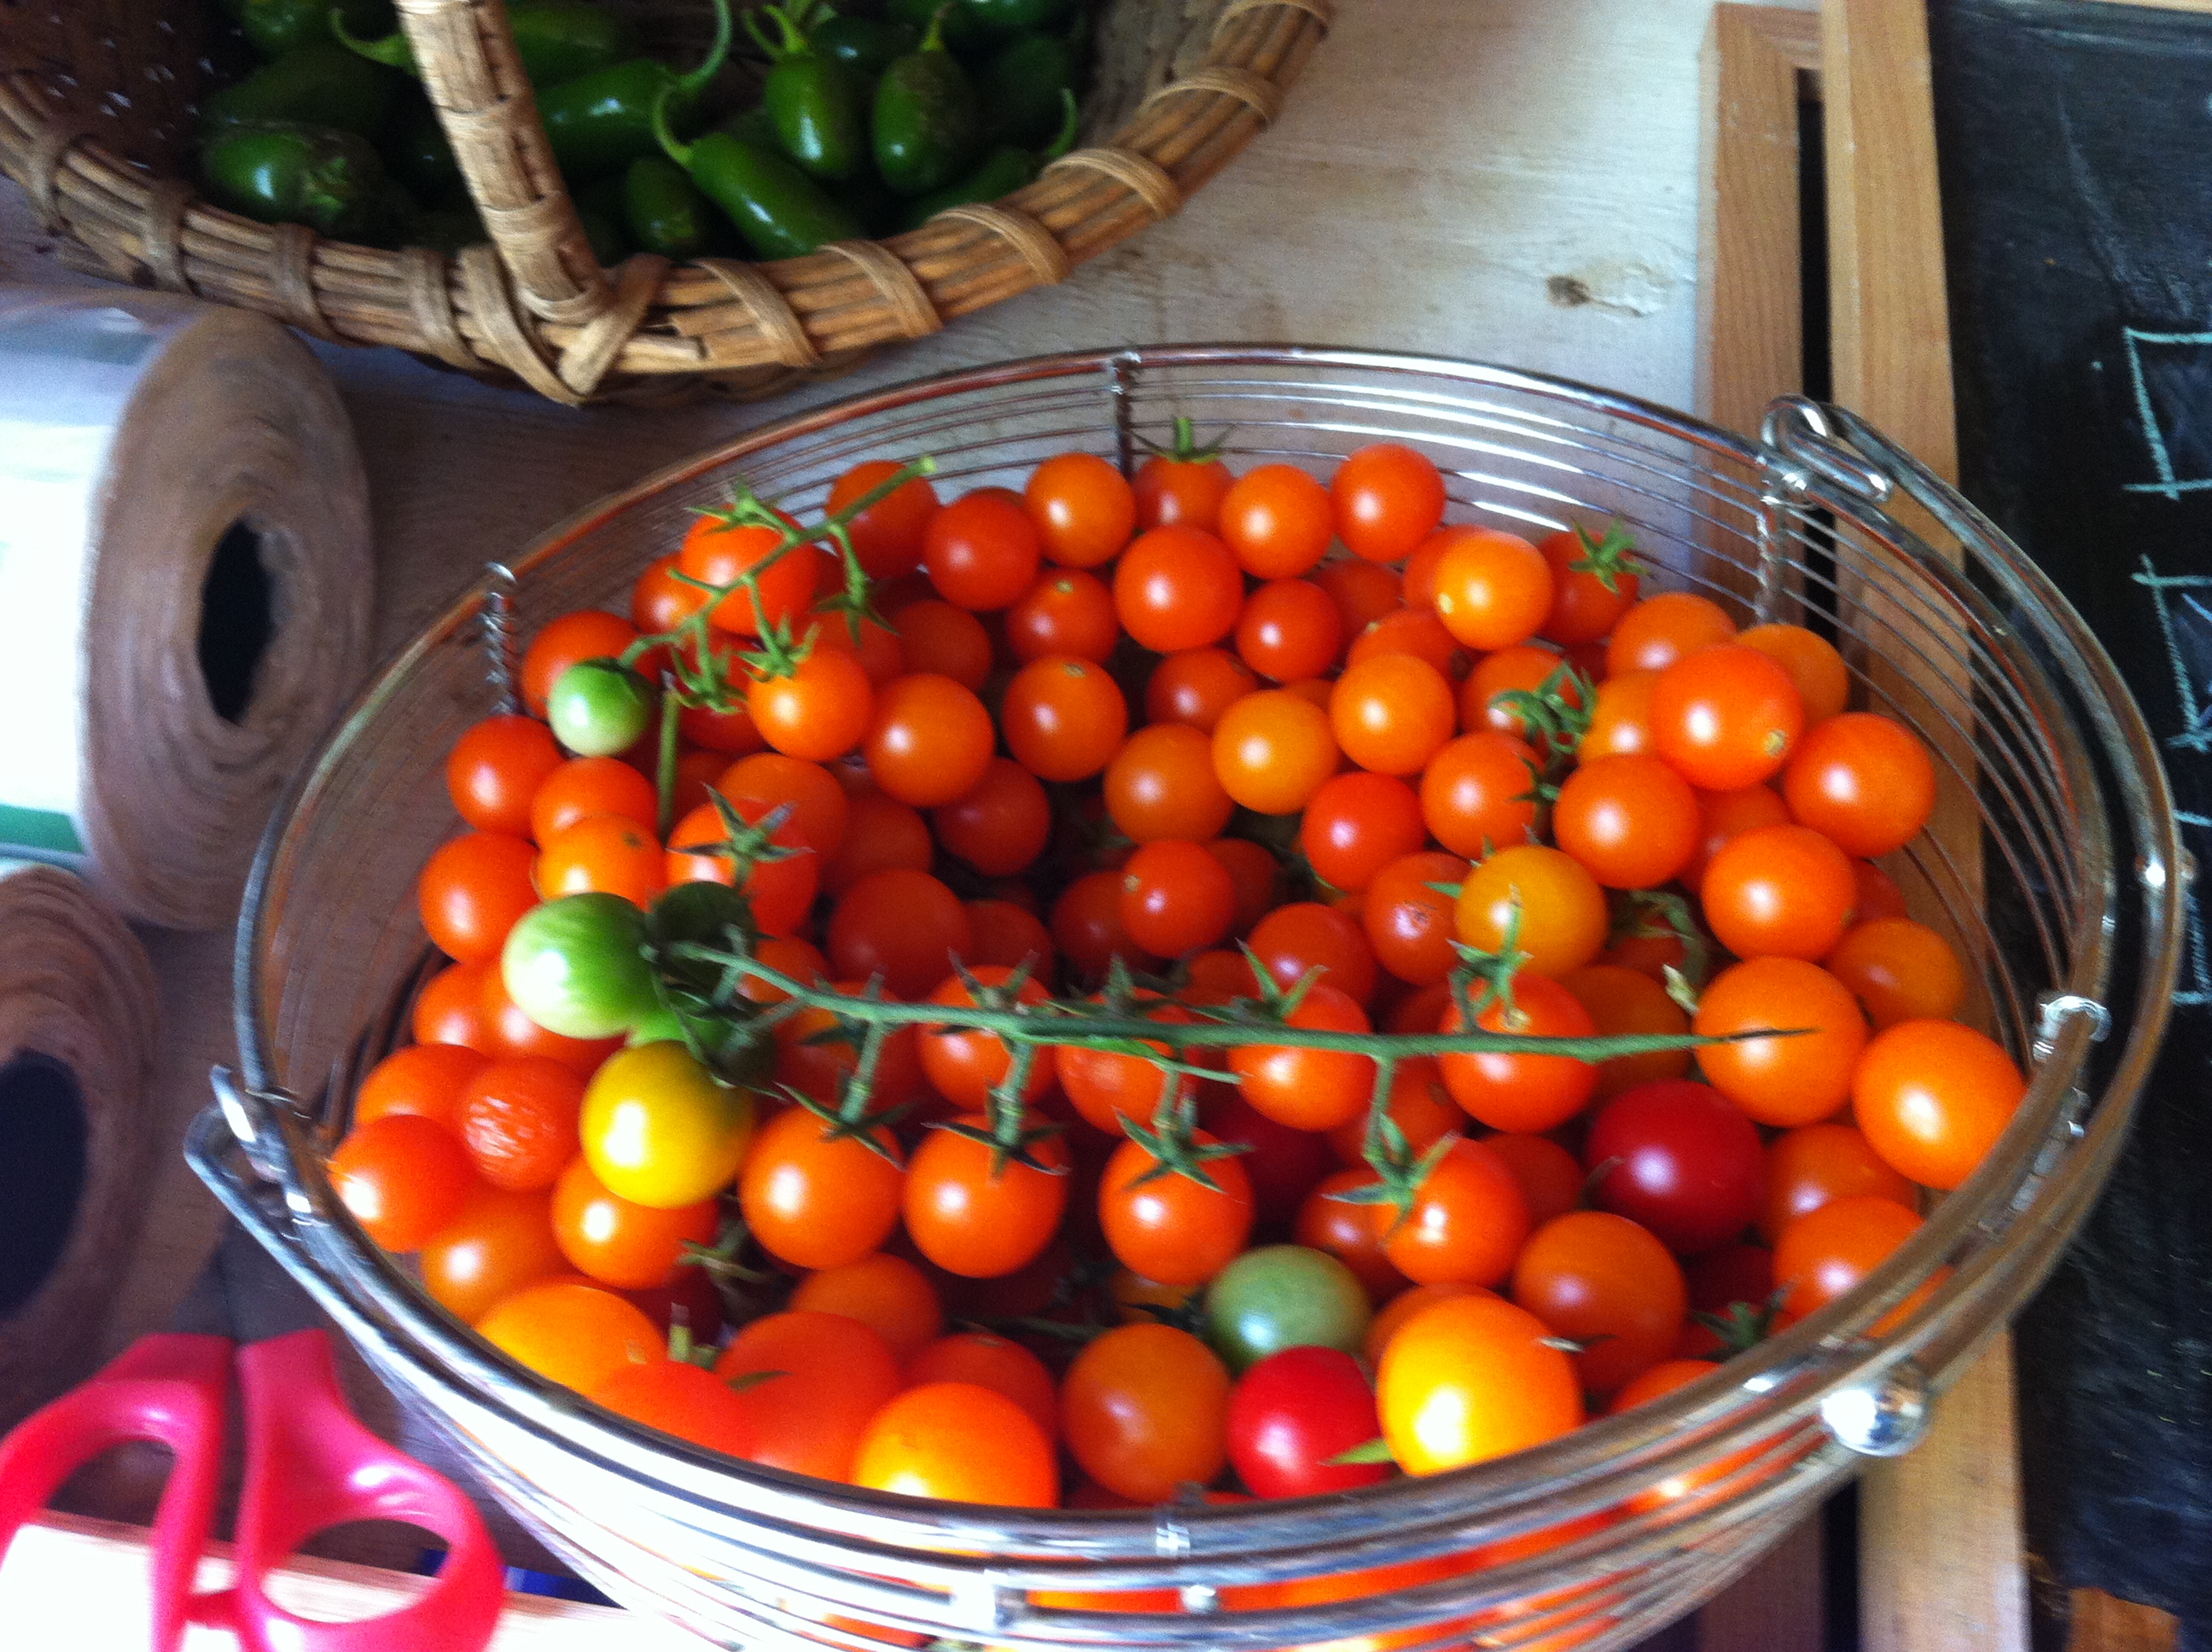
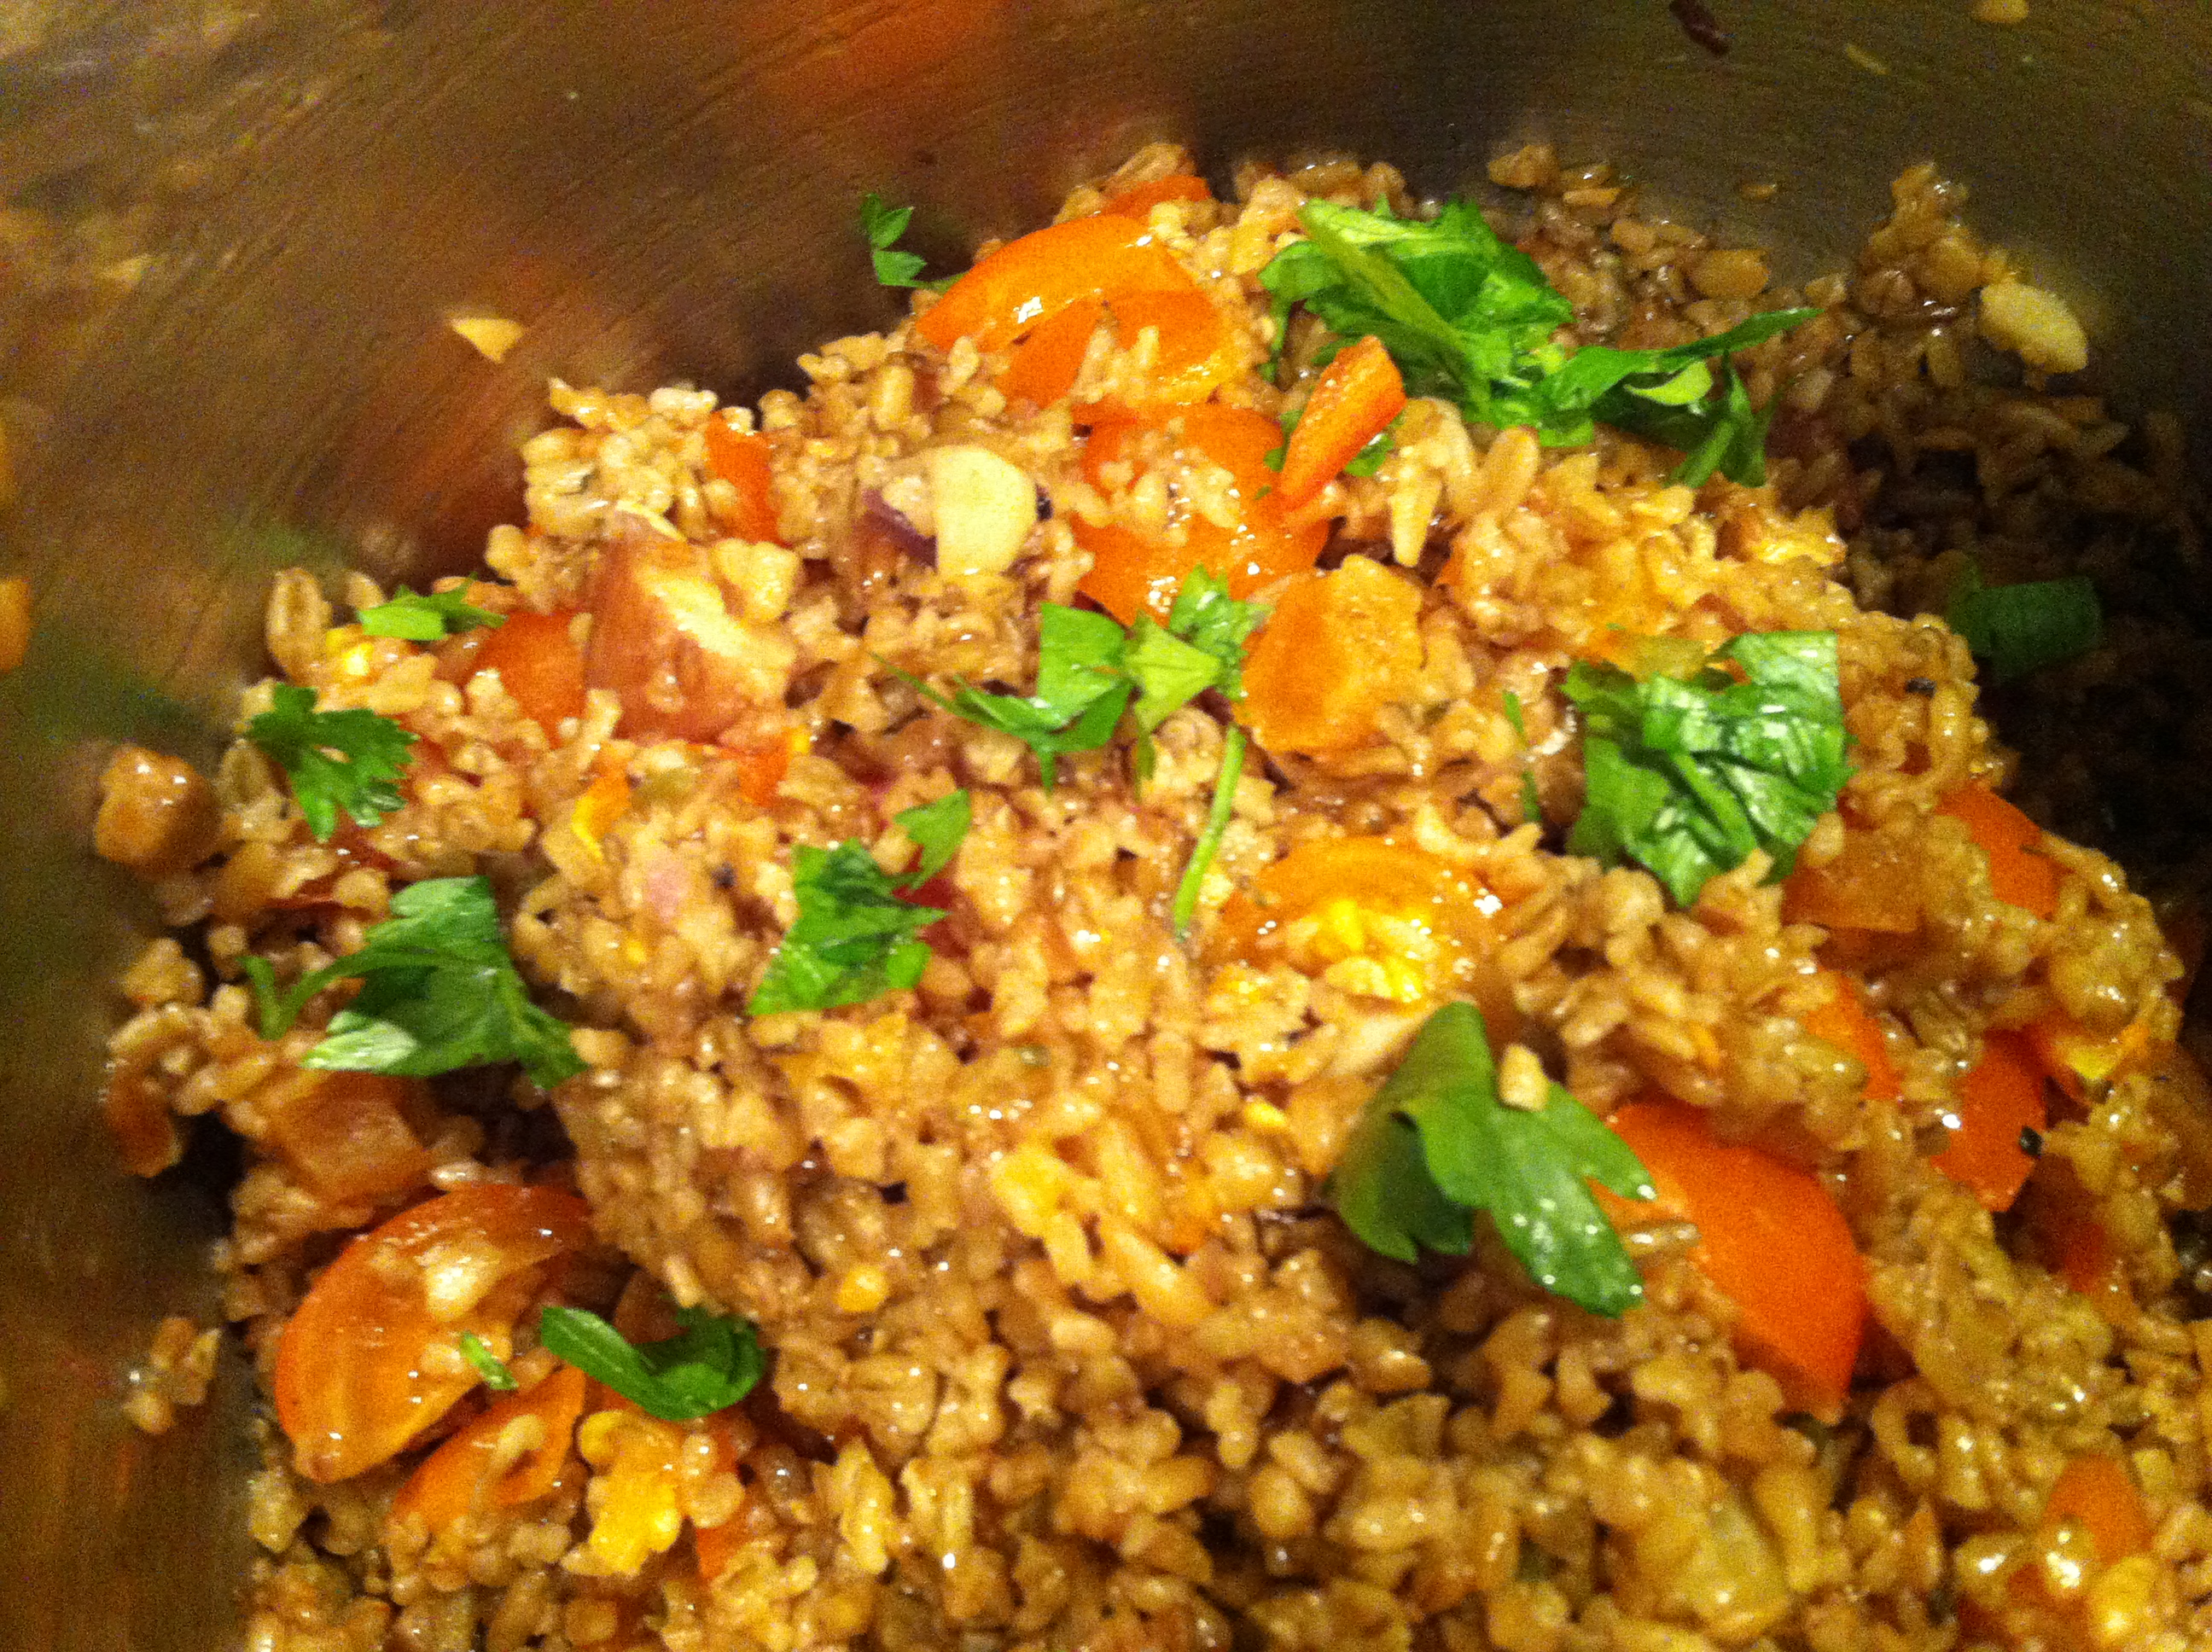
I prepared the Freekeh on Saturday and we had it for lunch on Sunday.  I decided on a Freekeh Pilaf, which is a traditional preparation. I added cherry tomatoes  because I had picked up the sweetest, juiciest yellow cherry tomatoes EVER from Wolfe Spring Farm.

Cherry Tomatoes at Wolfe Spring Farm

They were like little jewels, so I used them as the “fruit” in this pilaf recipe to add sweetness and moisture. If you don’t have sweet tomatoes, no worries. Just add some chopped dried fruit. I riffed on this recipe from the This is How I Cook blog that I found over the weekend. This was a big crowd-pleaser.

Ingredients:

2 tablespoons olive oil
1 small red onion,  chopped
1 clove garlic, chopped
1 jalapeno pepper, diced and seeded
1 handful walnuts, chopped (or pistachios or almonds)
1c freekeh
2c vegetable broth
Salt and pepper to taste
1/2t cumin
1/2 cup cherry tomatoes, halved (optional)
1/4 cup dried apricots, chopped  (optional)
Fresh parsley to garnish (or cilantro or mint)
Instructions:
Saute the onion, garlic, and jalapeno pepper  in olive oil. When they start to sweat (about 5 min), stir in the nuts. Brown them just a little. Stir in the freekeh. Let cook a minute. Stir in broth. Bring to a boil and then turn down to simmer. Cover. Check after about 20 minutes. It should be done but if you want it softer add a bit more liquid and cook a little longer.

Freekeh Pilaf

Season with salt and pepper and garnish with parsley (or cilantro or mint – whatever you have on hand). Add chopped tomatoes and/or dried apricots, if available. Think of this as any pilaf recipe because all you have to do is substitute the grain. Serve warm or at room temperature.

Unlikely bedfellow: tomatoes, vanilla and JAM

Decided to do something completely unconventional with my 3 pounds of tomatoes. Like many folks, we are burnt out on fresh tomato sauce, bruschetta, and tomato salads by this time of the year. So I decided to to give this intriguing recipe for Sweet Tomato Jam posted on the NY Times a whirl.

I was skeptical, but it is a good one. Melissa Clark does not disappoint. The refrigerator jam is super sweet and savory simultaneously. Beautiful color, and really easy to prepare once you put some elbow grease into chopping up 3 pounds of tomatoes. I made a few modifications, like using less honey than the recipe called for simply because I ran out, and vanilla extract because I didn’t have any vanilla beans on hand. I also added a few dried red chili peppers to add some heat to balance the sweetness. I’ve included my version below. Of course, I have no idea how we will consume all this scrumptious jam…rather, I fear I will consume it all on my own.

Ingredients:

3 pounds firm ripe tomatoes, cored and diced (about 8 cups)
1/2 cup honey
1 cup granulated sugar
1/2 teaspoon lemon zest
2 tablespoons lemon juice
2 tablespoons vanilla
2-3 dried red chili peppers (optional)
Pinch fine sea salt

Instructions:
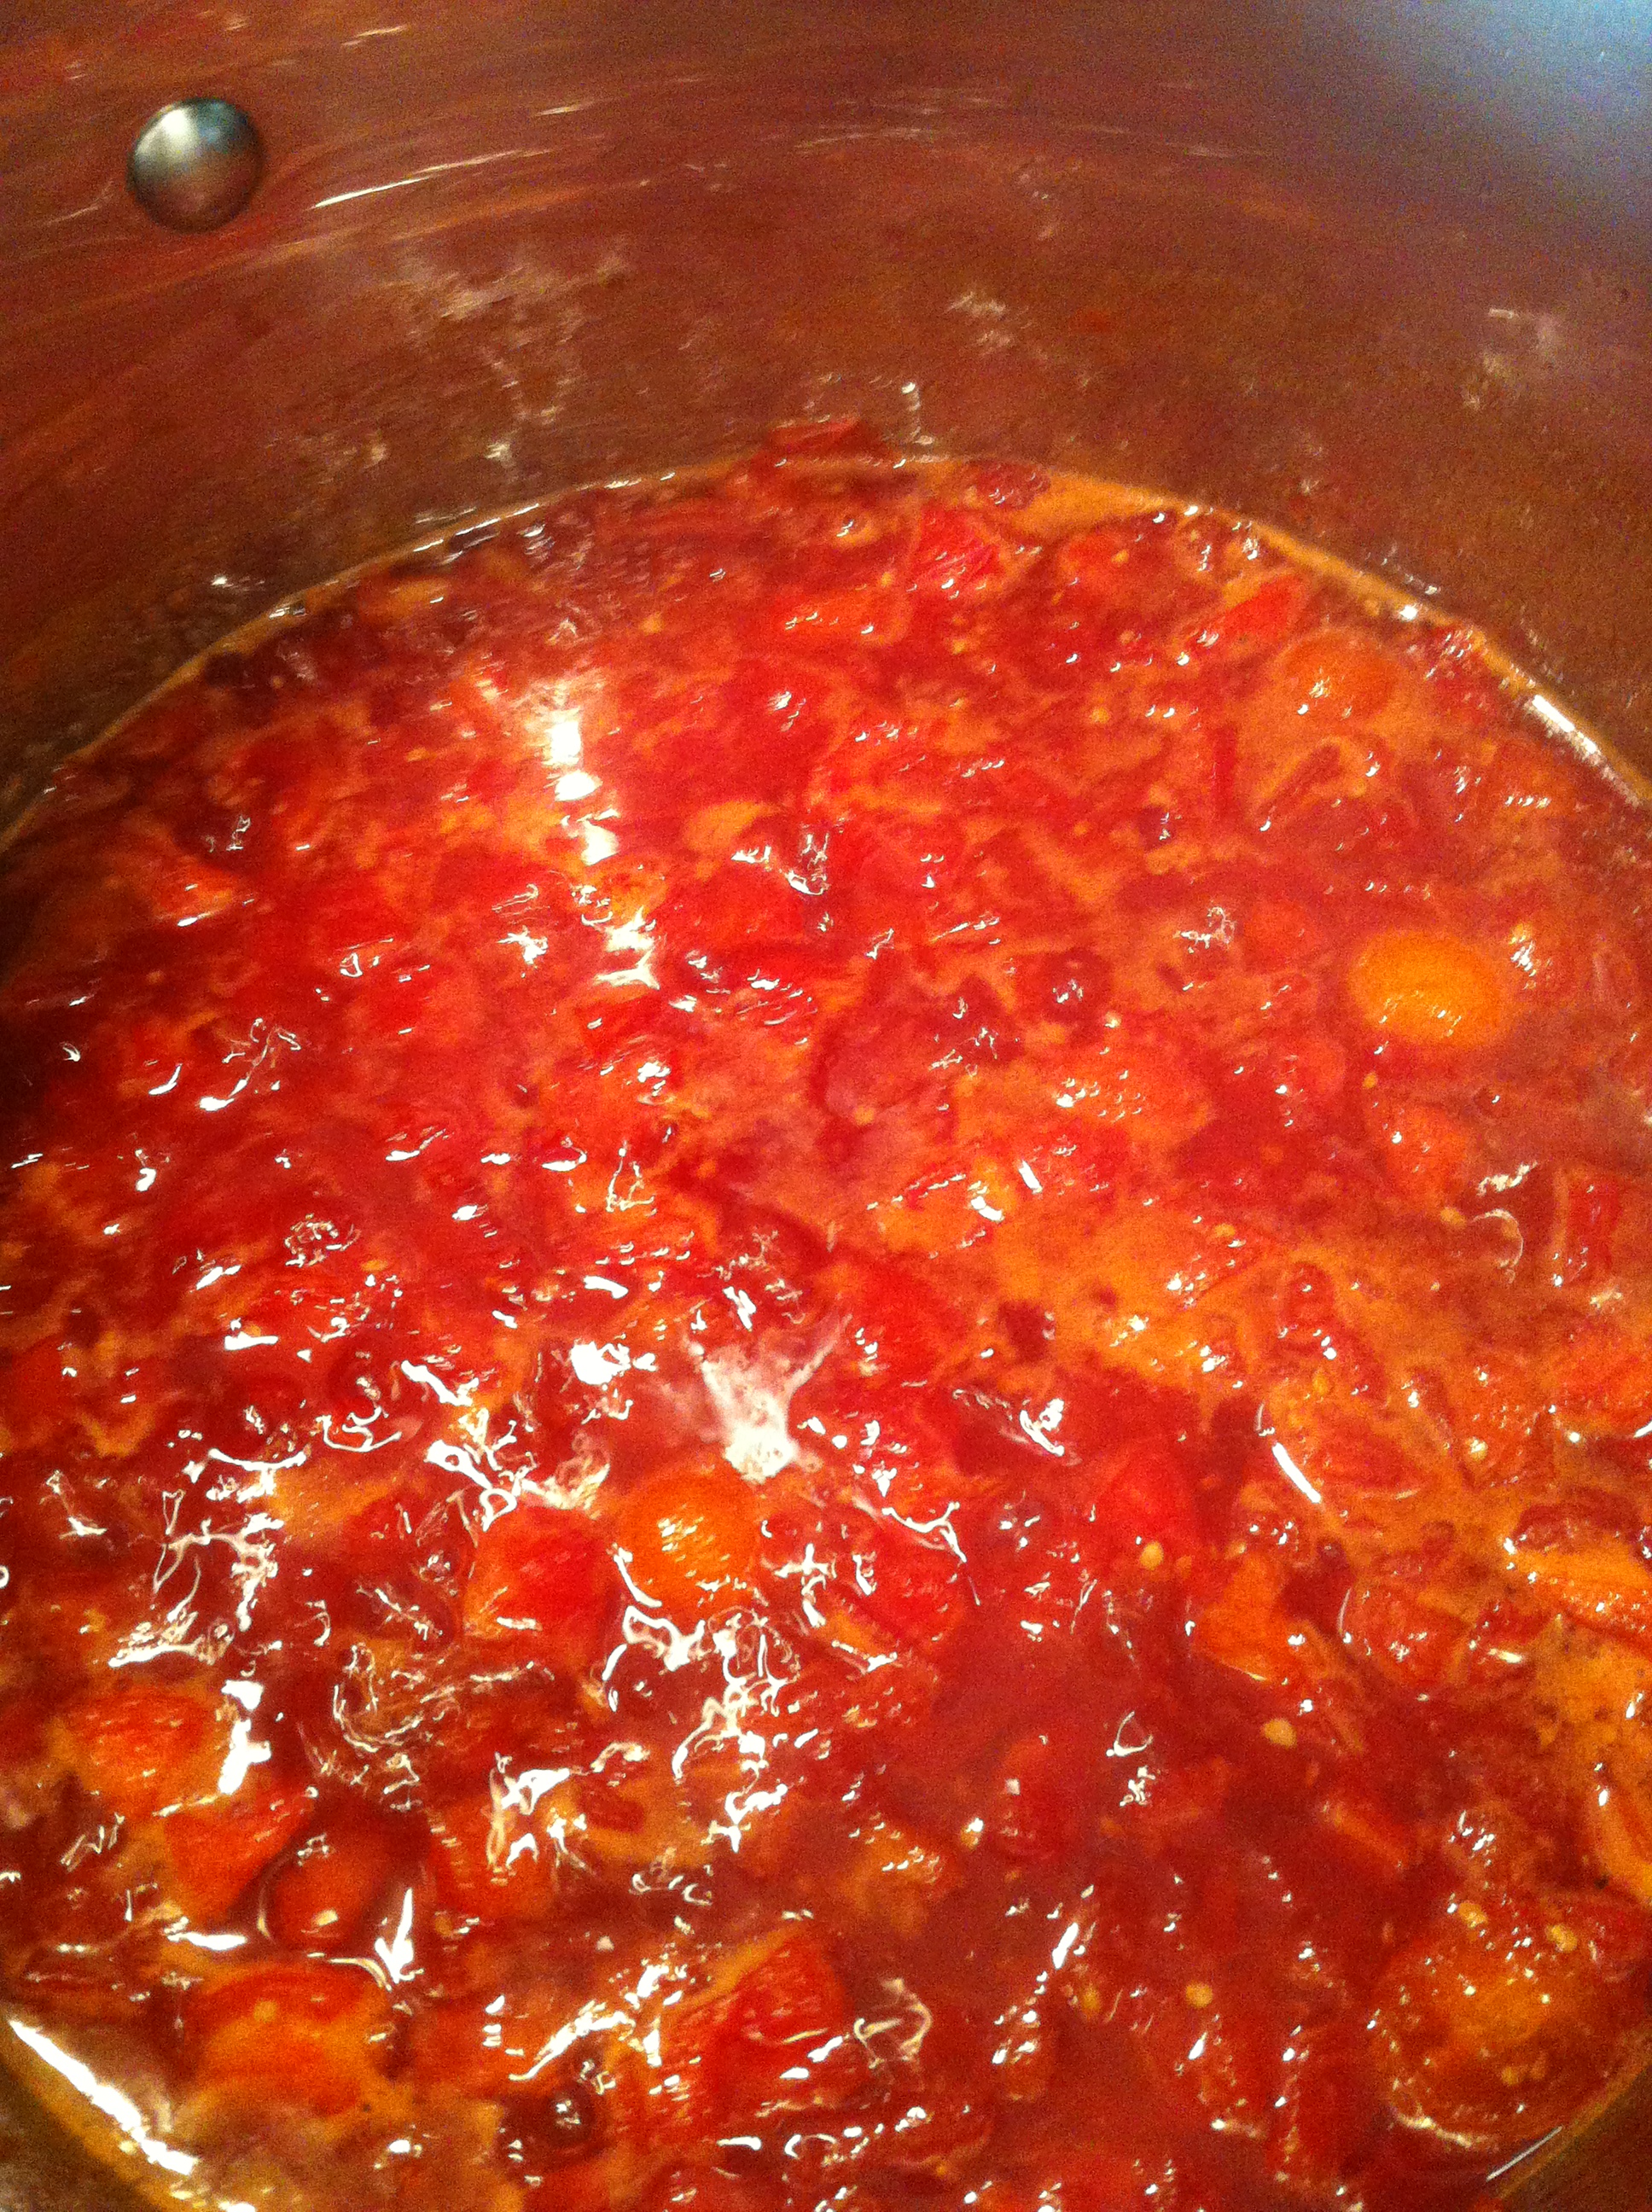
Combine all ingredients in large stainless steel pot, or other non-reactive material. Bring to simmer and let cook for 1 hour 30 minutes, or until jammy consistency reached.

Sweet Tomato Jam bubbling on the stove

Taste and add additional salt if needed to balance flavor. Spoon into glass jars and let cool before refrigerating.

Yield: 3 half-pint jars

For canning instructions, see NY Times recipe

Pesto Gone Wild

The clock is ticking for this year’s herb garden. As we approach frost-like temps in the evening, I know my basil has a limited life span. So, I did some heavy pruning on the basil this weekend and whipped up another batch of pesto to put up for the winter (remember pasta al pesto genovese?). While I was at it, I noticed that  parsley was in need of a trim, too, so did the same for my flat-leafed friend. Did you know you can make a rather tasty pesto sauce out of parsley, too? And arugula, as well, but sadly, don’t have any growing in my garden just yet. Stay tuned for updates on the cold frame…

I followed a recipe from my trusty “How to Cook Everything” by Mark Bittman. From memory, it is something like this:

Ingredients:

2 cups tightly packed, washed and dried parsley leaves
2 cloves garlic, peeled
zest and juice from 1 small lemon
1/4 cup toasted pine nuts (can also use walnuts)
3/4 cup olive oil
salt and pepper

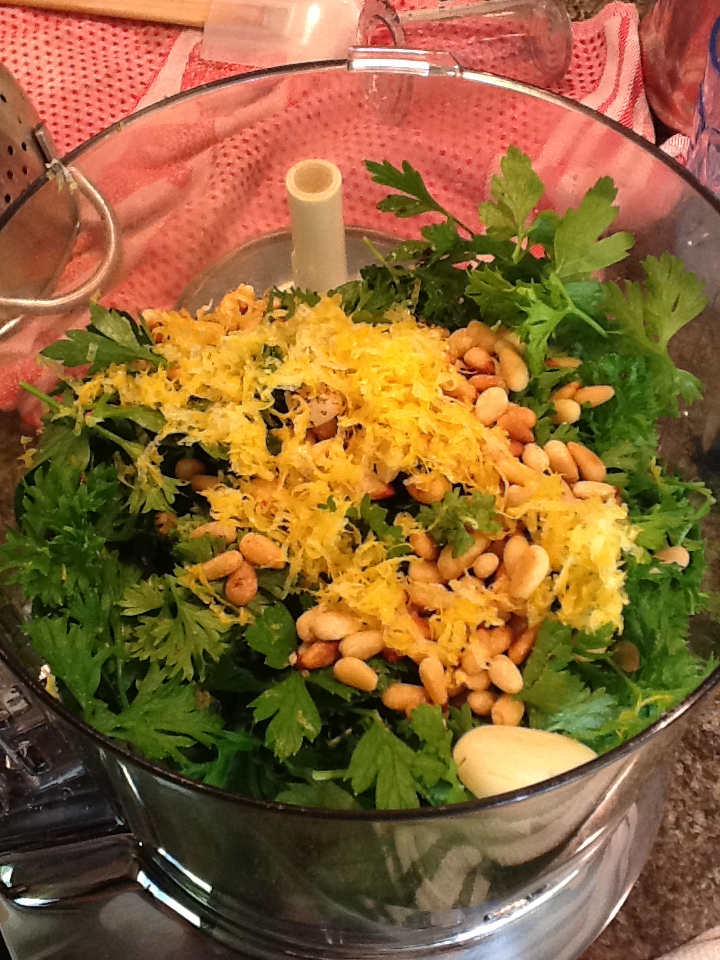
Lemon zest, parsley, garlic and toasted pine nuts ready to whirl

Instructions:

Place all ingredients in food processor or blender, but use only 1/2 of the olive oil. Pulse several times and then drizzle in remaining olive oil until desired consistency is reached. Taste for salt and pepper. Will stay in the fridge for 3 days, or pour a small layer of olive oil on top and freeze. Delicious on pasta, meats, fish, panini, etc.

I enjoyed reading RachelEats’s blog post about her parsley pesto as well. Check it out here.

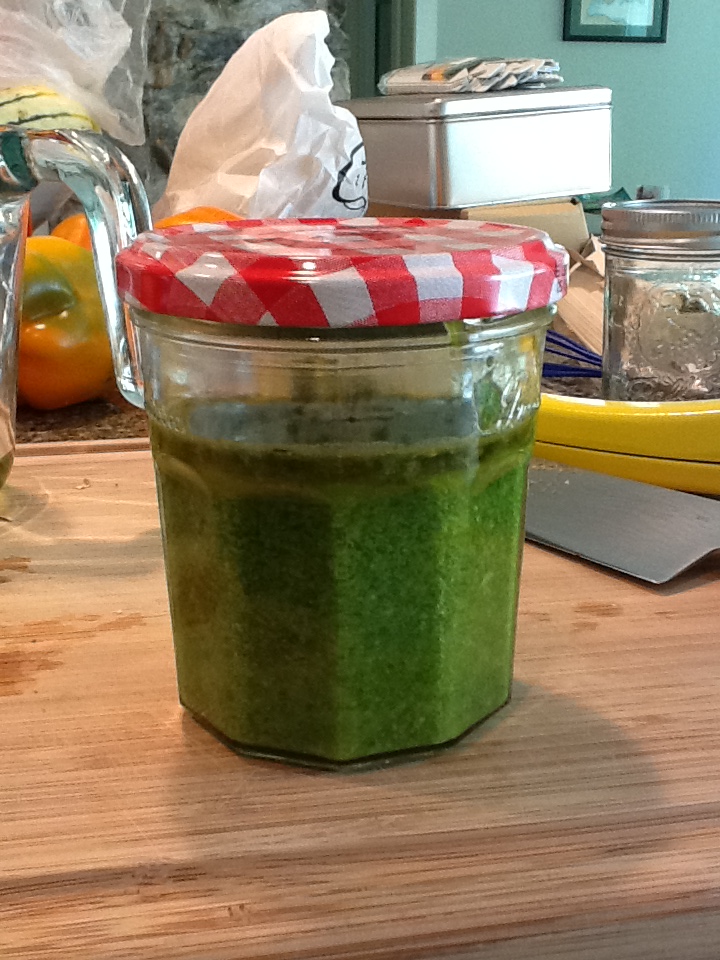
Freezer-ready pesto

It’s Thursday and I’ve finally covered off on all of last weekend’s cooking escapades.

Delicata Squash Delight

Well, it’s Monday afternoon and believe it or not, there is not that much left from my Saturday pick-up. Have had a busy few days of cooking, eating, entertaining.  I much appreciated the help in consuming these delectable perishables. I’ll spend a few minutes reflecting on Saturday night’s pasta experiment with delicata squash, which was a first for me.

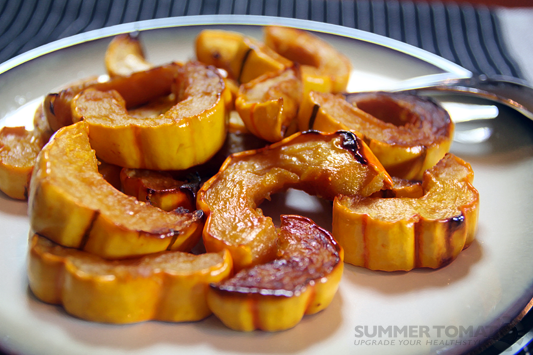
Delicata Squash

The delicata that we picked up from the CSA on Saturday was on the small side, but I still had high hopes for it. I figured its diminutive size could work in my favor – if we liked it, we’d be eager to try more. If we hated it, there wasn’t that much of it in the dish. I was intrigued by how pretty the squash looks when cooked, and by the fact that it doesn’t need to be peeled (bonus!). N.b. photo below is not mine. I did the unthinkable: left home without my phone/camera this weekend.

Roasted Delicata Squash

After some research, I settled on this recipe under the headline Delicious Fall Pasta Recipe from a Chicago chef and  foodie blogger Chow Bella. Given that my pantry was lacking some key ingredients, like radicchio and tallegio, paired with the fact that those foodstuffs would not fly with Hubs,  I took some liberties in my  technique and preparation….Here’s my interpretation of the recipe inspired by Chow Bella’s.

Ingredients:

250  grams or 1/2 box of spaghettini (thin spaghetti)
3-4 Tbs. Olive Oil
1 lb. Delicata Squash
4 cloves of garlic, thinly sliced
1/2 red onion, thinly sliced
1/4 cup Parmiggiano grated cheese [can add Taleggio cut in cubes if you have it on hand]
Kosher Salt and Black Pepper, to taste

Instructions:

Pre-heat the oven to 400 degrees.  Cut the squash in half, lengthwise and trim off both ends, and scoop out seeds. No need to peel the squash.  Slice the squash in 1/4 inch slices.  Toss the squash with 1 Tbs. of olive oil and sprinkle with salt.  Lay the squash evenly on a sheet tray (without overlapping) and roast for 12-15 minutes.

From Chow Bella: Roasted Delicata Squash Sauce

While the squash is roasting, heat a large saute pan with 3 Tbs. of olive oil.  When the oil is hot add the slivered garlic and saute for 30 seconds.  Add the slivered onion, season with kosher salt and pepper, and slowly cook for 15-20 minutes, until the onions are caramelized.  Add the roasted squash and cook for 1 more minute.  Add the 1/2 of the cheese and turn off the heat.

Prepare spaghettini as directed on box.  When the pasta in nearly done, use a ladle to scoop a generous ladle of the pasta water into the sauce.  Drain the spaghetti and then pour into the pan with the sauce.  Stir all of the ingredients together, adding kosher salt, black pepper and a splash of olive oil as necessary to loosen up sauce. Serve with additional Parmiggiano on the side.

Yield: 2 generous servings

Conclusions: Would definitely try this again, and would be curious to prepare it with radicchio. The squash was a little dried out from the roasting, so I adjusted the recipe above to reflect that, and recommend 1/4 inch slices (even 1/2 inch) vs 1/8 inch in the original recipe. We added a little more olive oil at the table, but this recipe had great flavor. The squash is quite tasty, and not as sweet as butternut squash. Hubs said, “It has good flavor.” Final word: we had some leftovers which Hubs and Sam had for lunch the next day re-heated.