Masochism in the Kitchen

So with my massive haul from Wolfe Spring Farm, I had to get cracking on Saturday afternoon.

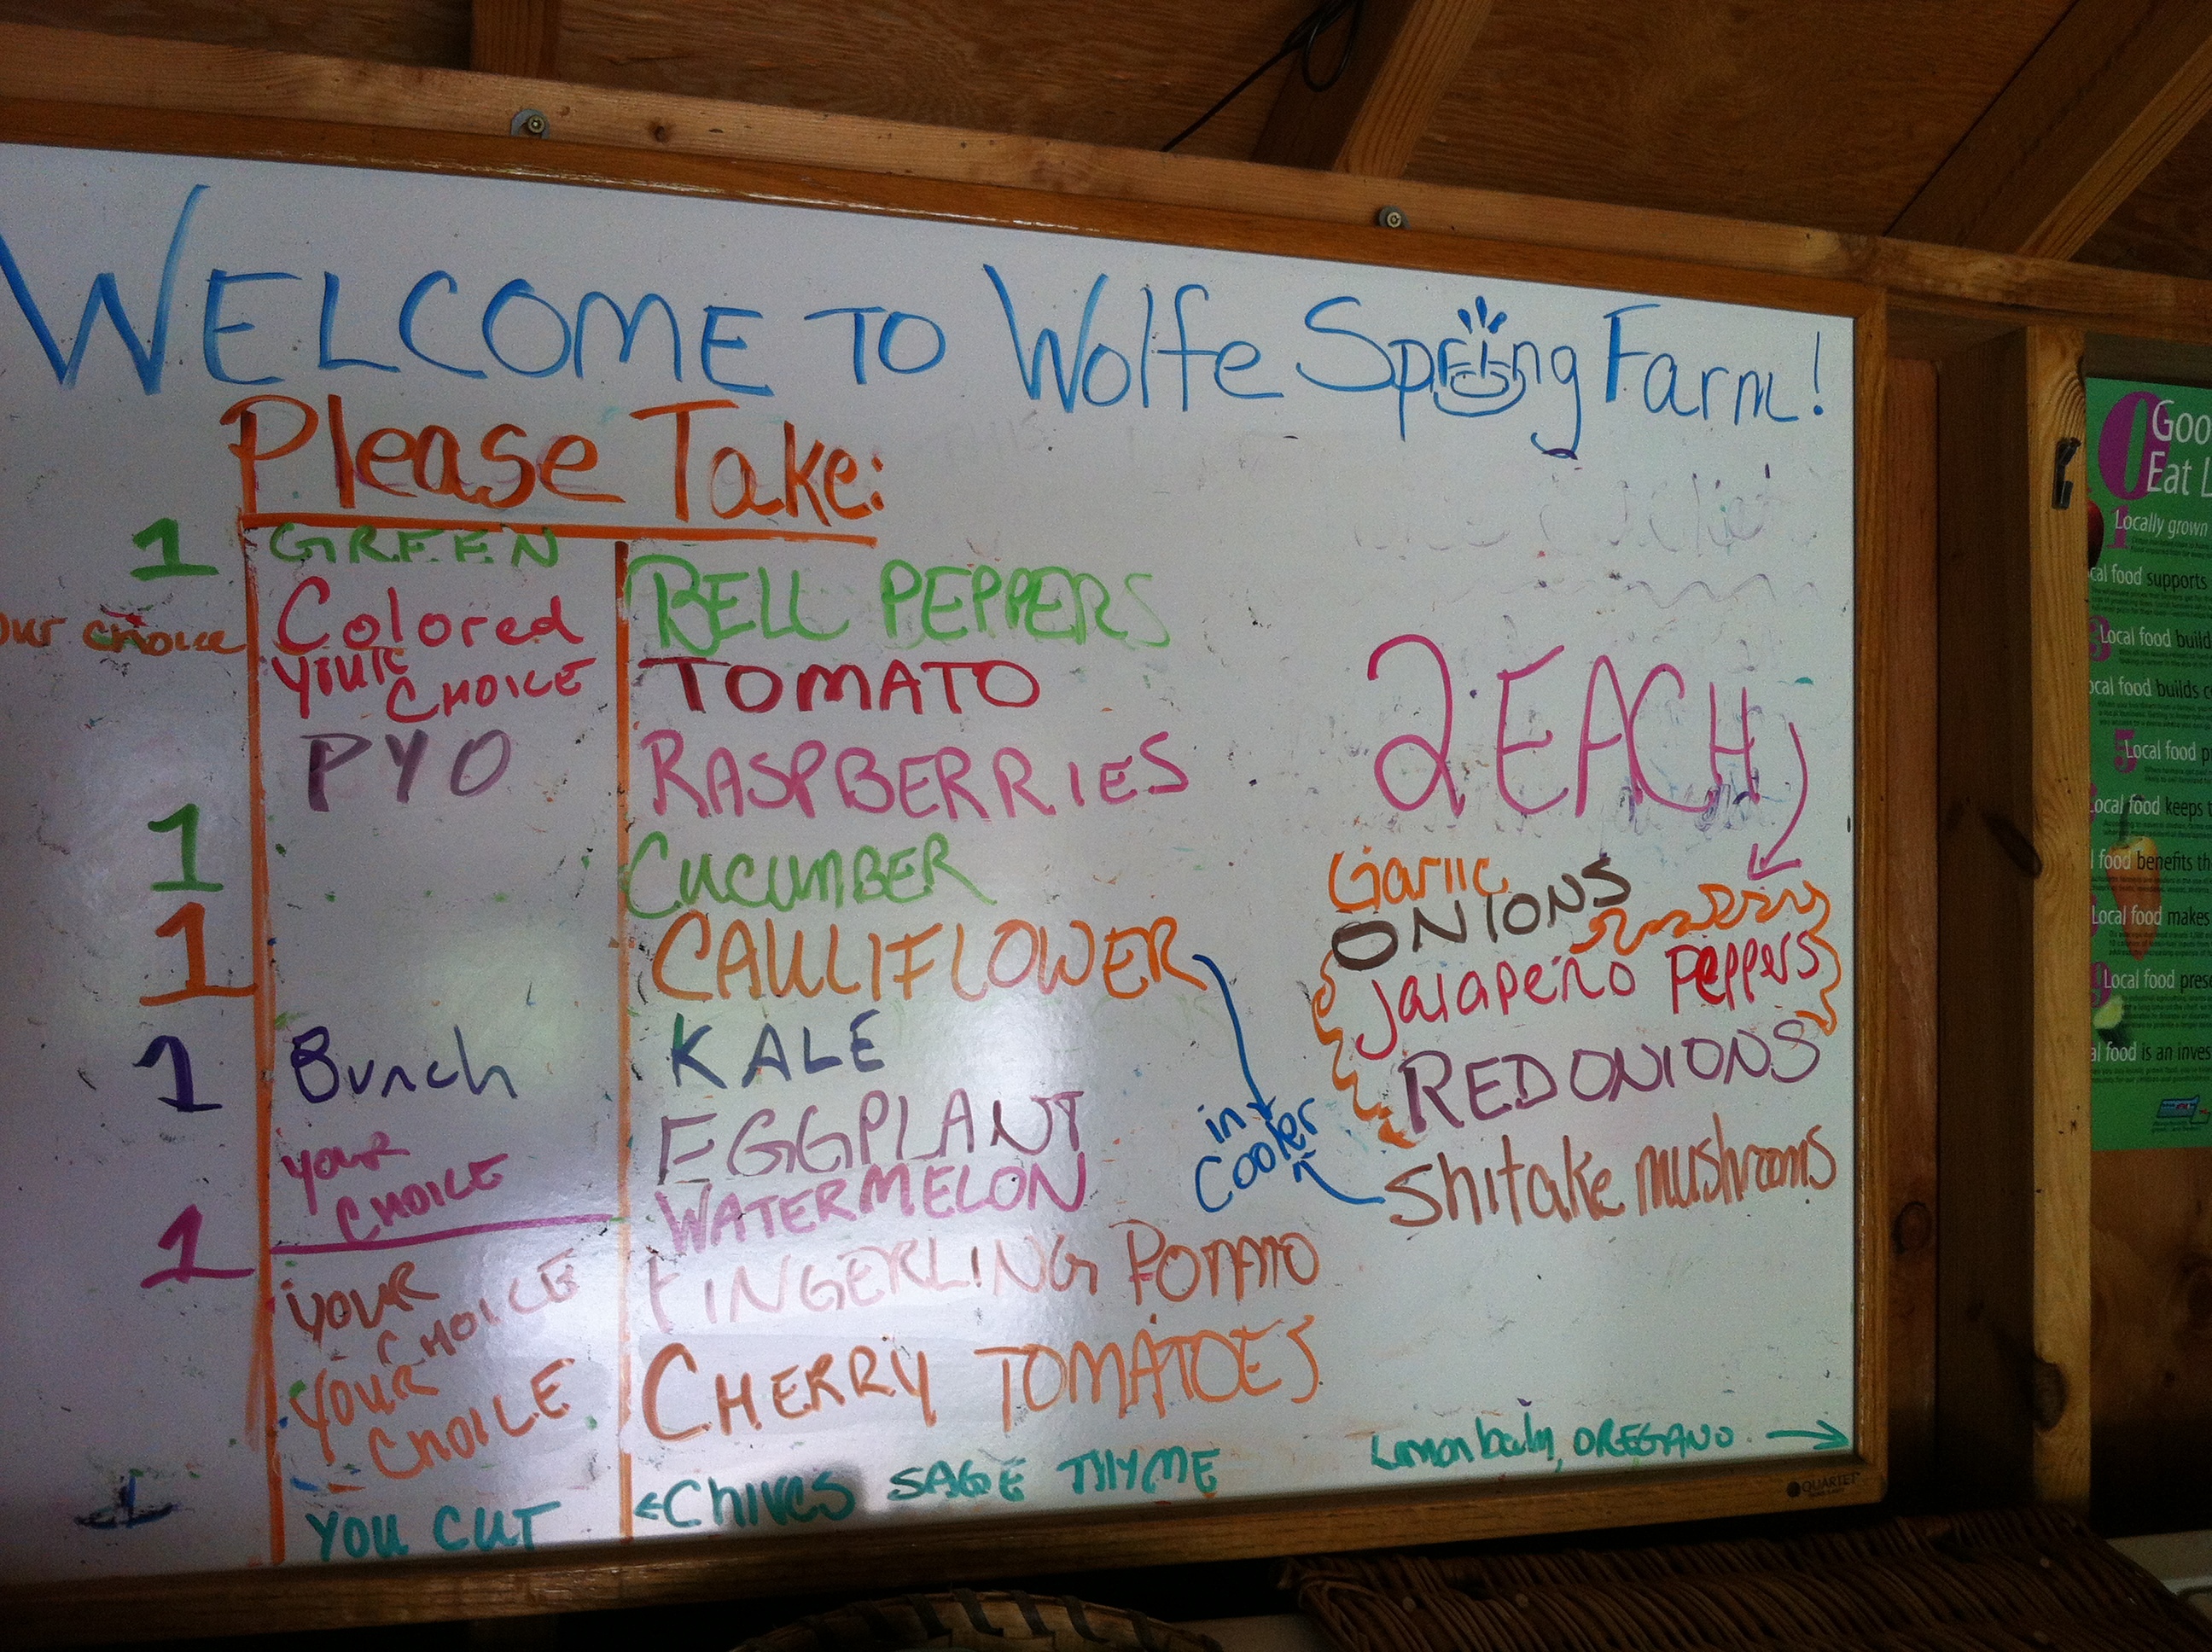
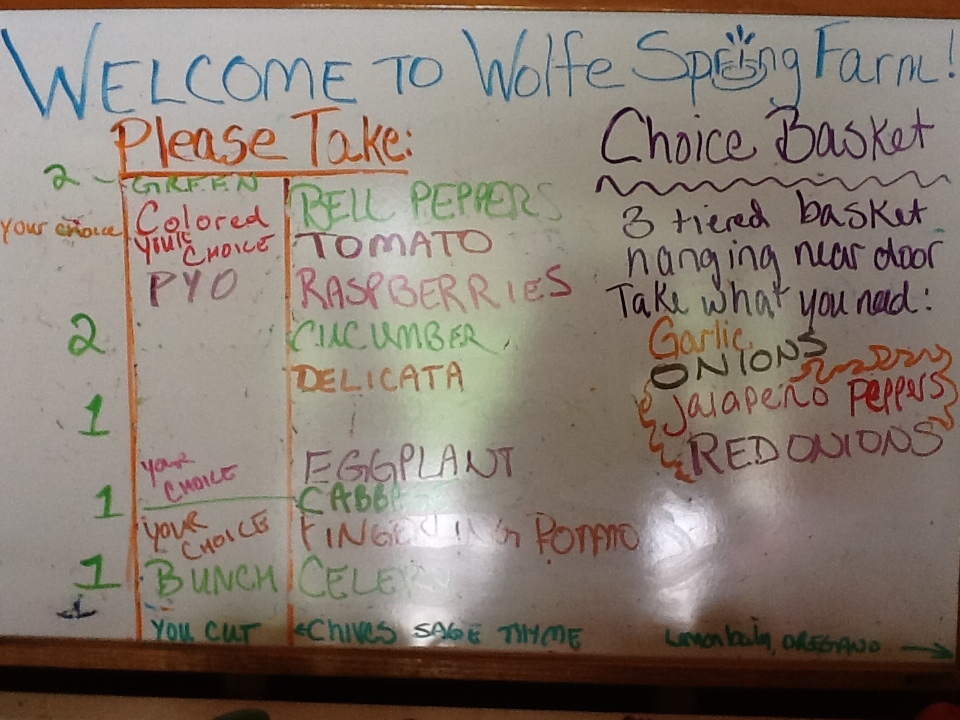
CSA Pick-up 9/22/12. Photo styling courtesy of Hubs

With the crisp evenings we’ve been having, I felt some sort of soup was in order and so the planning began. Soup is always a good way to use lots of veg, and forgiving, too. After some deliberation with Hubs, I decided on a Minestrone-style Vegetable Soup. This would be my lead dish for the weekend. I mapped out my other dishes and figured out which ingredients I could prep simultaneously. I would prep the ingredients for the vegetable soup and Freekeh Pilaf at the same time, since I could chop onions and garlic for both dishes in one shot.

Timing was also a factor, so I decided to put up some of the vegetables because it would be impossible to consume all in the week. The veggies are organic, and most have a short shelf life. I would freeze the bell peppers and roasted eggplant (must chop all peppers first, and grill the eggplant), as suggested by Agrigirl in a comment last week. And the tomatoes would turn into Sweet Tomato Jam, but not until Sunday.

And lastly, why not make some kale chips?

At one point, I had 5 dishes going in various stages of preparation in the sink, on the stove, in the oven and on the grill. Controlled chaos at best. Or, why chefs and cooks who do this, day in, day out, impress me to no end. Like I said, it was my own personal form of self-torture. If I knew how to insert a table into this post, I’d have a matrix with the following headers: Ingredients, Dish, Cooking Method. That’s how much I had goin’ on. And this didn’t even include Saturday night dinner!

The good news is that the “lead” dish du jour, the Vegetable Soup, turned out delicious. I call it Minestrone-style because I used tomatoes and it has a light tomato base, but I didn’t use any beans or pasta, which you usually find in a Minestrone soup. Here is my recipe, and like most others, consider it a starting point and alter it based on what you have in your cupboard.

Ingredients:

3 tablespoons olive oil
1 medium or large onion, chopped
3 cloves garlic, sliced
1 carrot diced,
2 stalks celery, chopped (I didn’t use because we didn’t have any, but highly recommend)
8 cups vegetable broth (or chicken broth for the carnivores)
1 cup tomatoes, chopped, cored and seeded
2 small potatoes,  diced in 1/2 inch,
1 Parmiggiano cheese rind (I keep the rinds in a plastic bag in the back of my fridge. Use in risottos and soups, add great flavor)
1 cup winter squash, diced (I used spaghetti squash and surprisingly, turned out great. Had never used it in a soup)
1 bell pepper, chopped
1 cup shredded cabbage (left over from last week’s pick-up. A head of cabbage goes a looong way)
Large handful of parsley, leaves only, chopped
Salt and pepper to taste

Instructions:

In large soup pot, on low-medium heat, saute onions and garlic for 5 minutes in olive oil. Add carrots and celery and continue to saute until vegetables are softened.  Add potatoes, squash and bell pepper (or whichever “hard” vegetables you are using – turnips, parsnips would also be great). Saute for 2-3 minutes to give vegetables some color.

Sauteed “hard” vegetables in the pot

Add liquid – broth and chopped tomatoes, and Parmiggiano rind, if using. Bring to a boil and let simmer for 20 minutes, or until “hard” vegetable soften. Add cabbage and parsley (or other “soft” vegetables or greens, like zucchini, kale, collard greens, etc). Season with salt and pepper, simmer for an additional 15-20 minutes. Allow to cool. Serve with shredded Parmiggiano cheese and a drizzle of olive oil, if desired.

Yield: 6 – 8 servings

Minestrone-style Vegetable Soup

What’s left in the basket from my CSA Pick-up? Cauliflower, a cucumber, cherry tomatoes (I was greedy with these), watermelon, raspberries (not worried about the fruit) and 2 shiitake mushrooms. Looking for suggestions for the shiitake mushrooms and cauliflower. Any ideas?

Unlikely bedfellow: tomatoes, vanilla and JAM

Decided to do something completely unconventional with my 3 pounds of tomatoes. Like many folks, we are burnt out on fresh tomato sauce, bruschetta, and tomato salads by this time of the year. So I decided to to give this intriguing recipe for Sweet Tomato Jam posted on the NY Times a whirl.

I was skeptical, but it is a good one. Melissa Clark does not disappoint. The refrigerator jam is super sweet and savory simultaneously. Beautiful color, and really easy to prepare once you put some elbow grease into chopping up 3 pounds of tomatoes. I made a few modifications, like using less honey than the recipe called for simply because I ran out, and vanilla extract because I didn’t have any vanilla beans on hand. I also added a few dried red chili peppers to add some heat to balance the sweetness. I’ve included my version below. Of course, I have no idea how we will consume all this scrumptious jam…rather, I fear I will consume it all on my own.

Ingredients:

3 pounds firm ripe tomatoes, cored and diced (about 8 cups)
1/2 cup honey
1 cup granulated sugar
1/2 teaspoon lemon zest
2 tablespoons lemon juice
2 tablespoons vanilla
2-3 dried red chili peppers (optional)
Pinch fine sea salt

Instructions:
Combine all ingredients in large stainless steel pot, or other non-reactive material. Bring to simmer and let cook for 1 hour 30 minutes, or until jammy consistency reached.

Sweet Tomato Jam bubbling on the stove

Taste and add additional salt if needed to balance flavor. Spoon into glass jars and let cool before refrigerating.

Yield: 3 half-pint jars

For canning instructions, see NY Times recipe

CSA Pick-up 9/22/11: masochism

Hello people, as Baby Sam would say. Another red letter day at Wolfe Spring Farm. New this week: watermelon, shiitake mushrooms, kale and cauliflower

20120922-195352.jpg
Here’s what we prepared today:
– Freekeh Pilaf
– Minestrone soup (100% local, ex tr olive oil and parmiggiano)
– Smashed fingerling potatoes and garlic
– Kale Chips
– Roasted Eggplant
– Insalata Caprese

That’s where the masochism comes in. And I’ve still got 3 pounds of tomatoes left – yellow cherry tomatoes and standard red tomatoes. Any suggestions other than tomato sauce?

Tabbouli Tabbouli Tabbouli

I just said it 3X because it’s kind of a dirty word in our house. Some people (who will go unnamed) won’t touch it. So instead of putting it on the menu, I made a delicious quinoa recipe on Saturday with fresh tomatoes, cucumbers, and garlic from our CSA pick-up, along with parsley, chives and mint from our garden, and didn’t utter the 8 letter word. And what do you know? It was roundly enjoyed.

I’ve written about quinoa and its virtues before, so no need to blather on about that. I will say that this recipe from Bon Appetit for Tabbouli-style quinoa was easy to prepare and very enjoyable: crunchy, summery, fresh and healthy. It also lasts a day or two, tasting better on day 2 if you ask me.

Bon Appetit’s Tabbouli Quinoa. My preparation looked the exact same

I prepared the recipe with minimal modifications and it was perfect [used chopped and seeded hothouse tomatoes instead of cherry tomatoes]. Here’s how I know:

  1. Aesthetics: it looked exactly like BA’s photo above (ex the cherry tomatoes)
  2. 2nd Helpings: Served at a casual buffet lunch and discerning guests came back for more (ok, not super scientific, but unless everything else tasted awful…)
  3. The “H” Factor: Hubs liked it

Just call it something else. Chalk up another win for quinoa. I still have to try Rebecca’s recipe before the end of the month.

CSA Pick-up 9/15/12

Image

20120916-163307.jpg
What a great haul this week at Wolfe Spring Farm. Great tomatoes, multi-hued peppers, onions, garlic, eggplants and (new this week) celery.

Here’s what we’ve prepared so far:

Details to come. Must rest now.

So much Veg!

What’s for Monday Night Dinner? Insalata di Farro

It’s hard to let go of summer. That, plus I had a half bag of pearled farro staring me in the face that I had smuggled back from Italy.

Farro Perlato imported from Italy in small batches. In my suitcase

Farro is an ancient Italian grain that is high in protein and retains a nice chewy crunch when you cook it. It is similar to barley or spelt, but not exactly either. Go figure. I know it’s odd to bring back grains as a holiday souvenir, but real farro is hard to find stateside. And, as you know by now, I hate to let anything go to waste.

I also had a hodgepodge of veggies left over from Saturday’s CSA pick-up, so I decided to make a simple Insalata di Farro, or Farro Salad. It is reminiscent of any other type of grain salad, like quinoa or rice salads.

Not to brag, but  carnivorous Hubs deemed this vegetarian meal “quite good.”

Insalata di Farro with radishes, tomatoes, peppers and scallions

You’ll see the recipe below, but consider this a starting point. You can use any cooked or raw veggies that you may have on hand, and you can also add some cut up cheese or meat for additional protein. While we were in Tuscany, our neighbor Chiara prepared an Insalata di Farro  with mozzarella, chick peas, tomatoes and potatoes. Delish.

Ingredients:

1 cup farro
4 tablespoons olive oil
2 tablespoons lemon juice [can use red wine vinegar or balsamic vinegar if you don’t have any lemon]
1 – 2 tomatoes, seeded and chopped roughly
4-6 radishes, thinly sliced
4 scallions, chopped
1 bell pepper, seeded and chopped roughly
Salt and pepper to taste

Instructions:

Rinse farro well before use. Put in medium pot and add 4 cups of water. Bring to a boil, salt well, and then let simmer uncovered for 30 minutes. While the farro is cooking, you can chop up your veggies and make the dressing.

Chopped Veggies: Chef’s choice

Put lemon juice (or vinegar) in a small bowl and drizzle in olive oil while stirring to make the dressing. Add salt and pepper to dressing

Farro is ready when it has softened and the water has evaporated.

Almost ready: Farro on the stove

Keep an eye on it while it cooks. If the water absorbs too quickly and it’s not ready yet, you may need to add another 1/2 cup of water. Once it is ready, take it off the burner and fluff with fork. Let it cool. Once cooled, add to large bowl with the chopped veggies and dressing. Taste for seasoning. Garnish with chopped parsley or basil, if you like. A tavola!

Yield: 3-4 servings

Comfort Food, My Style: Sole Meuniere and Rice Pilaf

We’ve been back from our trip for a few days, and I am still struggling with a spot of jetlag and general post-vacation malaise. I finally had the itch to cook today, but it had to be something easy, familiar and tasty.  Nothing to boost the spirit like 2 favorite go-to dishes for dinner, and also a guarantee of a no-complaint meal. It’s my version of comfort food, so disclaimer disclaimer disclaimer that this is NOT a particularly healthy, local or nutrient-dense meal. As an aside, I picked up the handy phrase nutrient-dense from my friend Tamara John Mannelly who recently launched a beautiful new foodie blog. Check it out. But now right now as you must continue to read this…

Last night’s menu consisted of a simplified Sole Meunière and a dummied-down Rice Pilaf. And, yes, both these dishes do create a monochromatic palate often associated with fried foods, but like I said, don’t judge. It’s comfort food.

Flounder Meuniere, Rice Pilaf and Heirloom Tomato Salad

In order to spice things up the light brown palette, I sliced up an heirloom tomato (drizzled with olive oil and sea salt) and added it to our plates for color. This one plate meal was delish and hit the spots. No complaints, only clean plates  – guaranteed.

Here’s what I did: prepared a large batch of brown rice earlier in the day, in a nod to nutritious eating, though I knew I’d be doctoring it up later. In a medium sized pan, I sauteed some scallions in a generous pour of olive oil, then added the pre-cooked brown rice, along with salt and pepper and sauteed for 3 or 4 minutes on medium heat. The rice gets a little crispy, and the olive oil and scallion give it a really nice flavor. You can saute red onion, yellow onion, or shallots (or a mix) in place of the scallion. I call this dummied-down Pilaf because it is simpler than a traditional Pilaf, both in preparation, as well as complexity of taste.

Simple Pilaf in the Pan

And here’s my recipe for “Sole” Meuniere. I actually used wild flounder, not sole, because I liked the looks of it on the fishmonger’s counter. You can prepare any thin, white fish fillet in this manner. It need not be the classic French “sole” which can be pricey and hard to find.

Sole Meuniere for 2

  • 4 tablespoons butter
  • 2 tablespoons olive oil
  • 3 or 4 tablespoons of matzoh meal (or flour – I like matzoh meal because it has more texture than plain flour and my mom always uses it)
  • 1 teaspoon of savory dried herbs, like herbs de provence, or thyme, tarragon, or any other spice blend you may have on the shelf
  • 2 tablespoons freshly squeezed lemon juice
  • Salt and pepper
  • Small handful of fresh chopped flat-leaf parsley for garnish (no biggie if you don’t have any, but nice for color)
  • 2 fillets of sole (or any other fresh, thin white fish like flounder, tilapia, etc)

Instructions:

On a plate or a piece of waxed paper, mix matzoh meal or flour with dried herbs (you will dredge the fish fillets in this, so use whatever surface is easiest for you). Add healthy pinches of salt and pepper. Heat a large cast iron or non-stick pan on medium high for 1-2 minutes until very hot. Then add 2 tablespoons butter and 2 tablespoons olive oil. Once butter melts, but before it turns brown, dredge fish fillets in matzoh meal/flour mixture and place in pan.

The olive oil/butter will spatter, so watch out. Depending on thickness of fillets, cook for 2-3 minutes on each side. You want to make sure that the fillets turn a nice light brown.

Flounder fillets on side 2 – almost ready

You can test doneness by sticking a fork into the fish. They are ready when you meet no resistance. Side 2 will take less than time than side 1. Once the fillets are ready, use a spatula to remove each one and place directly on serving plates. You are now going to make a quick sauce de-glazing the pan. Very simple, not to worry

Using the same frying pan, lower the heat from Medium-high to Medium or Low-Medium depending on your stove. Add the additional 2 tablespoons of butter to the pan. It will splatter again (sorry!), but just step back and let the butter melt. Once melted, it should be safe to get closer to the stove again. Use your spatula to scrape the good bits n pieces from the pan and mix with the butter. Now add the lemon juice, let it sizzle again, mix with the spatula for 10 seconds and you’re ready to go.

Divide sauce between the two plates, pouring directly on the fillets. Sprinkle chopped parsley on top for garnish, if you have it. Serve with lemon wedges if you wish, just serve immediately.

————————-

Like I said, this meal isn’t particularly healthy since it uses a LOT of butter and olive oil, but it is tasty, easy and rewarding. What’s your fave comfort food?

Guess who’s back?

No, not the slim shady, just me, your fearless foodie writer. Back from my Italian adventures and eager to hit the keyboard. I’ll spend a few minutes sharing about my trip and then we can get back to business. And how can I not thank the tireless efforts of my fabulous guest blogger Dan Doern? Was he great, or what? If you didn’t get a chance you should check out some of his inventive recipes, like roasted edamame, or breakfast pizza. I hope Dan will continue to contribute to the blog.

The trip was great: lots of carbs and vino were consumed, few churches were visited, and I honestly didn’t hit the pots and pans once. I visited friends in the Alps, and then spent the rest of the trip at the Tuscan seaside. We took advantage of Italy’s love of children to bless restaurant owners and casual diners with our son’s vivacious presence at mealtimes, dinner included. And when we dined at home, it was a simple preparation, more assembly than anything else. This picture of Sam reaching on his tippy toes for freshly baked focaccia sums it up.


Sam reaching for freshly baked focaccia – San Vincenzo, Tuscany, Italy

I took advantage of the delicious, locally grown, seasonal fruits with daily pit stops at the nearby fruit stand to stock up on peaches, plums (from green to fuschia to purple)  like these,

Reine-Claude plums


grapes and tomatoes of every color, size and variety. And also made daily pilgrimages to local bakeries and focaccerie.

For lunch there was usually bruschetta (or crostini, a local version), insalata caprese, freshly baked focaccia and an assortment of local cheeses like pecorino and thoughtfully prepared meats and salamis. We did have pasta at home a few times, but only in it’s simplest form. I prepared some store-bought hand-made ravioli on a few occasions, drizzled with olive oil and grated parmigiano. But I don’t really count that as hitting the pots and pans. No sauces were cooked, no ovens were heated, and no recipes were used on this trip. And that was just fine.

So, stay tuned for more recipes and musings from yours truly. And let’s give it up for Dan – woot woot!

Panzanellamania

I had heard of this Italian dish and it always sounded nice. But we don’t eat a lot of bread so therefore we rarely have stale bread. It never came to be. And it seems silly to buy something just so it could get stale. We’ve made many tomato basil cheese etc salads but the stale, crusty bread hadn’t joined the party. So…..with the perfect storm of house guests last weekend who didn’t eat everything we bought (including a delicious, now hard as a shoe, Berkshire Mountain Bakery baguette), beautiful ripe Wolfe Spring Farm tomatoes bursting with juice, extra roasted WSF garlic sitting around, uneaten boiled WSF corn that was in the fridge for a day or two, fresh parsley, basil, and chives from our garden. I came to understand the true origin and beauty of this dish. Cut it all up, toss it all together with whatever vinegar turns you on (I used white balsamic the first time and it was a little timid. Then, good old supermarket red wine vinegar and it was just right), olive oil, salt and pepper (I also added little bit of minced WSF jalapeño for pizazz and some cubed pressed tofu for protein) let it sit for 10 minutes or so until the bread softens a little in the juices of the tomatoes , vinegar and oil, and BOOM, dinnuh! and lunch, and a snack. I was possessed by this fresh, quick, flavorful assembly of stuff lying around. I ate so much of it. I think it would be great with a little red onion, fresh cheese, anything you have left over that does’t seem too gross to put in. My guess is that the corn is not authentic but I adapted the dish to our region. Even though a dish may be common, tried and true, or part of the popular repertoire, it still feels new and exciting when we discover it, even “invent” it, for ourselves, doesn’t it? I think this is one of the great joys of cooking.

Got Bread?

Parsley, Sage, Rosemary, no Time

Next, we made an amazing grille-roasted chicken with a Wolfe Springs Farm naturally raised chicken, some WSF fingerling potatoes, some herbs from our garden and some WSF tomatoes.

Slip a few herbs under the chicken’s skin, cram some lemon wedges and whole herbs in the cavity, salt and pepper everything in sight and throw it in a pan (this one was a wedding gift that we dedicated to the grill) cook for a while, add some sliced onions and crushed garlic, cook until done, serve with sliced fresh WSF tomatoes and chopped basil. The whole cooking time was about 1.5 hours – just enough time to have a bloody mary or two. This was a truly sublime feast.

The raw ingredients

“How Easy is That?” Dave at the grill, channeling Ina Garten.

Work in Progress

Add onions and WSF garlic

BOOM! Dinnuh!