Pie Pumpkin, but no Pumpkin Pie Lovers

What to do? I picked up an adorable pie pumpkin yesterday at Wolfe Spring Farm, but no one in the household or immediate circle of friends likes pumpkin pie. And, it’s post-Halloween, so how many more pumpkins do I need to decorate the home? Options: Roast, bake, compost, allow to decompose.
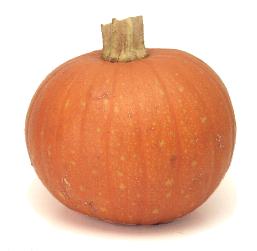
Pie Pumpkin

Pumpkin Seeds

Crispy, Spicy Pumpkin Seeds

I opted for roasting since I also wanted to use the seeds inside to make homemade spicy pumpkin seeds, an excellent side benefit of carving or cooking pumpkins. Plus, pumpkin is actually quite healthy. Pumpkin is rich in carotenoids, the compounds that give the pumpkin its bright orange color, including beta-carotene, and Vitamin A, and fiber. What’s not to like?

I had a 2 pound pumpkin, which was pretty manageable to cut open. I started by slicing it in half, and using a soup spoon to scoop out the seeds, reserving them in a separate bowl. I then put my knife to work, slicing the pumpkin into 1″ thick wedges. I mixed up some olive oil, honey and spices and tossed the slices with the mixture on a baking sheet. Popped it in the oven and let them do their thing for a good 45 minutes. And voila! Roasted pumpkin.

Honey Roasted Pumpkin Slices

1 small pie pumpkin
2 tablespoons olive oil
1 tablespoon honey
1 teaspoon ground cumin
1/2 teaspoon cardamom
1 teaspoon kosher salt
dash of cayenne pepper
dash of black pepper

photo (2)

Honey Roasted Pumpkin

Preheat oven to 425 Fahrenheit. On a sturdy cutting board, and using a large chef’s knife, slice off stem of pumpkin and cut pumpkin into 2 vertical halves. Scoop out seeds and flesh with a soup spoon. Set seeds aside in a bowl if you’d like to toast them for a bonus snack (recipe below), or discard. Cut pumpkin into slices vertically (they will look half-moons). Using a spoon or paring knife, remove any additional strings from the flesh.

In a small bowl, mix together remaining ingredients. Place pumpkin slices on a rimmed baking sheet and toss the slices in the the olive oil – honey mixture. Lay slices out on sheet in 1 layer. Sprinkle with an additional pinch of kosher salt and black pepper, and cayenne pepper (if using). Place baking sheet in oven. Roast for about 45 minutes, flipping slices 1 time half-way through the cooking time. Use a fork to see if the slices are tender. They should be lightly browned as well. Peel skin off before serving with a knife or gently remove the flesh by sliding a fork between the skin and the flesh. The pumpkin can be served warm or at room temperature, and will last 3 – 5 days in the refrigerator. Enjoy!

Crispy, Spicy Pumpkin Seeds

Raw pumpkin seeds
1 tablespoon olive oil
sprinkle of cayenne pepper
1/2 teaspoon ground cumin (or any other spices that you like
Kosher salt and black pepper

Preheat oven to 325 Fahrenheit. Assuming you are using the pumpkin seeds from your recently carved or sliced pumpkin, you’ll need to spend a few minutes cleaning up the seeds. This is arguably the most pain-staking part of the recipe. Place the pumpkin seeds in a wire mesh strainer and remove any large chunks of flesh. Then rinse the seeds under running water, making sure that you’ve removed any visible flesh and the seeds are clean. Then place seeds on a paper towel and dab them to remove excess water. They don’t have to be bone dry. I usually use 2 paper towels for this, no more.

Mix remaining ingredients. Like the recipe for roasting the pumpkin slices, place the seeds in one layer on a rimmed baking sheet (I was using my one rimmed baking sheet, so I used a pizza pan instead). Pour the olive oil mixture over the seeds and use your hands or a spoon to coat them evenly if possible. Bake for 10 minutes. Remove from oven and give pan a shake and stir around the seeds. Return to oven for another 10-15 minutes. The seeds are ready when they are lightly browned. Some may get darker, which is just fine. Taste for doneness. Allow to cool and then place in sealed container. They will last for about a week at room temperature. Enjoy your healthy, homemade snack!

Sunchokes, Anyone?

Sunchokes courtesy of TheKitchn

I am mildly obsessed with this late fall tuber – the sunchoke, aka Jersusalem artichoke. Sunchokes are super tasty, easy to prepare, contain protein (!!) and low in starch. They could easily be mistaken for ginger root in appearance, but have a consistency more like celeriac or a potato (with a much better nutritional profile). And, they are available now in the Northeast, so local+seasonal. I guess I commented one too many times during dinner on my affection for this veg.  Said Hubs, ” Yeah, I got it,” all the while scraping his plate clean. This is one in a series on the lovely sunchoke.

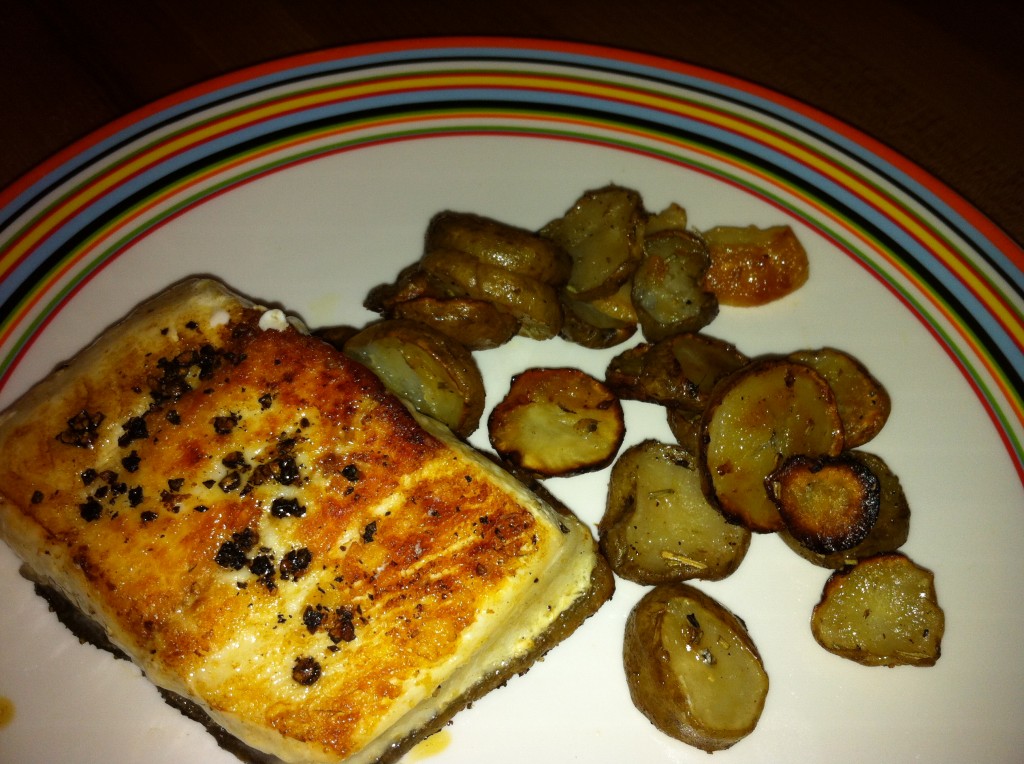
Last Monday night’s meal consisted of Pan Seared Halibut with Oven Roasted Sunchokes and a mixed green salad to finish. It was a hit.

Pan Seared Halibut and Oven Roasted Sunchokes

I wanted a simple recipe for the halibut, and I got my inspiration from the the King Estate Winery’s website. I cracked a handful of peppercorns, and then pressed them into each side of 6 ounce halibut fillets, along with a sprinkle of kosher salt. I heated up a splash of olive oil in my cast iron pan on medium heat, and then seared the fillets for about 2 minutes on each side. Done.  I had previously prepared the sunchokes, so dinner was basically ready to go in less than 10 minutes. Here is my recipe for the sunchokes. Must try

Oven Roasted Sunchokes for 2

Oven Roasted Sunchokes

1/2 to 3/4 pound of sunchokes, scrubbed and slice 1/4 inch thick. Do not peel
2 or 3 tablespoons olive oil
5 or 6 cloves of garlic, peeled and smashed
1 teaspoon dried rosemary, or a small sprig of fresh rosemary, if you have it
Kosher salt
Freshly ground pepper

Heat oven to 425F. Toss sunchokes in a mixing bowl with olive oil, garlic, rosemary, salt and pepper. Place in a 9X13 roasting pan and cook for 15 minutes. Shake the pan once or twice. The sunchokes are ready when they are softened and lightly browned. You can keep them in the oven longer if you’d like to get them a little crispier. Enjoy!

Reliving the Glory of Summer – Pasta al Pesto Genovese in the Fall

Post-Thanksgiving Pasta – Sounds like a bad idea, right? I am a few weeks late with this post, but I hope you will still find it entertaining.

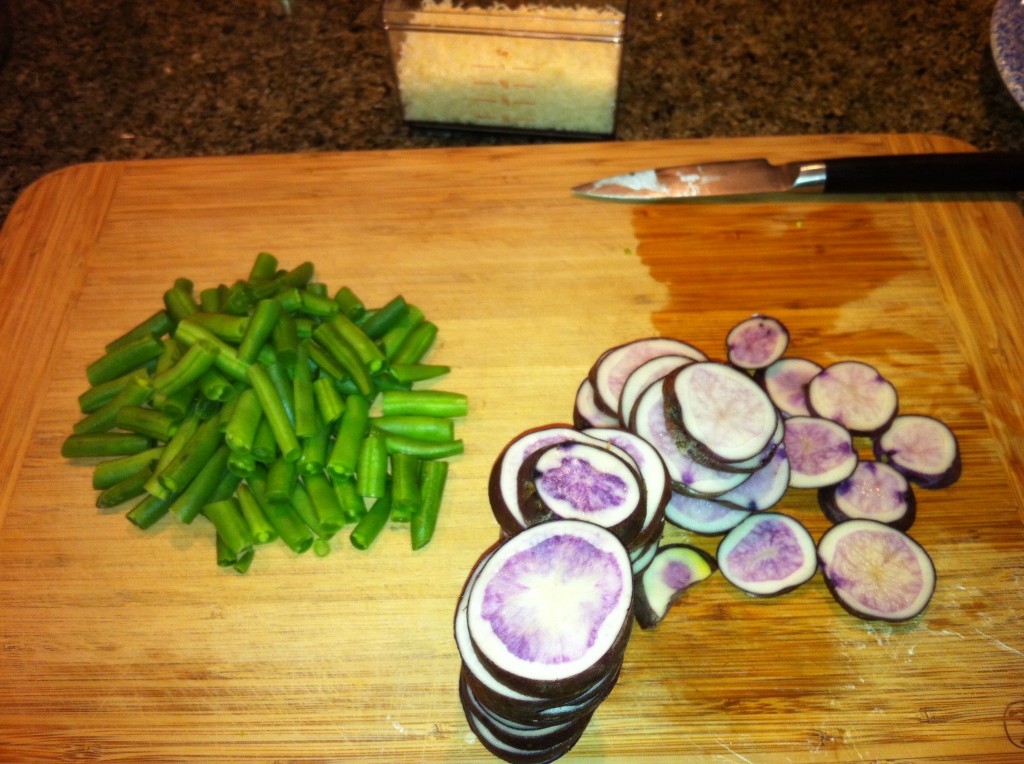
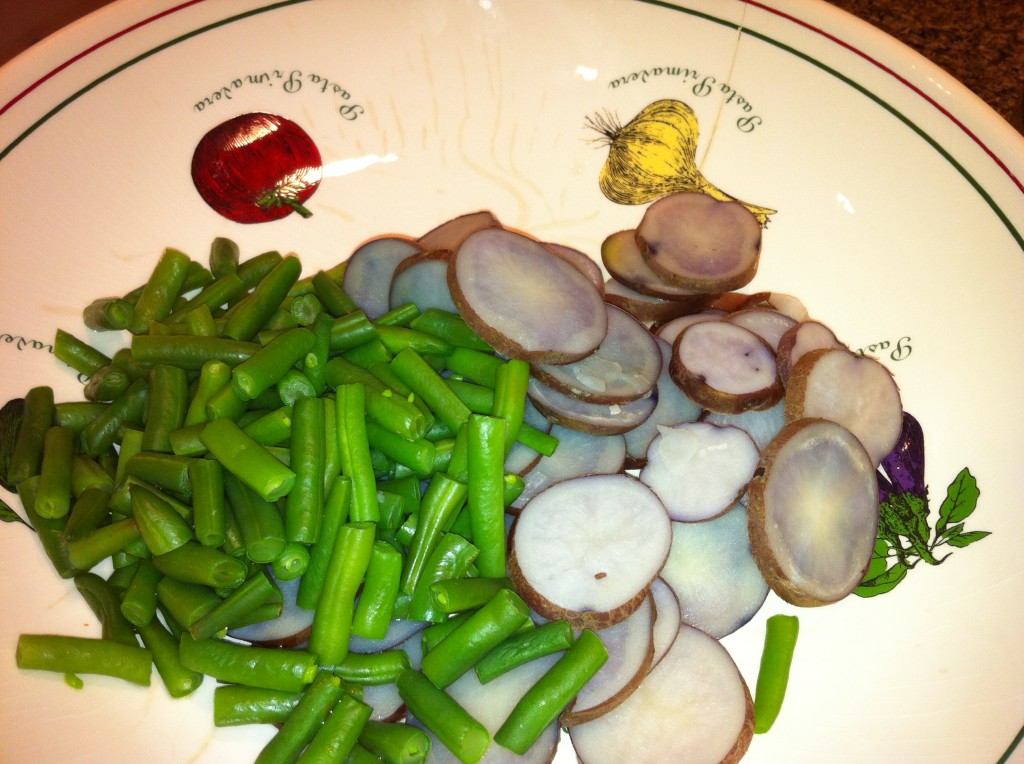
Pretty Purple Taters and Green Beans Ready to go

Pasta al Pesto was great excuse to reminisce about the summer’s bounty.  And required no additional shopping – a bonus after hitting the grocery store multiple times while prepping for Thanksgiving. I pulled a glass jar of pesto out of the freezer Saturday morning to defrost, excited for my resourceful quasi-pantry meal. We had purple potatoes leftover from the last CSA pick-ups (remember, potatoes do last), and the green beans, while neither local or seasonal at the moment, were leftovers from Thanksgiving dinner. We cleaned and sliced them up, and boiled the potatoes first, then the green beans, using the same water.

Boiled potatoes and green beans, awaiting their turn

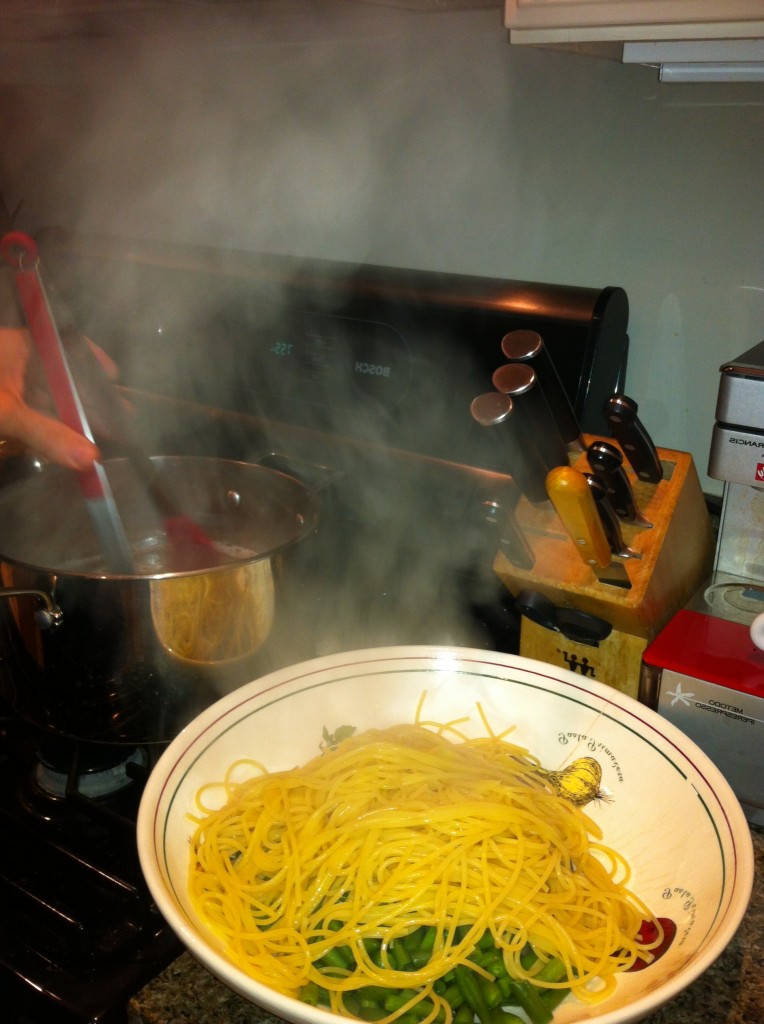
Set aside the veggies, then cook the pasta in the same water. While the pasta cooked, I thinned out my frozen pesto with some additional olive oil, and added 1/2 cup of grated parmiggiano to the pesto. If you prepare pesto for the freezer, don’t add the cheese until you are ready to use it.

Add the spaghetti, steaming, straight from the pot

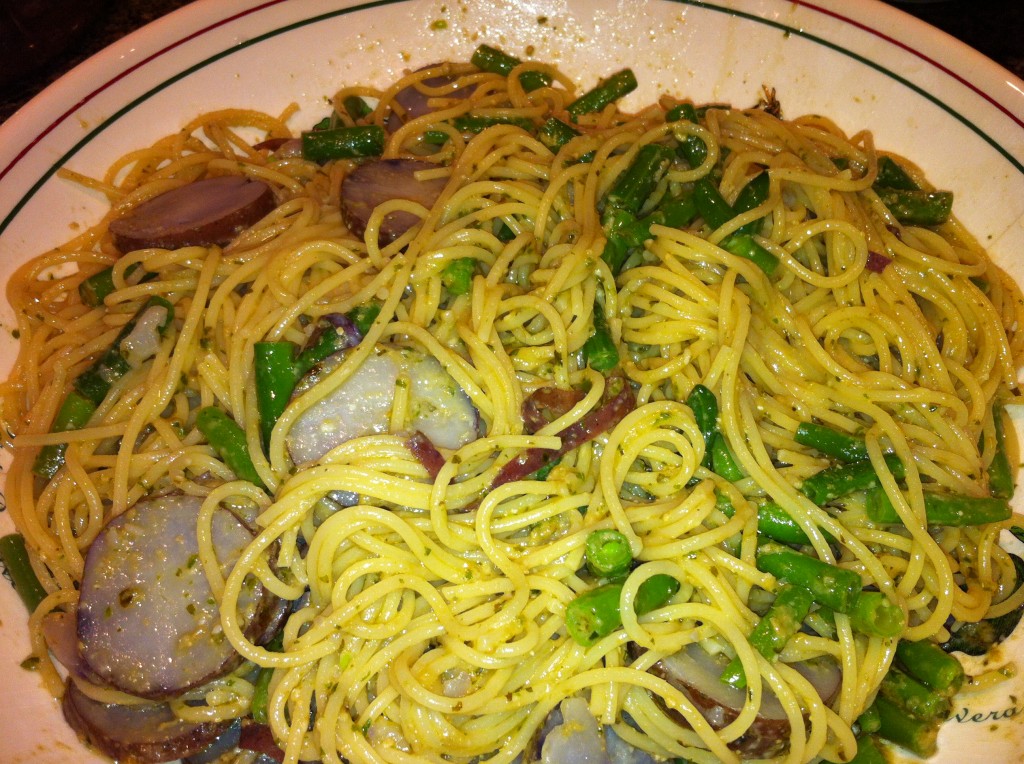
Add the pasta to a large bowl with the green beans, potatoes, pesto and a splash of pasta water. Toss well.

Fabulous Fall Meal: Spaghetti al Pesto Genovese

Tutti a tavola! Spaghetti al Pesto Genovese on a chilly November night. I loved dipping into my pantry to pull out previously prepared treats.

Tell me what you’ve used from  your pantry lately.

Seasonal and Local: Crispy Caramelized Brussel Sprouts

I will readily admit that I used to hate Brussel Sprouts. I thought they were bitter, ugly and generally unpleasant. They were truly one of the only vegetables I didn’t eat. Then a few years ago I hit the tipping point – I tasted Crispy Caramelized Brussel Sprouts. Slightly crunchy, chewy, super flavorful, salty, with a touch of sweetness. Life changing. I have played around with the recipe, but basically it as follows.

Crispy Caramelized Brussel Sprouts

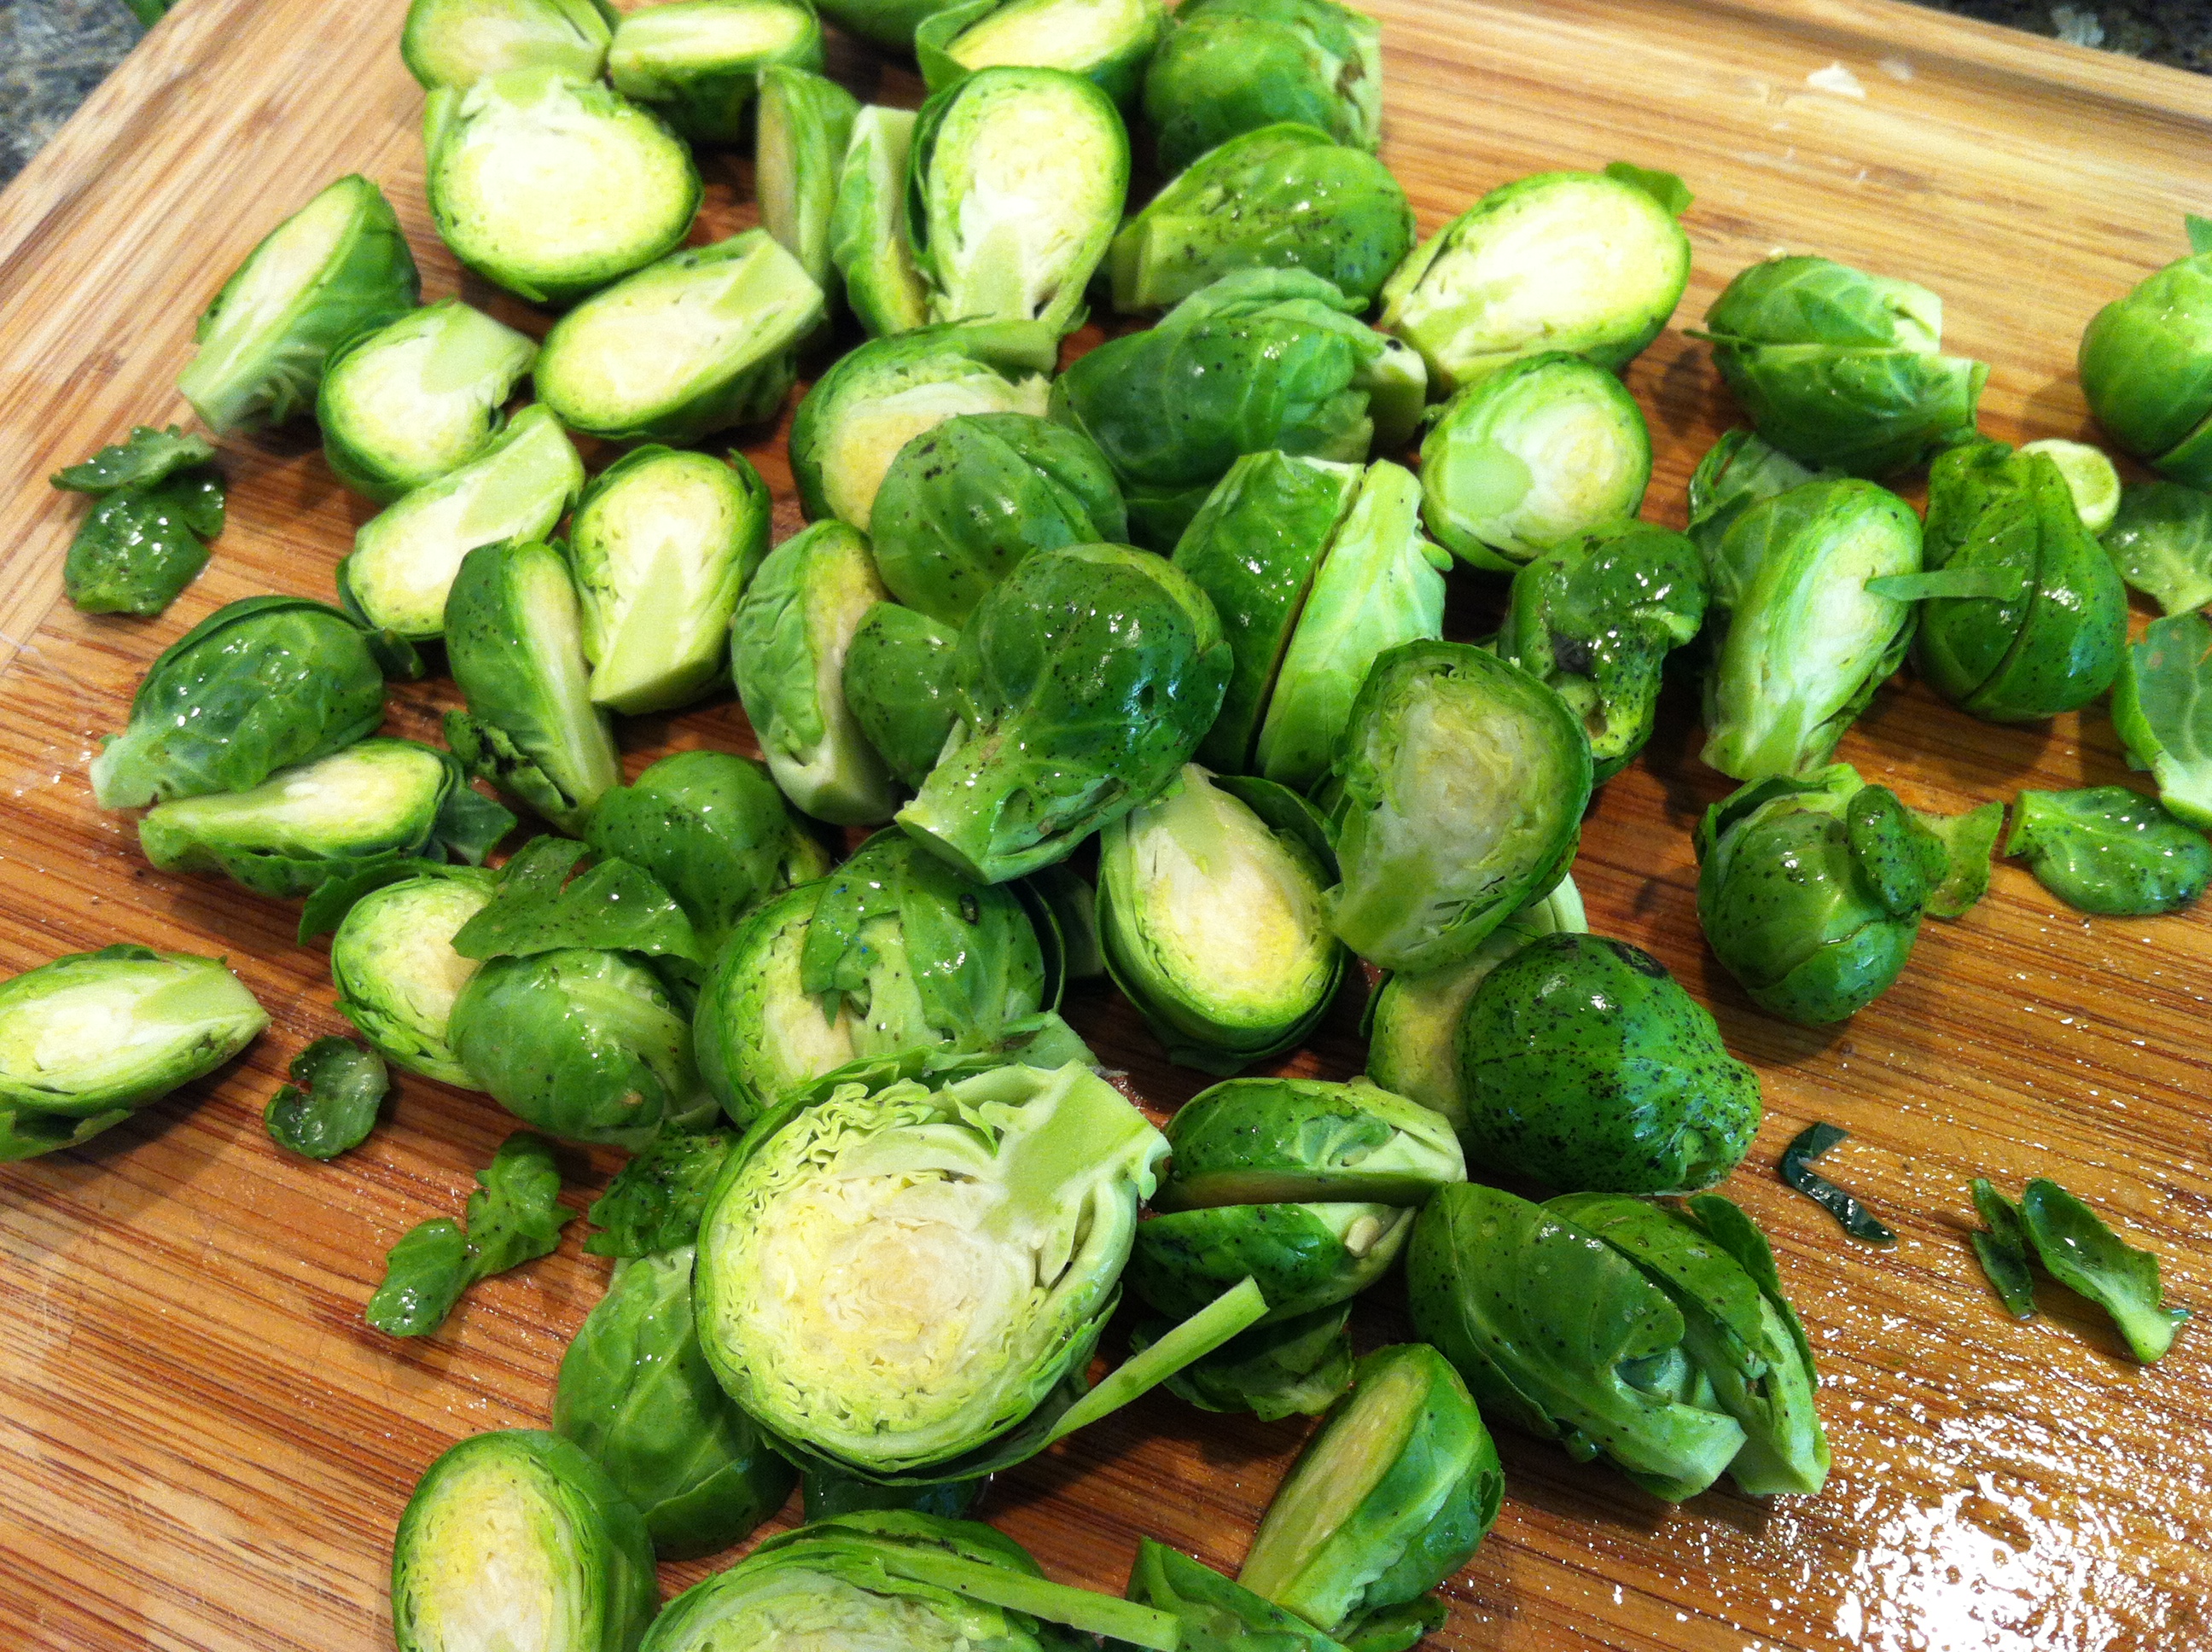
Brussel Sprouts: Trimmed, split and ready to cook

Wash and trim the brussel sprouts, slicing off the end of the stem and cutting them in half lengthwise. Peel and smash 4-6 cloves of garlic. Preheat oven to 400F.

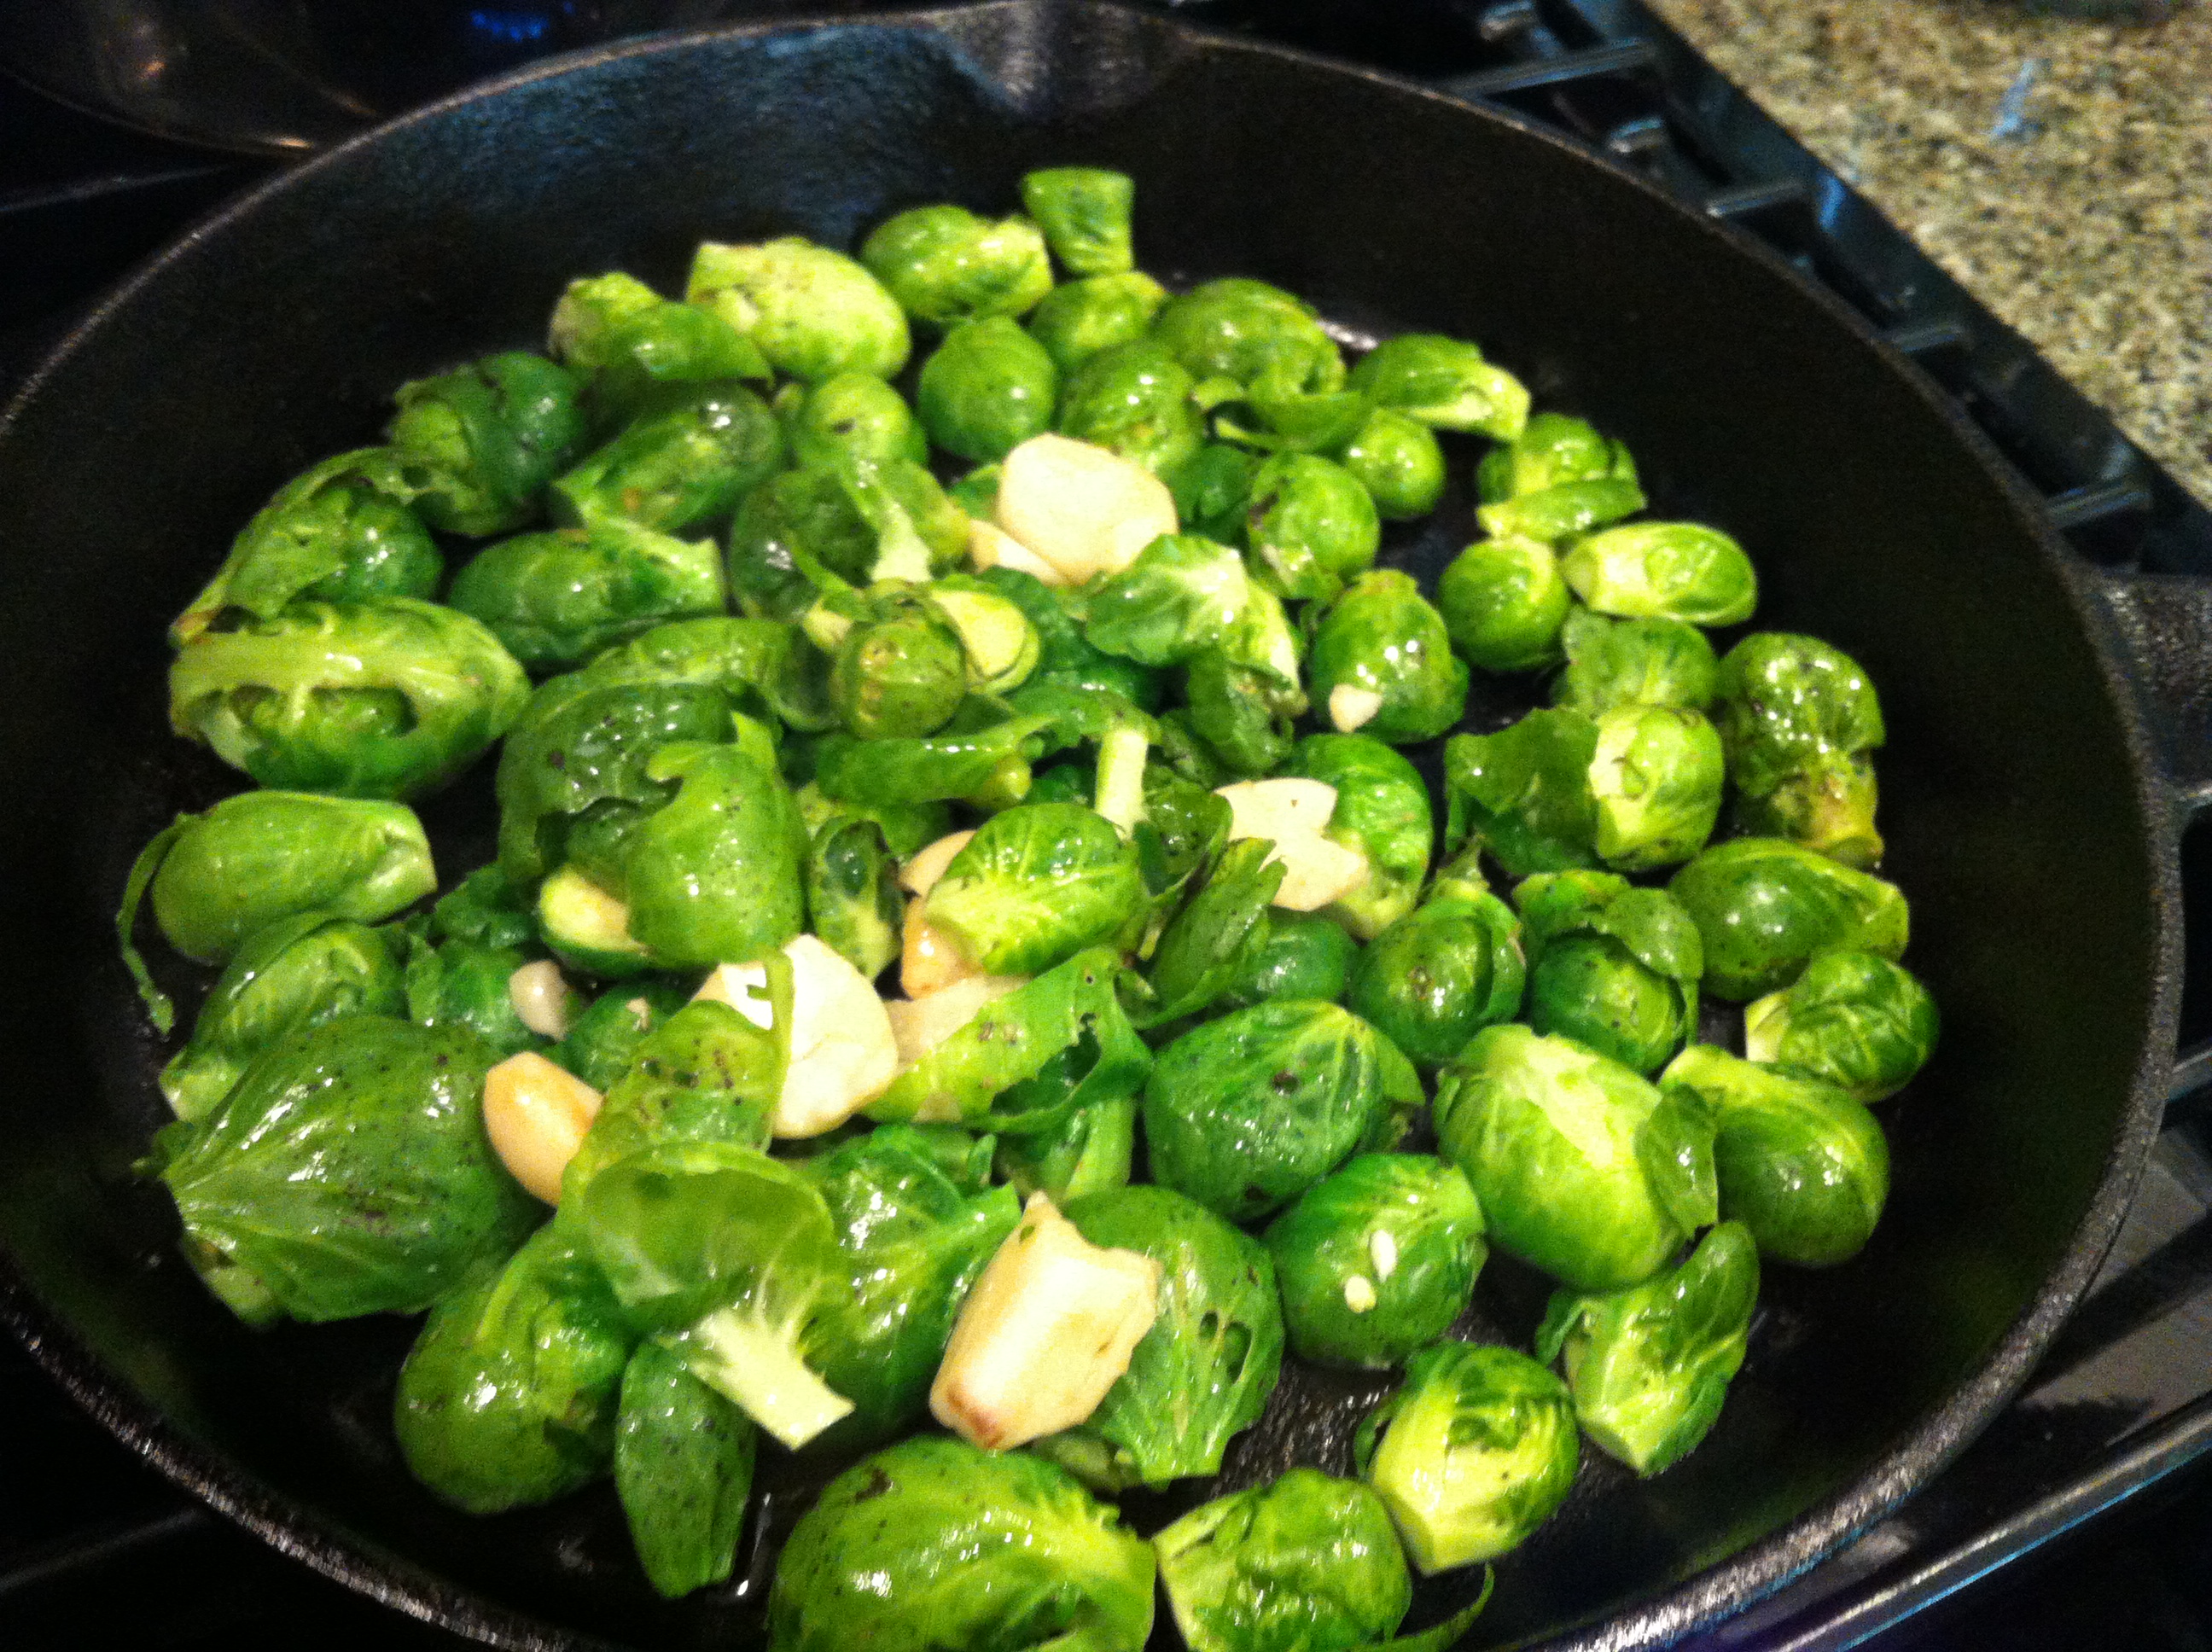
Take an ovenproof pan or baking dish (cast iron pan works great, or even a pyrex dish) and pour a healthy glug of olive oil in it. Make sure to select a pan that is large enough to allow you to place the brussel sprouts in one layer. Heat olive oil in pan over medium heat on stovetop for several minutes until hot. Arrange brussel sprouts, cut side down in one layer in pan and toss in garlic, sprinkle some kosher salt on top . Leave on stove top 8- 10 minutes untouched, letting underside caramelize. You may need to adjust the heat of the burner to medium low.

Caramelizing on the stove top in cast iron pan

Place pan in oven and cook for another 10 – 15 minutes or so until brussel sprouts are cooked through. Test with a fork, or taste one to see if they are tender. You will have beautiful browned, yet still green brussel sprouts.  Serve warm or cold. Enjoy

Crispy, Caramelized Brussel Sprouts