
Kitchen Helper
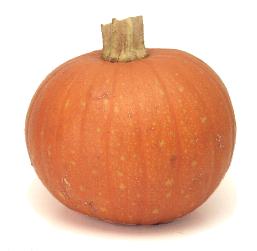
With 2 jars of leftover, homemade, organic pumpkin puree in the freezer, and a light snow falling outside, it was time to make the pumpkin bread.
Along with my little helper, we scoured the internet for recipe ideas, alighting on 3 that looked good, but not quite right. So, taking some liberties, I combined the best points of each recipe, keeping healthy ingredient options in mind, along with availability in my pantry (no one is going shopping at 7 AM on Saturday morning!) and developed the recipe below. We found inspiration on Cooking Light and Food52 (a personal favorite for recipe ideas).

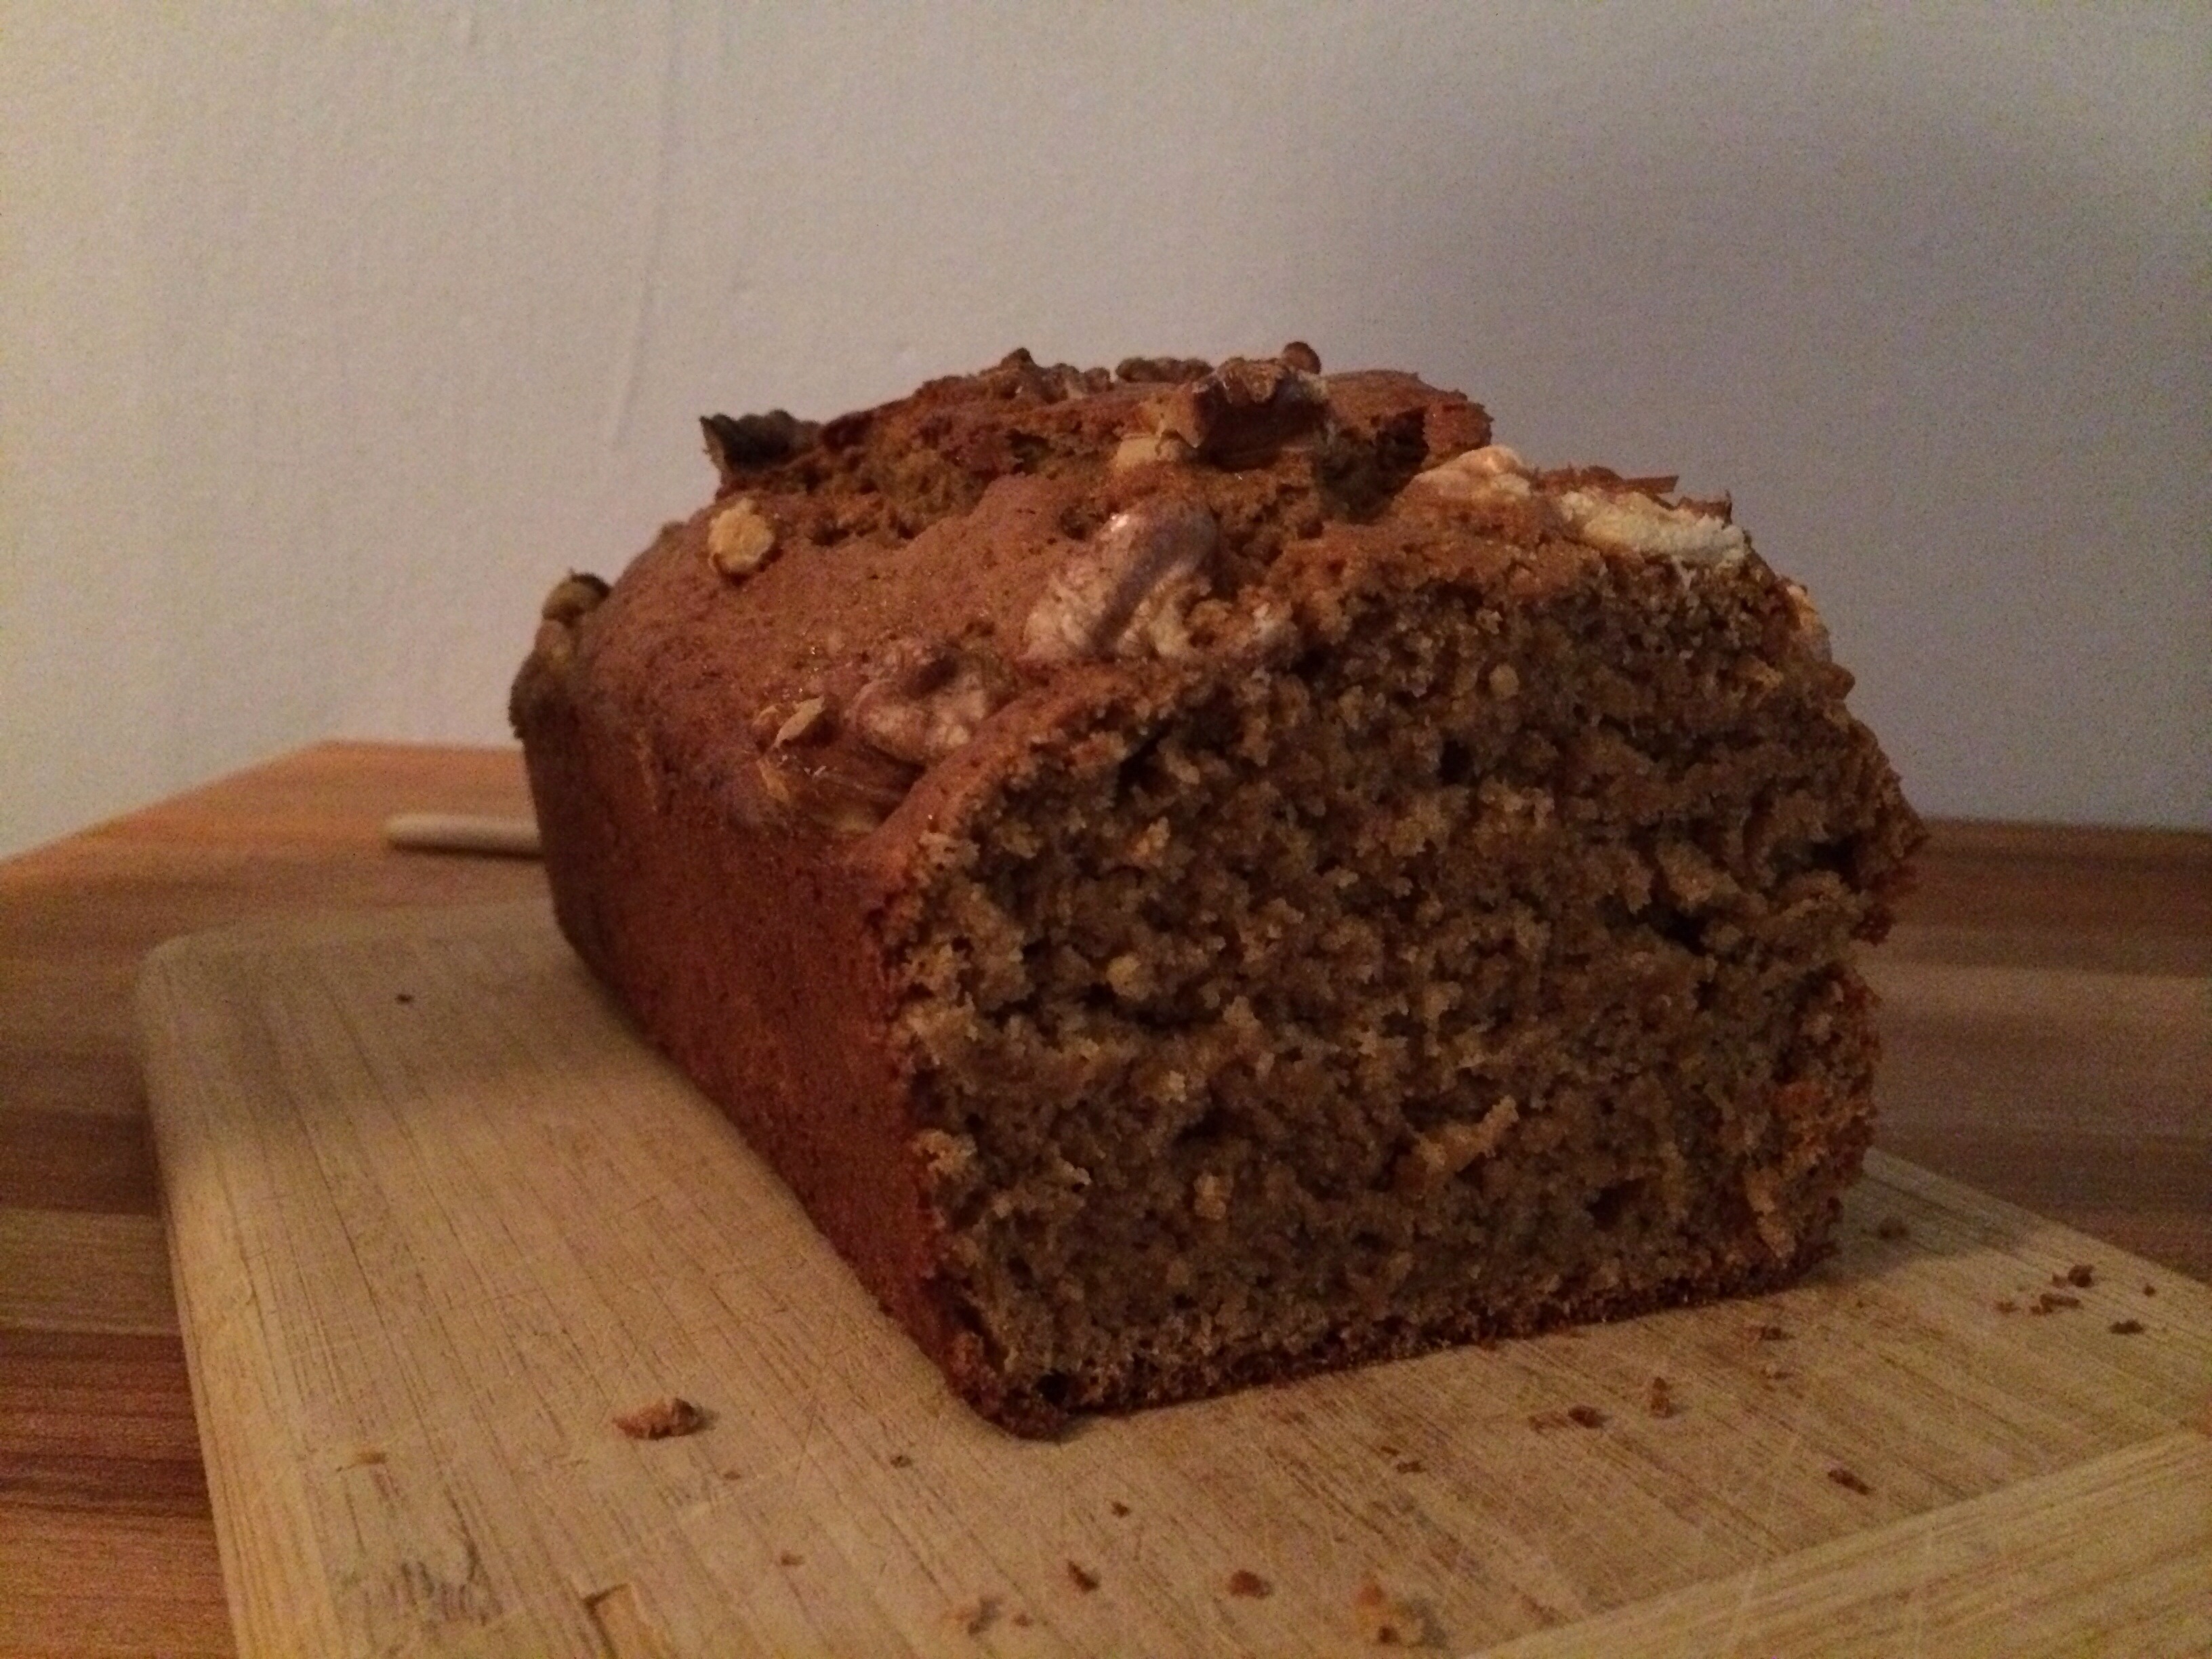
Cozy, Spicy, Tasty Pumpkin Bread
I liked the idea of a spiced pumpkin bread, since oftentimes fruit and vegetable quick breads can be indistinguishable. I remember my son calling the zucchini bread I made this summer banana bread. Blame it on him being a 3 year old, but he was on to something. So, I heavied up on spices in this recipe, resulting in a great aroma in the kitchen and a more flavorful, distinctive bread.
Instead of using 100% white flour, as many recipes suggest, I incorporated whole wheat and rye flours as well. The different flours add texture to the bread, and some would argue, slightly improve the nutrition profile. I substituted coconut oil for vegetable oil, which is found in most recipes. Coconut oil is nutrient-dense, adds another layer of flavor, and is a perfect substitute for any oil or butter. If you’re interested in how coconut oil can keep you healthy this winter cold season, read here. Plus, I had it in my pantry. Also, I used only a cup of sugar, reduced from 1 1/4 sugar in most recipes. But, I am not positioning this as a super-healthy, virtuous recipe. Just a tasty one, that’s also fun to do with little kids.
Cozy, Spicy, Tasty Pumpkin Bread Ingredients
- 3/4 cups all-purpose flour
- 1/4 cup rye flour (you can substitute with all-purpose flour if you do not have on hand)
- 1/4 cup whole wheat flour (you can substitute with all-purpose flour if you do not have on hand)
- 1 1/2 teaspoons baking powder
- 1/2 teaspoon ground ginger
- 1/4 teaspoon ground cardamom
- 1 teaspoon ground cinnamon
- 1/2 teaspoon ground nutmeg
- 1/4 teaspoon ground cloves
- 1/2 teaspoon salt
- 3/4 cup packed dark brown sugar
- 1/4 cup granulated sugar
- 2 large eggs, lightly beaten
- 1 cup pumpkin pumpkin (homemade or canned)
- 3 tablespoons softened coconut oil (can use canola oil or vegetable oil instead)
- 1 1/2 teaspoons vanilla extract
- Butter to grease pan
- Handful of chopped walnuts (optional)
Preheat oven to 350°. Grease 1 loaf ban with butter.
Combine flours, baking powder, spices, and salt and sugars in a large bowl; make a well in center of mixture.
 Combine eggs in a medium bowl, stirring with a whisk. Add pumpkin, oil, and vanilla; stir well. Add to flour mixture, stirring just until moist. Spoon batter into loaf pan. If using, sprinkle walnuts on top of bread. Bake at 350° for 60 minutes or until a wooden pick inserted in center comes out clean. Cool 10 minutes in pan on a wire rack, and remove from pan. Cool completely on wire rack.
Yield: 1 loaf of pumpkin bread

![IMG_4253[1]](http://www.adventuresineatingandeverythingafter.com/wp-content/uploads/2013/11/IMG_42531-e1384696430478.jpg "The \"original\" Knoffli recipe")
![IMG_4252[1]](http://www.adventuresineatingandeverythingafter.com/wp-content/uploads/2013/11/IMG_42521-e1384647479992.jpg)
![IMG_4214[1]](http://www.adventuresineatingandeverythingafter.com/wp-content/uploads/2013/11/IMG_42141-e1384695991717.jpg "Using the Spaetzle maker")
![IMG_4216[1]](http://www.adventuresineatingandeverythingafter.com/wp-content/uploads/2013/11/IMG_42161.jpg)
![IMG_4218[1]](http://www.adventuresineatingandeverythingafter.com/wp-content/uploads/2013/11/IMG_42181.jpg)
![IMG_4219[1]](http://www.adventuresineatingandeverythingafter.com/wp-content/uploads/2013/11/IMG_42191.jpg "Cabbage & Leek Spaetzle Gratin")
![IMG_4220[1]](http://www.adventuresineatingandeverythingafter.com/wp-content/uploads/2013/11/IMG_42201-e1384695931627.jpg "Spaetzle with Sauteed Shallots")