Seasonal and Local: Crispy Caramelized Brussel Sprouts

I will readily admit that I used to hate Brussel Sprouts. I thought they were bitter, ugly and generally unpleasant. They were truly one of the only vegetables I didn’t eat. Then a few years ago I hit the tipping point – I tasted Crispy Caramelized Brussel Sprouts. Slightly crunchy, chewy, super flavorful, salty, with a touch of sweetness. Life changing. I have played around with the recipe, but basically it as follows.

Crispy Caramelized Brussel Sprouts

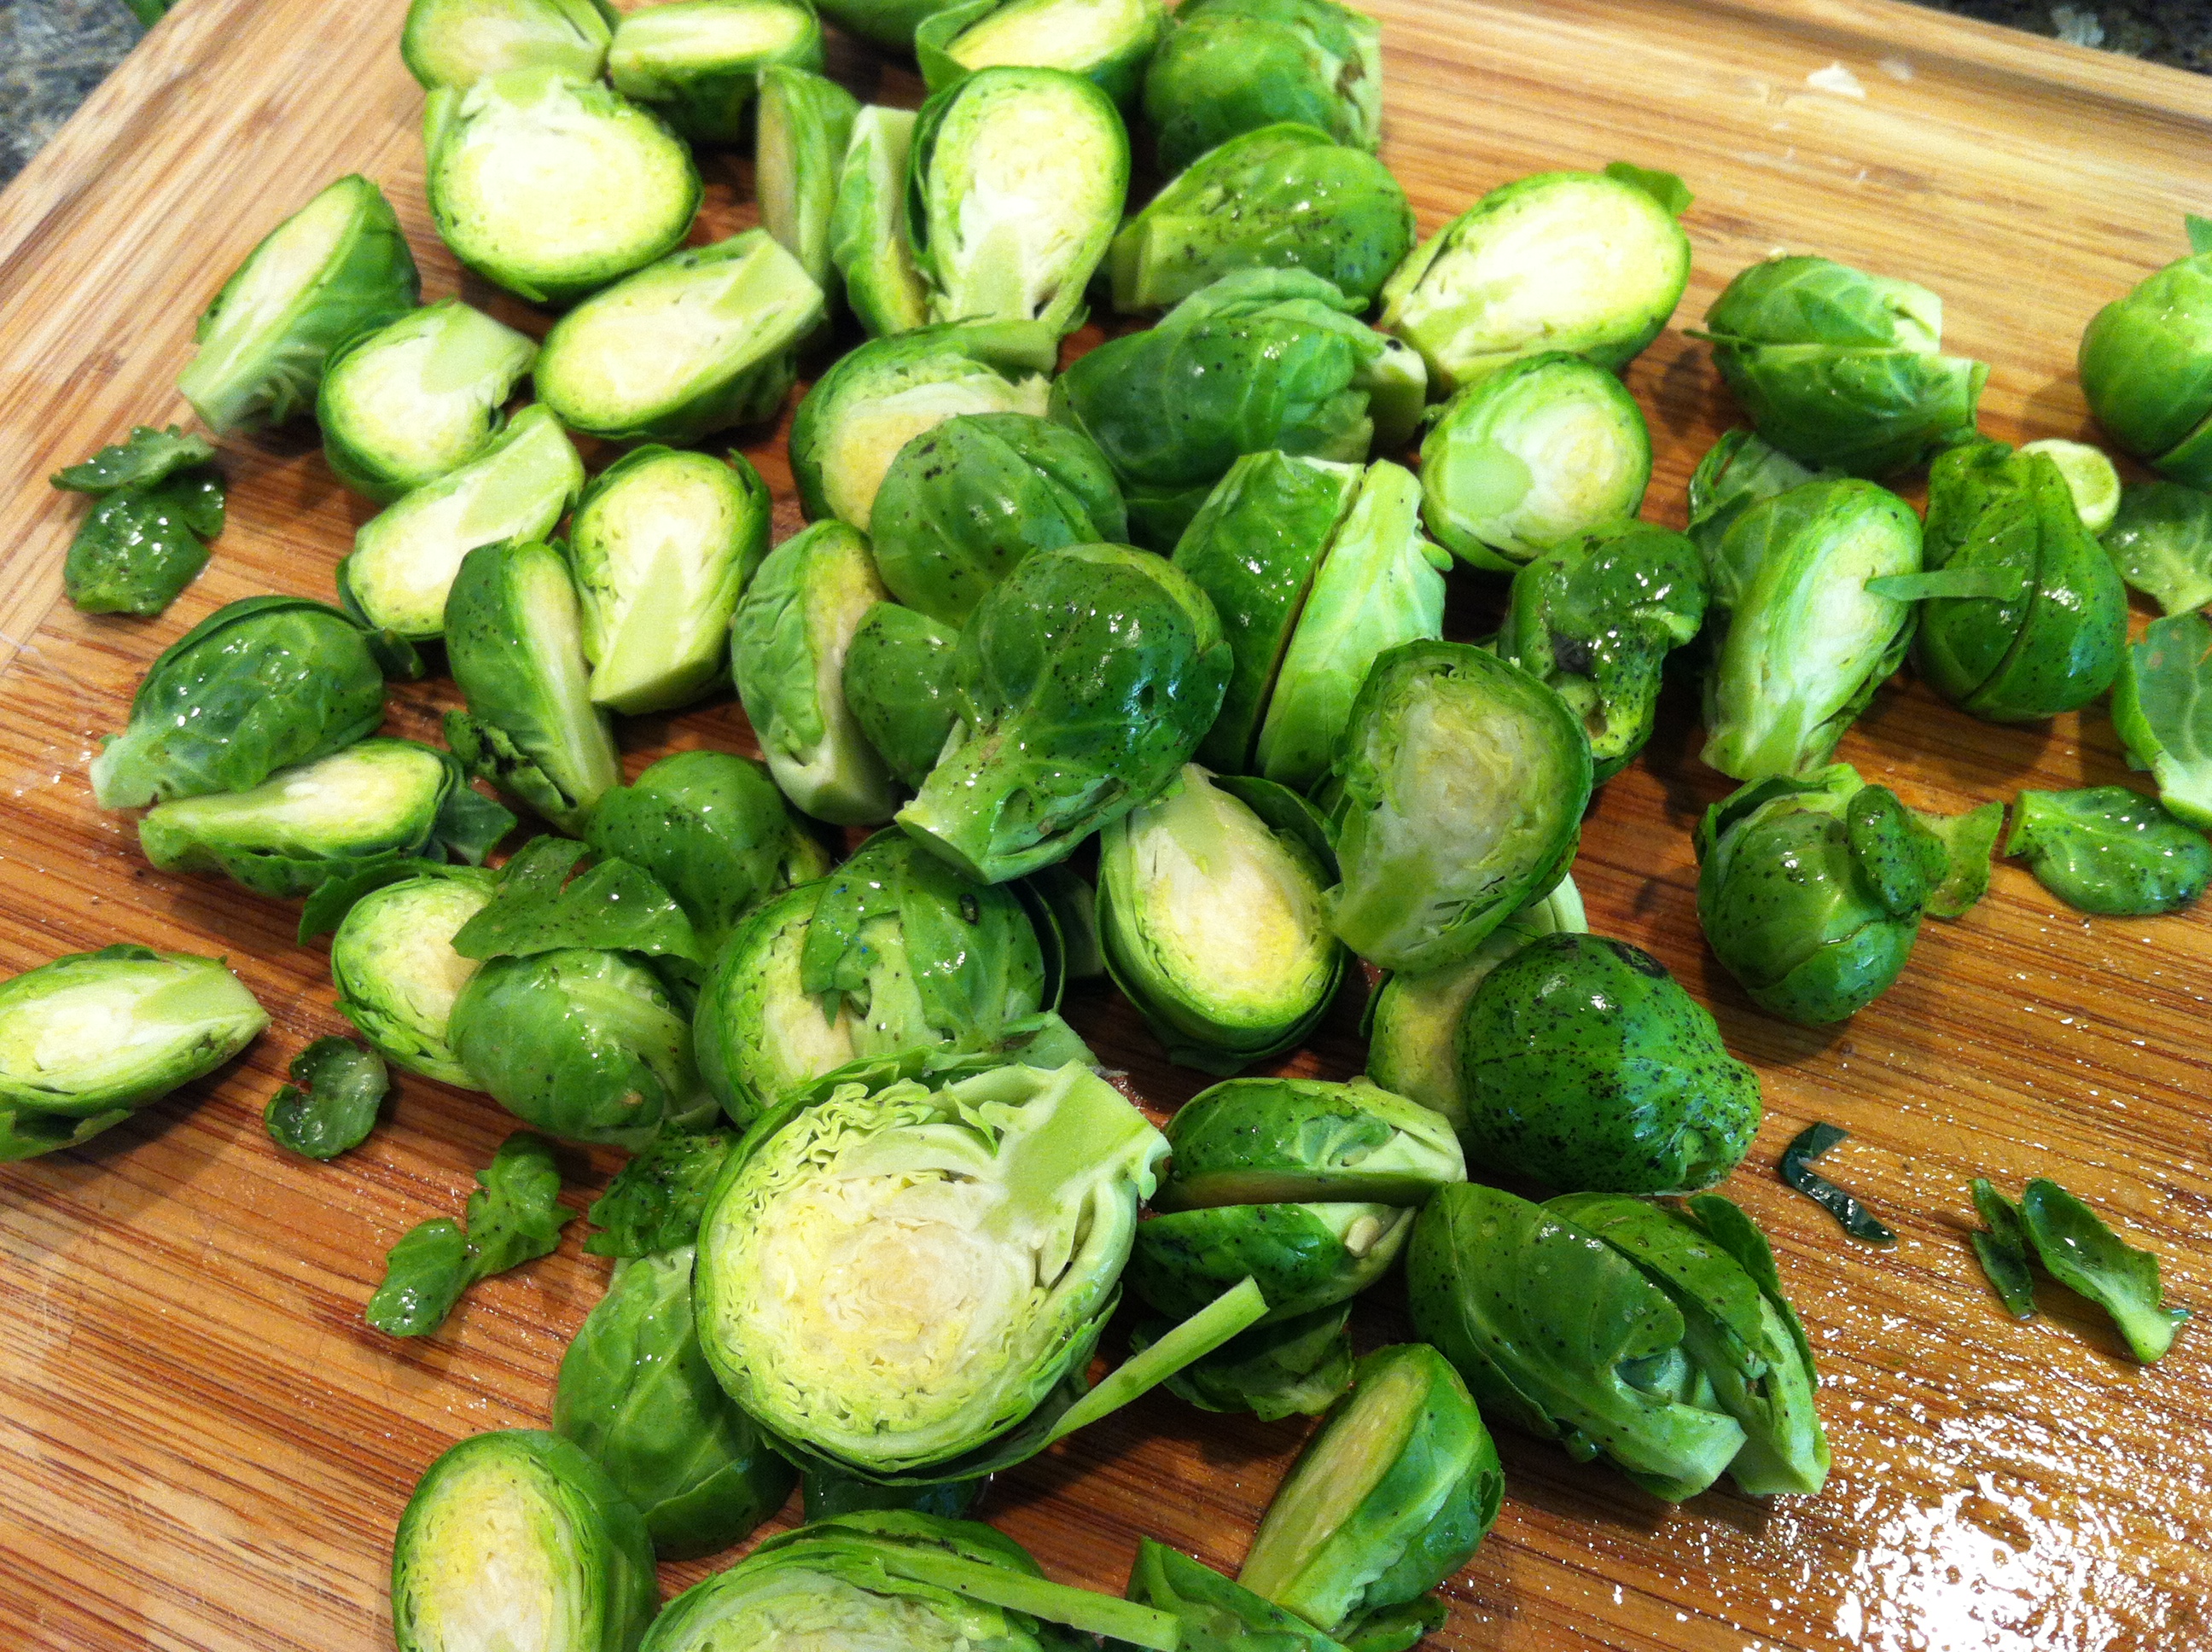
Brussel Sprouts: Trimmed, split and ready to cook

Wash and trim the brussel sprouts, slicing off the end of the stem and cutting them in half lengthwise. Peel and smash 4-6 cloves of garlic. Preheat oven to 400F.

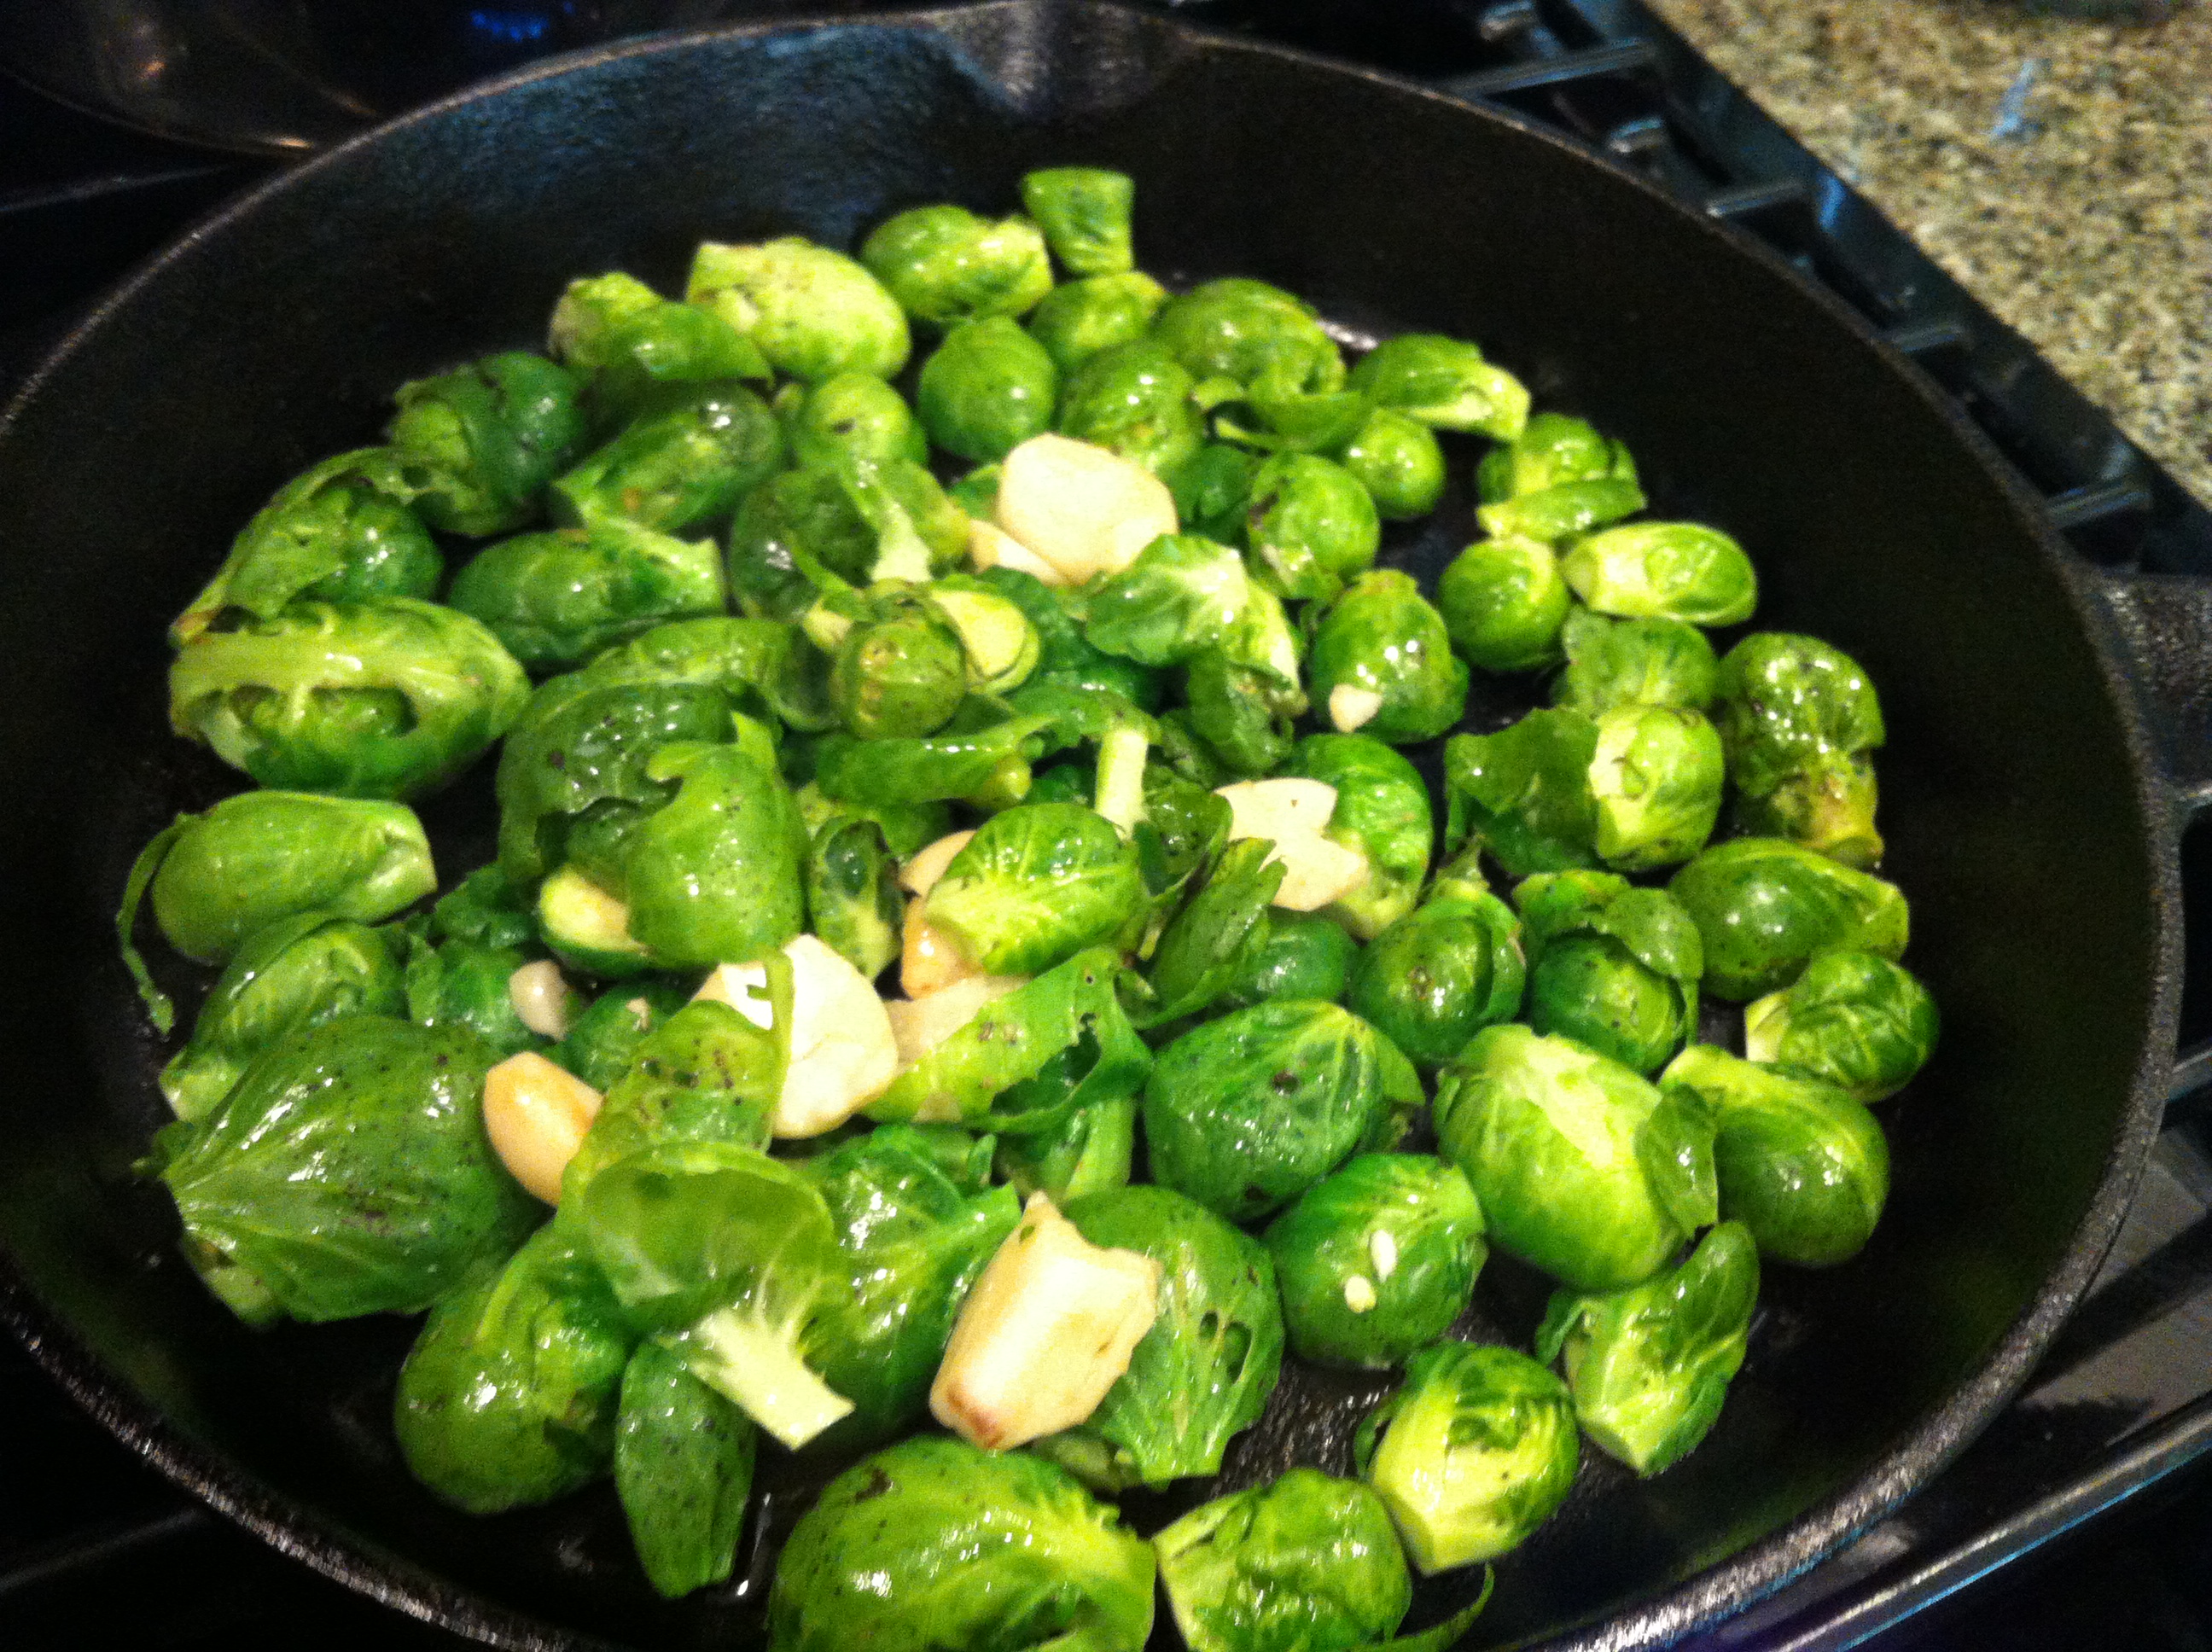
Take an ovenproof pan or baking dish (cast iron pan works great, or even a pyrex dish) and pour a healthy glug of olive oil in it. Make sure to select a pan that is large enough to allow you to place the brussel sprouts in one layer. Heat olive oil in pan over medium heat on stovetop for several minutes until hot. Arrange brussel sprouts, cut side down in one layer in pan and toss in garlic, sprinkle some kosher salt on top . Leave on stove top 8- 10 minutes untouched, letting underside caramelize. You may need to adjust the heat of the burner to medium low.

Caramelizing on the stove top in cast iron pan

Place pan in oven and cook for another 10 – 15 minutes or so until brussel sprouts are cooked through. Test with a fork, or taste one to see if they are tender. You will have beautiful browned, yet still green brussel sprouts.  Serve warm or cold. Enjoy

Crispy, Caramelized Brussel Sprouts

The Great Pumpkin

Great surprise at our last CSA Pick-up of the season at Wolfe Spring Farm!

And the winner of the pumpkin is…..SAM

Sam on the Great Pumpkin: half his height and double the weight

We knew that we wouldn’t have pumpkins in our pick-up this year as June had said they lost their crop earlier this summer. But not ones to disappoint, June & Jim picked up a giant one at another local farm in Sheffield. Here’s the little guy sitting atop his pumpkin (I know, gratuitous shot of Sam)

What I’ve got on tap thus far:

And a complete snapshot of today’s last pick- up:

Last 2012 Pick-up at Wolfe Spring Farm

Thank you, Jim & June for a great season! We can’t wait til next May.

Wednesday Night and What’s for Dinner? Roasted Korean-style Cod

This is my second try for this easy and super-tasty recipe for Korean-style Roasted Cod. It is the umami flavors from the sauce that make this dish stand out – reminds me a little of the chili-lime dipping sauce I recommended for the delicata squash, but with more depth. You can make this meal in 20 minutes flat, if you have leftover rice, so perfect for a weeknight. The only caveat is that the original recipe calls for black cod, which can be very expensive, as well as hard to find. I suggest using regular cod as a substitute, which is easy to find in the northeast of the US, or any other dense, white-flesh fish. You can check here for substitutes.
The recipe hails from Weeknight Fresh & Fast cookbook by Kristine Kidd, which I have referenced before. The cookbook has really surprised me with the number of original, flavorful recipes it contains, all fast & fresh, as it’s title claims.  Sadly, I did not get any photos of this meal as it disappeared off the plate too fast. Ha!
Korean-style Roasted Cod Ingredients
1 tablespoon Olive oil
1 large shallot, minced
2 teaspoons fresh ginger, peeled and minced
1 1/2 teaspoons jalapeno pepper, minced
1/3 cup low-sodium soy sauce
1/4 cup brown sugar, firmly packed
3 tablespoons rice vinegar
2 tablespoons water
1 tablespoon Asian sesame oil
4 black cod fillets (I used Chilean sea bass, but you could use any dense white-fleshed fish. Black cod is very hard to find)
2 Green Onions, white and green parts, sliced
Brown or white rice (optional)
Directions

  • I recommend serving on a bed of brown or white rice. Prepare rice according to directions, or use leftover rice.
  • Preheat the oven to 400 degrees. In a small saucepan over medium heat, warm the olive oil. Add the shallot, ginger, and chile, and saute until tender, about 3 minutes. Add the soy sauce, sugar, vinegar, and water, and simmer until the mixture is reduced to 3/4 cup (6 fl oz/ 180 ml), about 6 minutes. Remove from the heat and stir in the sesame oil. Set aside a small amount of the sauce for brushing.
  • Brush a small baking pan with olive oil, and place the fish, skin side down, in the pan. Brush the fish with the reserved sauce. Roast until just cooked through, about 10 minutes. Scoop rice onto plates (if using), and transfer the fish to plates, sprinkle with green onions, and serve right away, passing the remaining sauce alongside.
  Fellow blogger Sofull Sista also wrote about her affection for this recipe.

My Lunch: Jealous much?

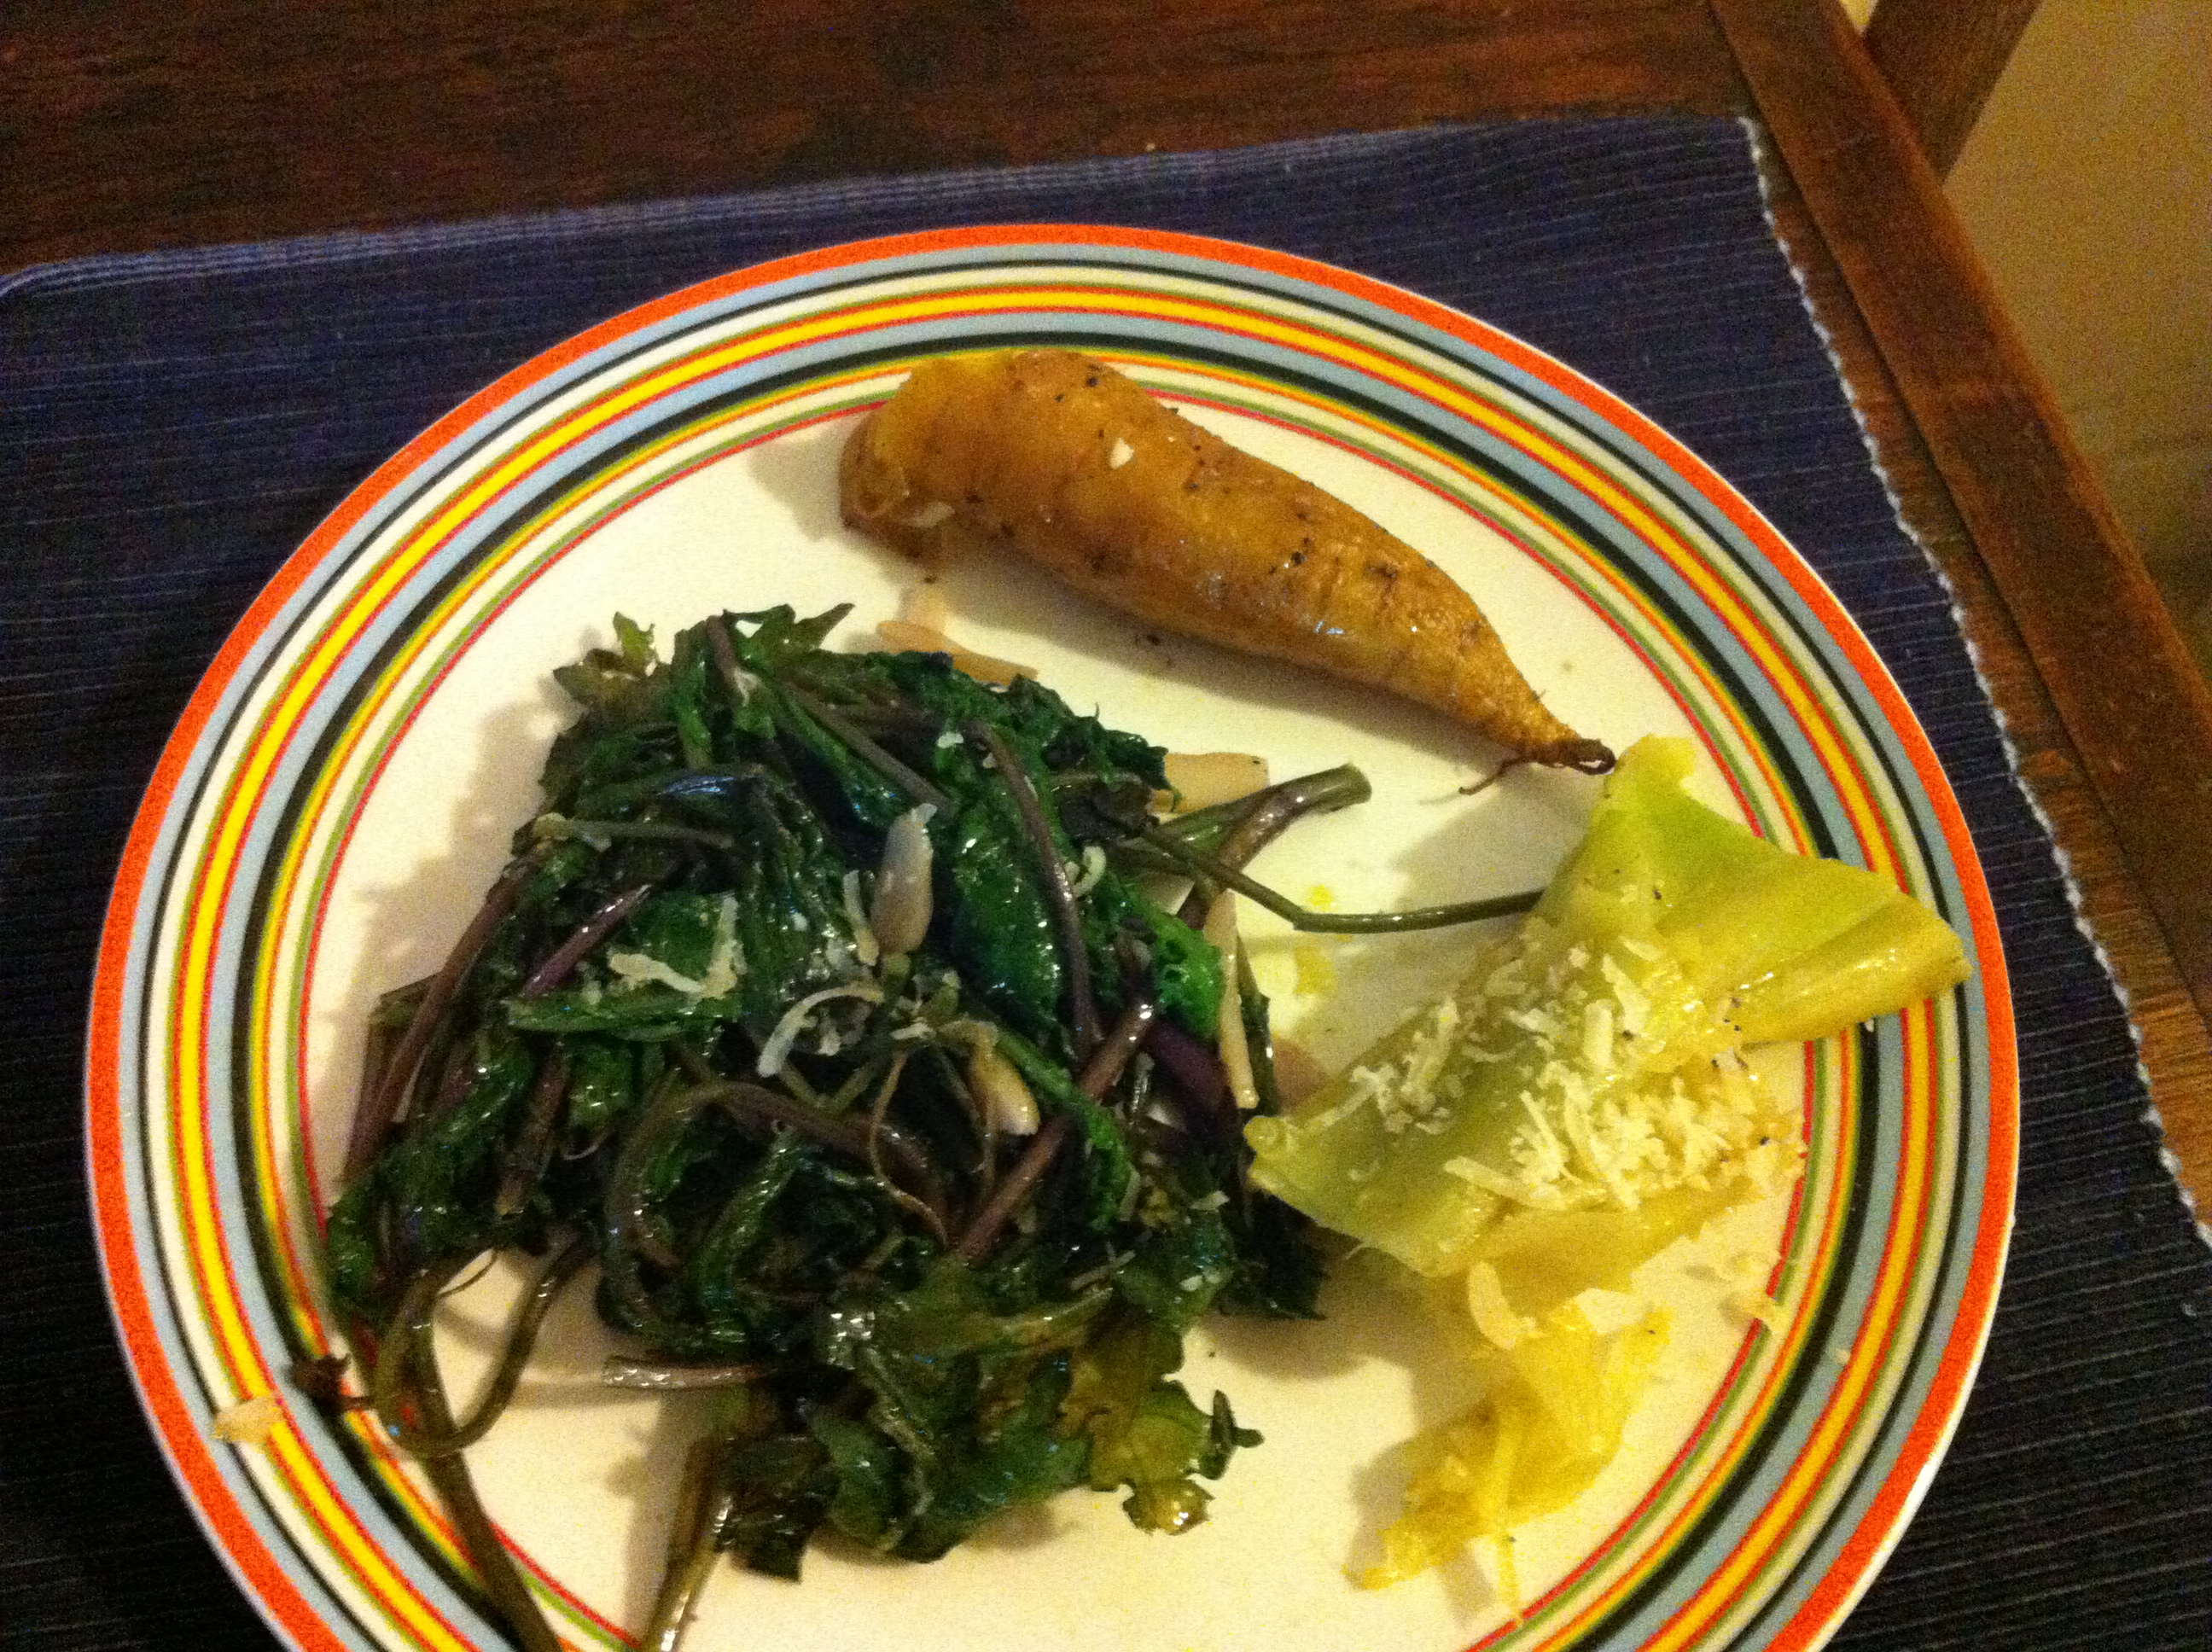
Nothing too fancy, just something I whipped up in a few minutes. There are the Roasted Carrots (thank you again, Dan), sauteed Red Russian Kale and Leeks Vinaigrette. I had prepared the carrots and leeks on Sunday, and then quickly sauteed the kale before lunch. So colorful, seasonal, flavorful, local and nutritious! For the kale, I sliced up a few cloves of garlic, sauteed them in olive oil, tossed in a dried chili pepper and then piled on the kale. It always looks like you’re preparing a massive amount of hearty greens, but then the big, bunchy leaves wilt and collapse and shrink into 2 good portions. I didn’t bother to remove the stems since they didn’t seem that tough, which also made for a super speedy preparation. Like I’ve said before, just eating kale makes me feel virtuous.

For the leeks, I trimmed off the tough green leaves, then split each one down the middle and rinsed away the dirt. I had the limited quantity challenge occasionally associated with a CSA Pick-up: only 2 mismatched leeks, both of different dimensions , one very large, and one slim. I brought a small saucepan of water to a boil, salted it and cooked them for about 15 minutes.  I removed the slim one, but let the larger one cook for another 15 minutes or so, until tender.  I then placed the leeks in a colander to drain for a few minutes.In the meantime, I prepared the vinaigrette for this classic French preparation. In this picture, I also sprinkled some shredded Parmiggiano on top, just because I had it leftover in the fridge. If I had a larger batch of leeks, I would have prepared in the oven, maybe a gratin, but having only 2, it was more like a taste of leeks for 1, than anything else.

Doesn’t this plate look so great? I love eating a sampling of different dishes – something about it feels so luxurious. I wouldn’t be happier if I had lunch in one of my favorite restaurants. Thank you, Wolfe Spring Farm.

Here is my Mustard Vinaigrette recipe, which is also great for green salads.

1 medium shallot, minced
2 tablespoons red wine vinegar
1 teaspoon dijon mustard
6-8 tablespoons olive oil
Salt and pepper to taste

In a medium-sized bowl, place shallots in red wine vinegar. Let sit for 5 minutes to soften. Whisk in mustard, then slowly drizzle in olive oil while whisking to emulsify. Add salt and pepper to taste. Use on cooked vegetables and salads. Enjoy.

The Best Form of Flattery…Ode to Dan’s Carrots

I love having a partner in crime and it is so fun when Dan jumps in a with a post on this blog. I thought Dan’s preparation of roasted carrots looked so interesting (not to mention his Elton John song title reference), I had to try it out for myself. Making the interesting out of the seemingly ordinary.

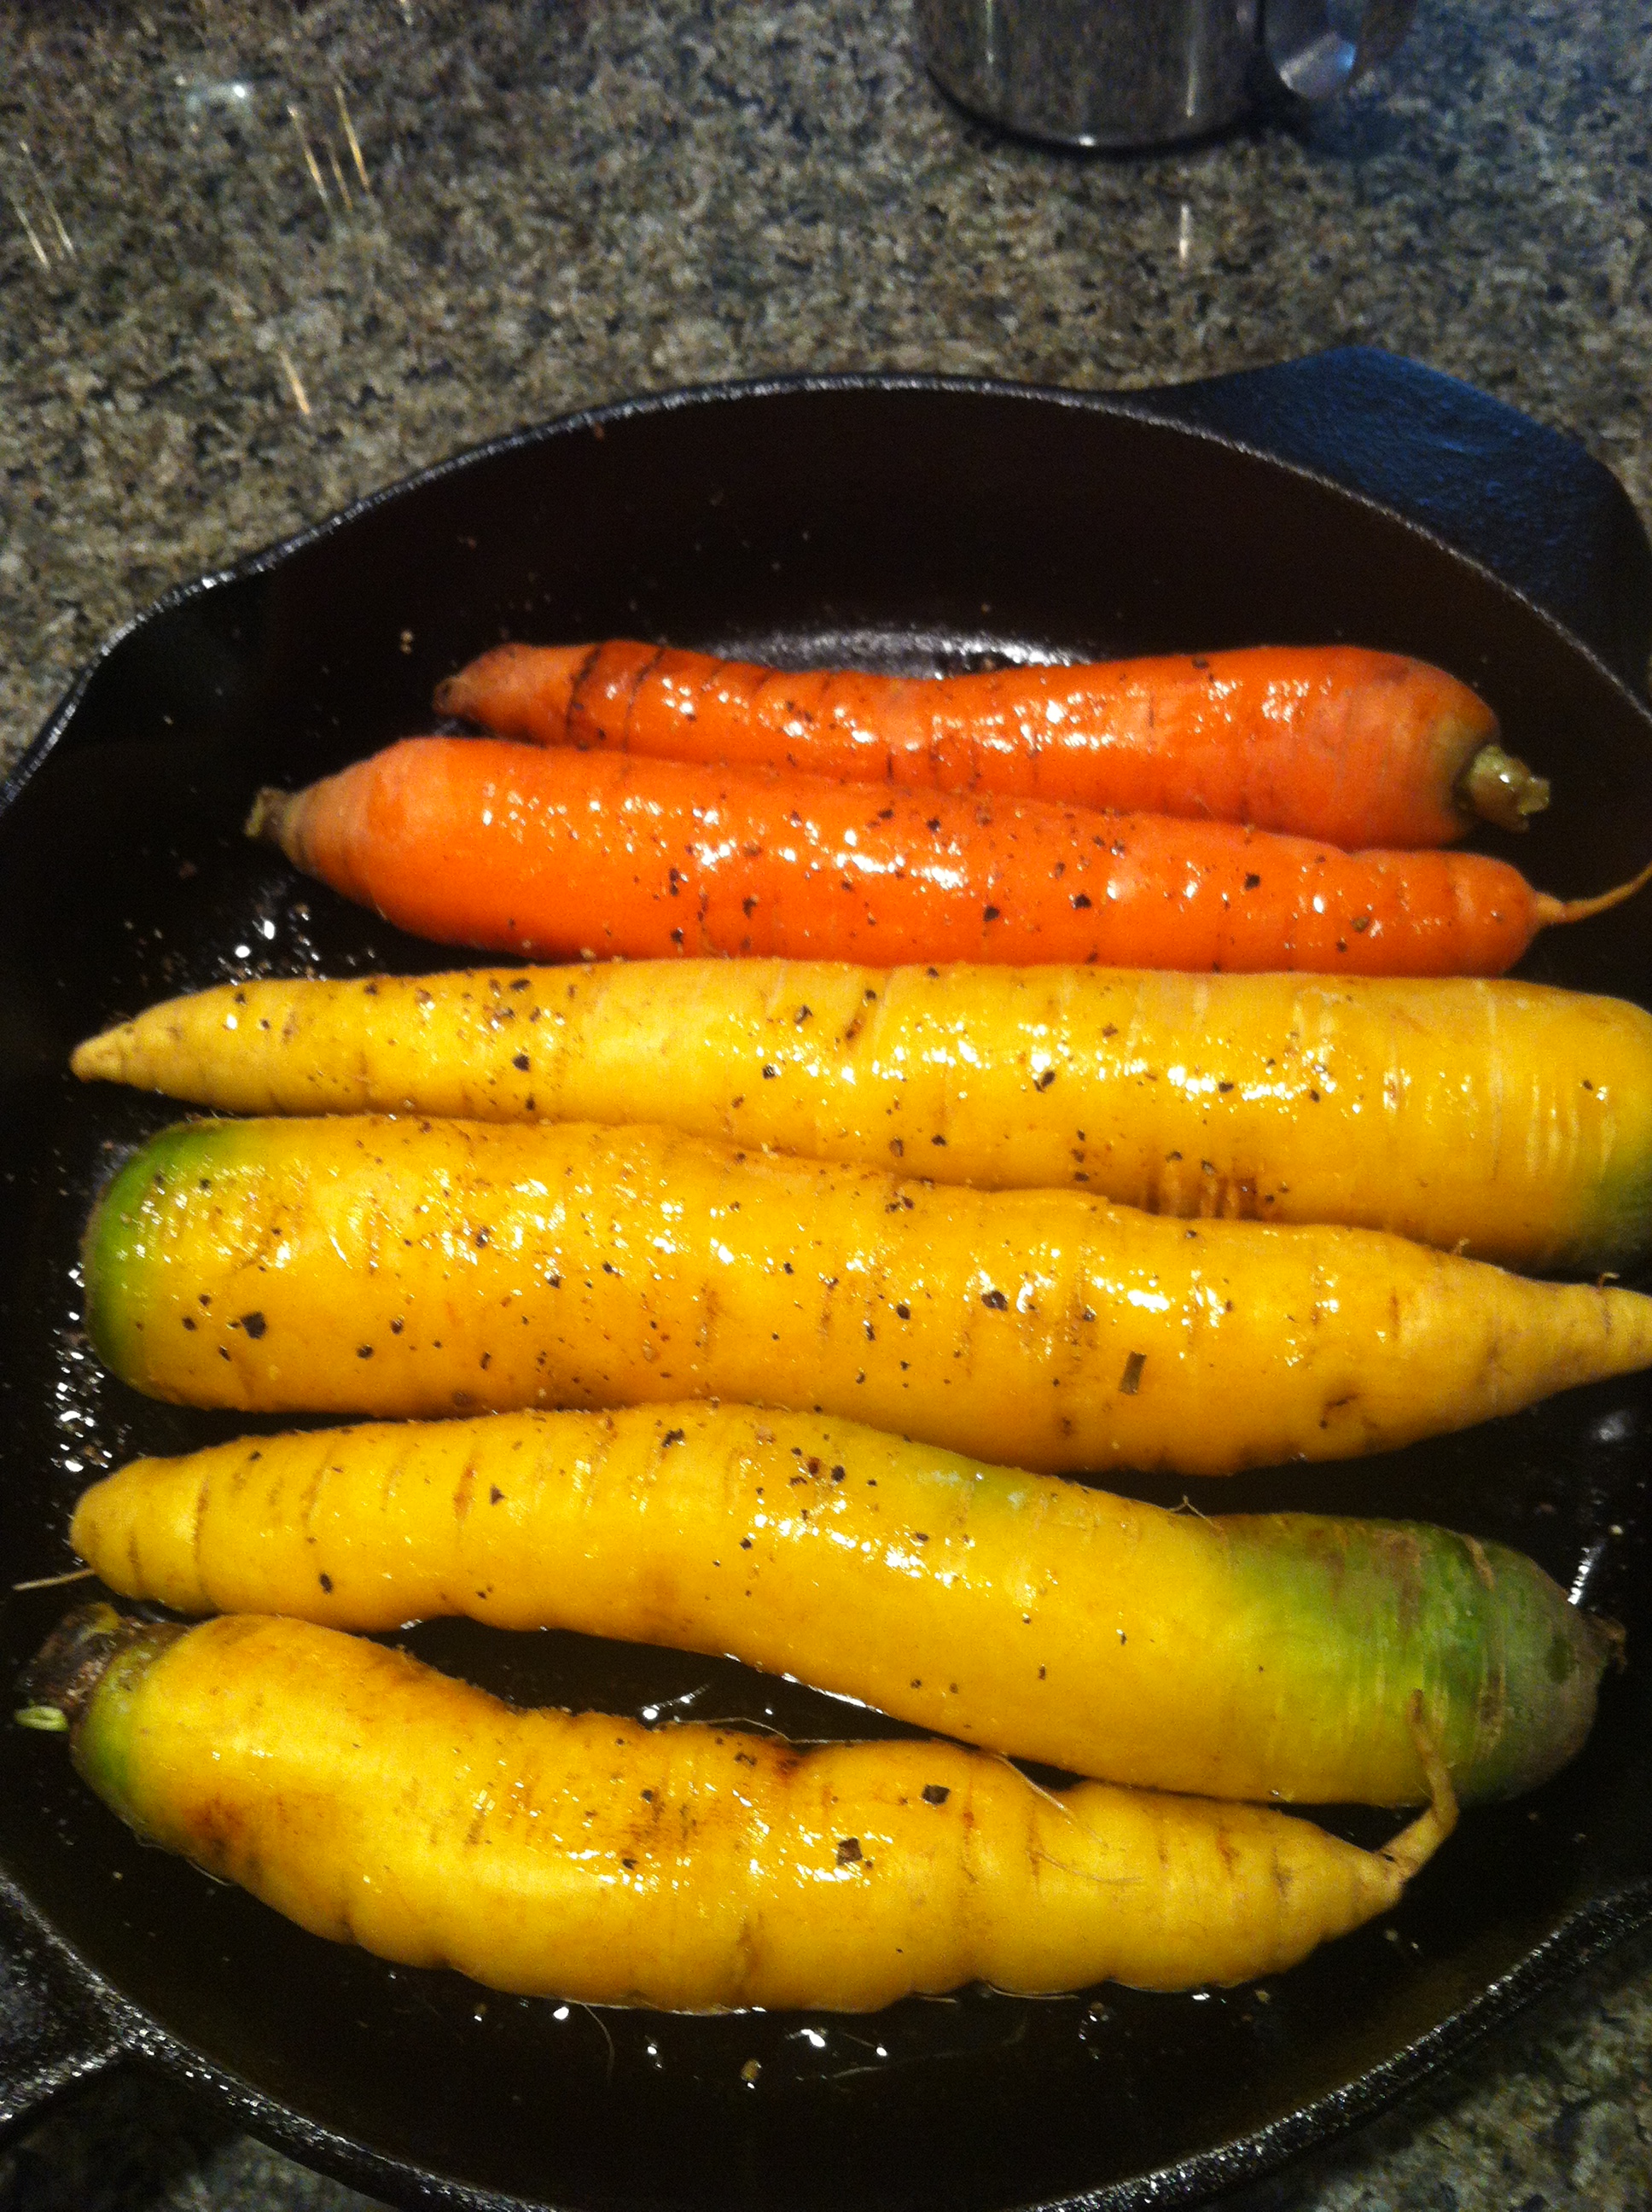
WSF Multi-hued Carrots ready for the oven

What I did: I washed and trimmed the WSF white and orange carrots, leaving the skin on for some rustic appeal (as Dan did). I tossed them in the pan with a hearty glug of olive oil, a sprinkle of kosher salt and a twist of fresh ground pepper. I am such a copycat, I even used the same cast iron pan as Dan. Baked for 30 minutes at 400 degrees, and then lowered the temp to 250 (per Dan’s instructions), and baked for another 20 minutes or so until they were nicely browned. I tested them with a fork and noticed that the larger carrots were still tough in the center, so removed the smaller carrots and returned the rest to the oven for another 15 minutes or so. Next time round, I’ll select all similar sized carrots for the pan.

The result:  savory and sweet, easy on the eyes, rich-tasting carrots. NOT your mama’s cooked carrots. A MUST TRY, taking preparation of an everyday vegetable to the next level.

Apple Picker Extraordinaire

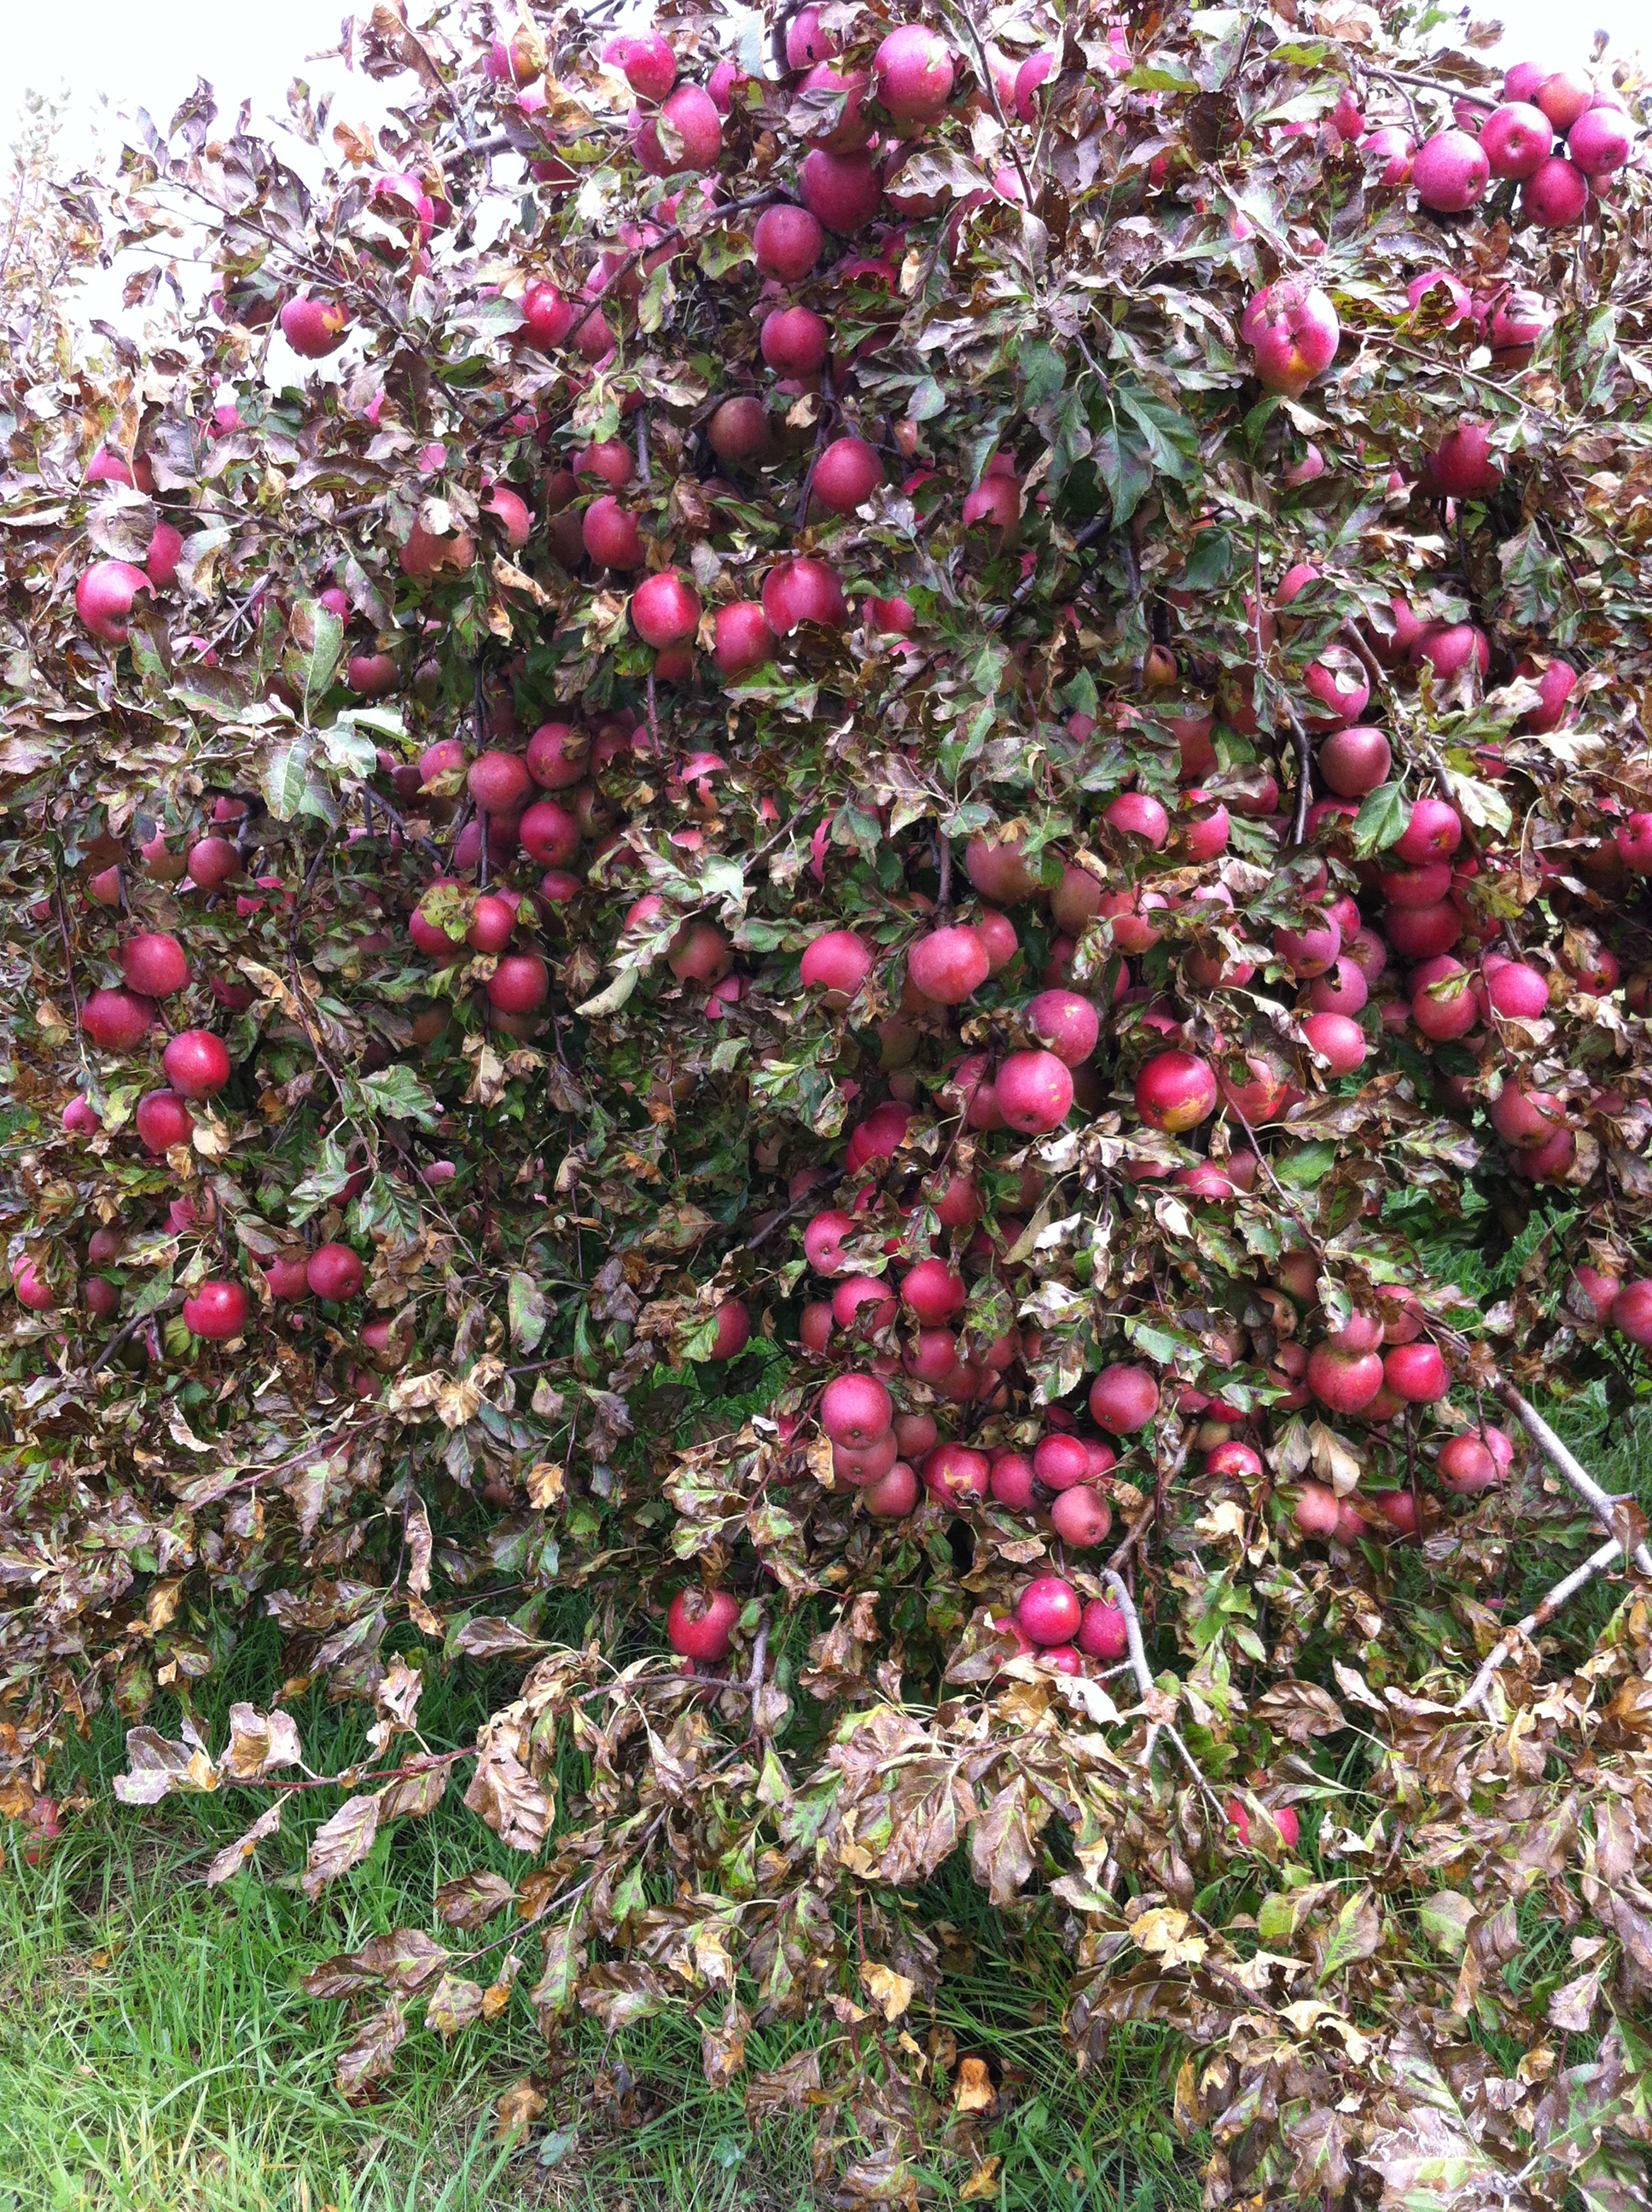
Macoun Apples @ Riiska Brook Farm

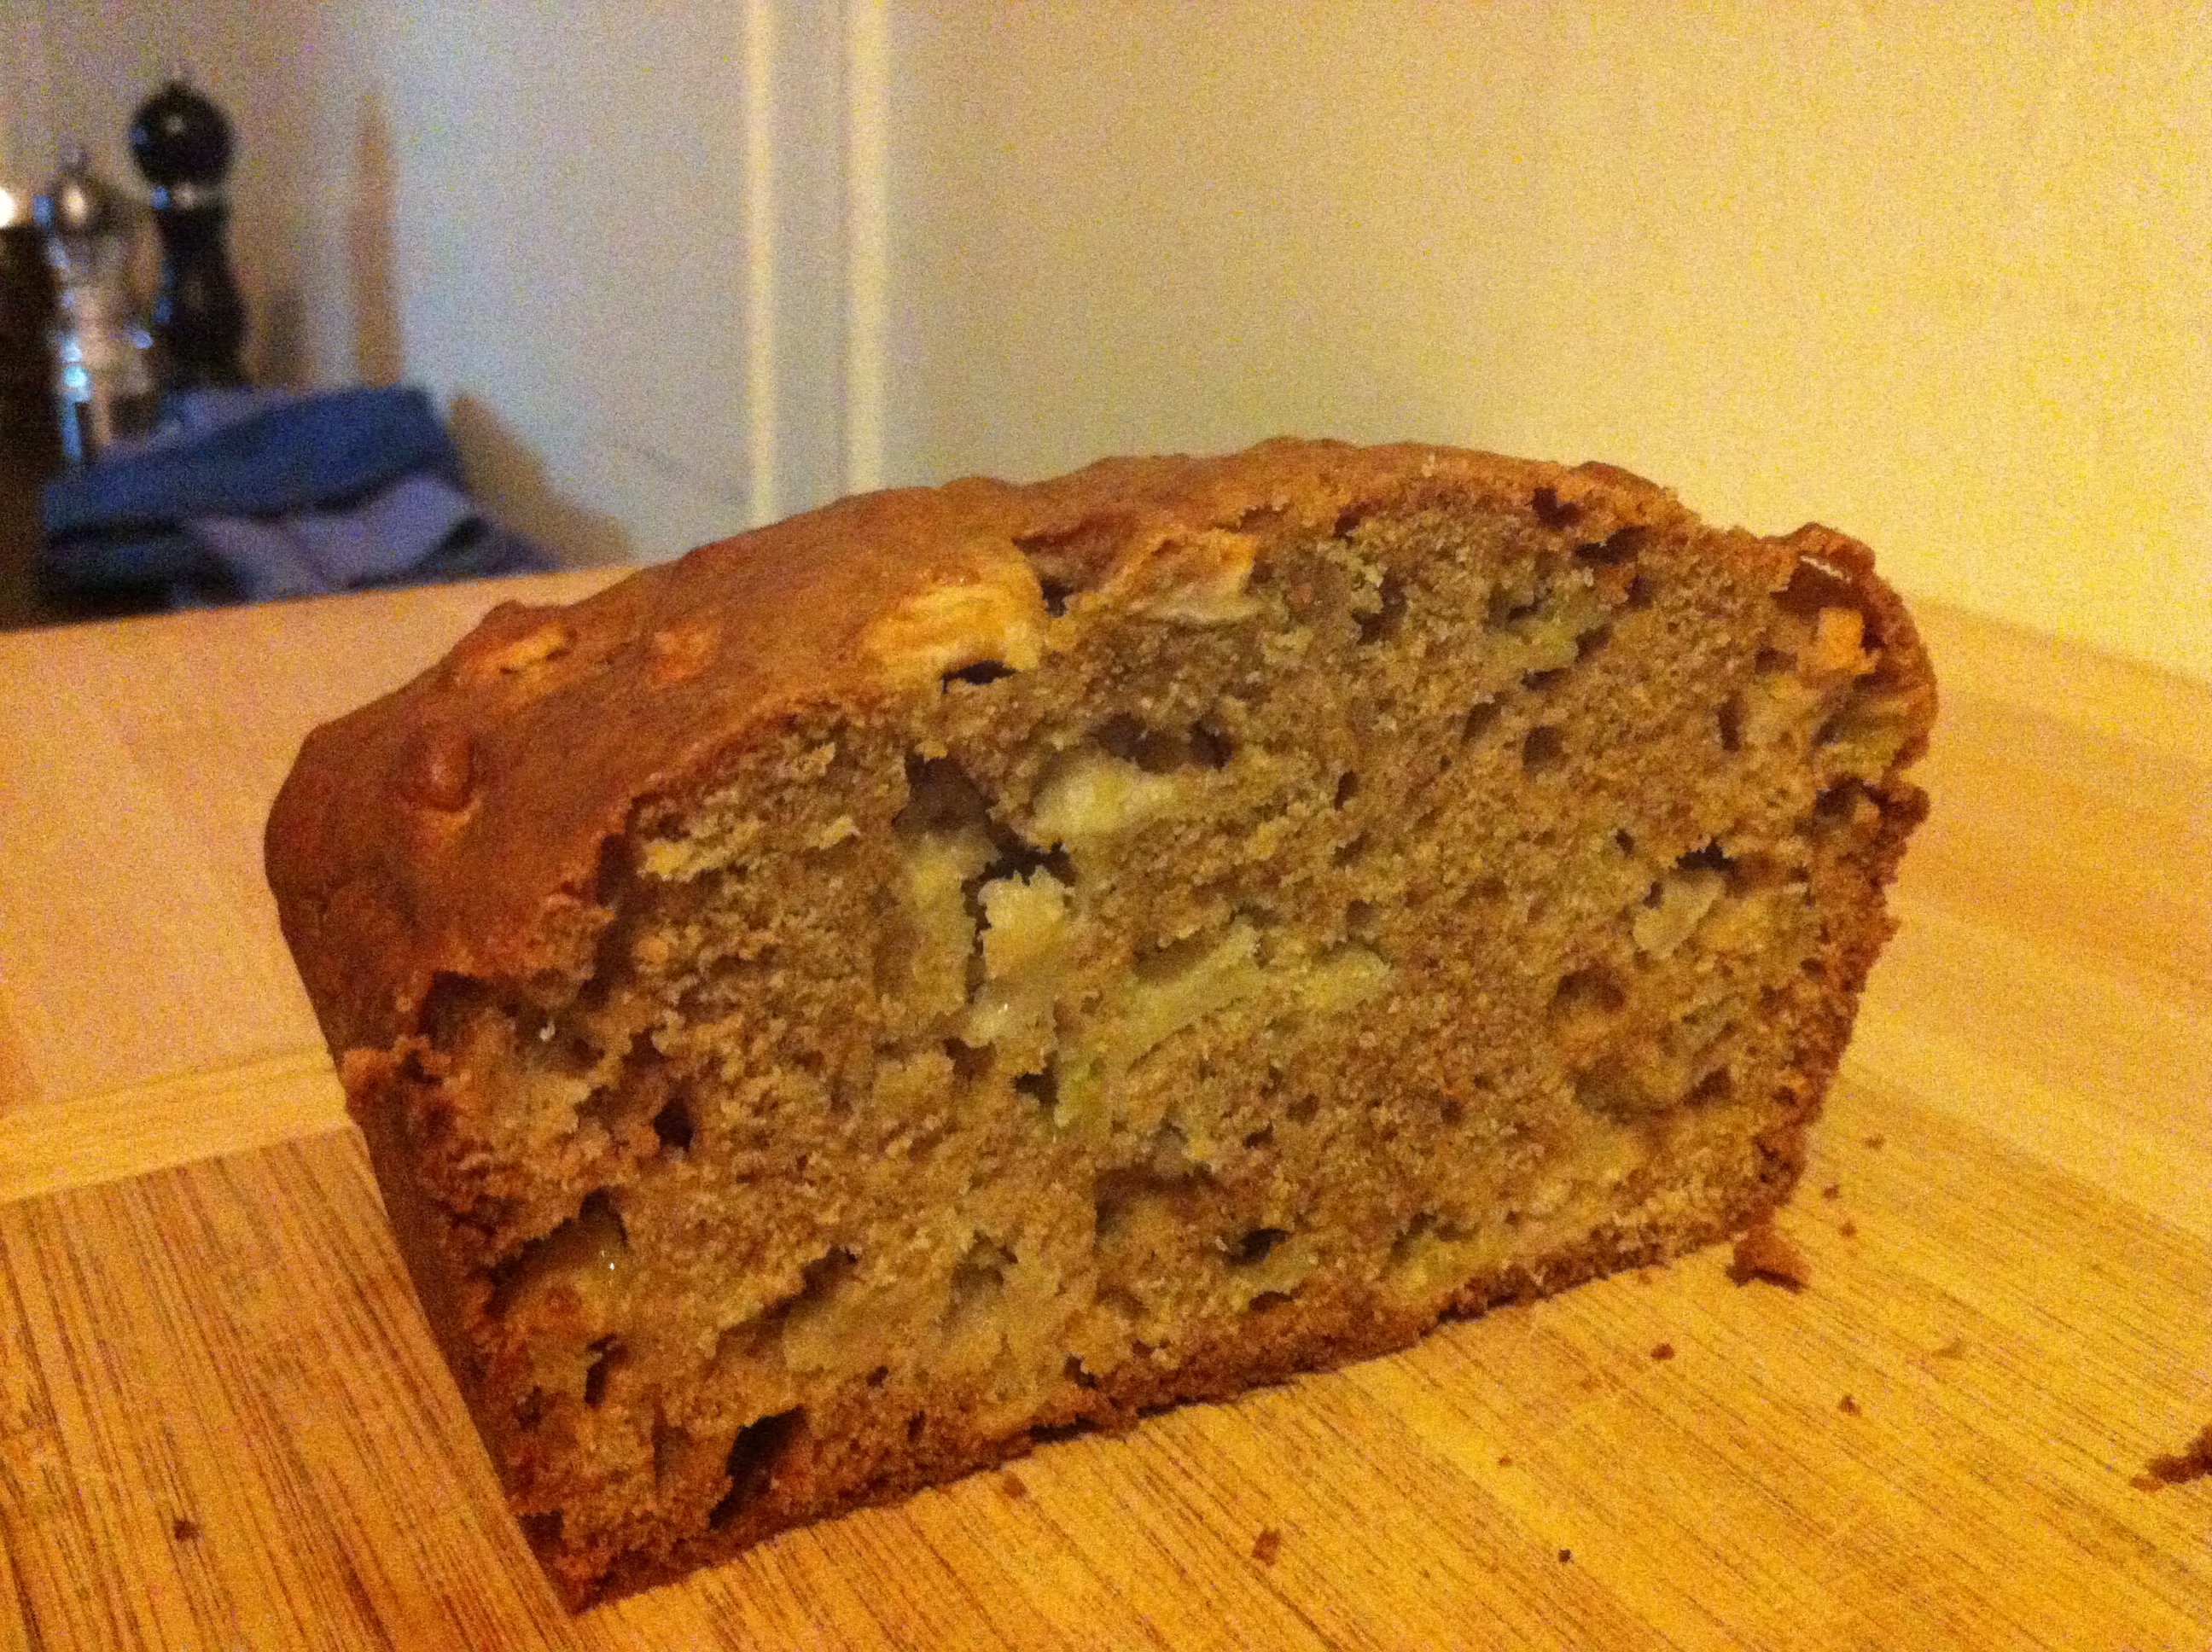
Rustic Apple Orange Quick Bread

Last weekend we visited the lovely and peaceful Riiska Brook Farm in Sandisfield, MA. We were delighted to find the trees laden with apples, begging to be picked. Because of this year’s funky weather, some orchards in the area were hit hard by an early season frost. Apparently, Riiska’s trees suffered no such damage.

After eating more than our fill of crunchy Macoun, Empire, Fuji, Gala and Braeburn apples, I thought of what to prepare with our peck. I was intrigued by the “No Crust” Apple Pie recipe from the From Scratch Club blog and had planned to bake that. But when I awoke unnaturally early on Saturday morning, it seemed more appropriate to bake for breakfast.  I thought about  a variation of the yummy Zucchini Orange bread I baked during the summer. Apples and oranges go together, so why not? I had some OJ in the fridge, too. I consulted a few recipes and not finding one to my likening (i.e., did not want to use shortening), I improvised a little and hoped for the best. Improvising and baking  don’t usually go together, but the quick bread spirits must have been looking favorably upon me. This recipe below produced 2 delicious, moist, rustic and not overly-sweet Apple Orange Loaves.  Yum. I used a mix of apples, and gave them a rough chop. The result made for an attractive loaf, too.

Rustic Apple Orange Quick Bread Recipe

2 cups all purpose flour
1 cup whole wheat flour
1  teaspoons cinnamon
1 teaspoon baking soda
1 teaspoon salt
3 eggs
1 cup sugar
1/2 cup orange juice
1 cup vegetable or canola oil
1 tablespoon vanilla
2 cups, peeled, chopped apples (roughly 3 apples)

Instructions:

Preheat oven to 325 degrees. Grease 2 loaf pans. Mix flour, cinnamon, soda,  and salt  together. In a large mixing bowl, beat eggs and add vanilla, sugar and oil. Add orange juice. Slowly add dry mixture – batter should be quite thick. Stir in apples.

Pour into 2 greased loaf pans. Bake for 1 hour and check for doneness by inserting a toothpick. Bread is ready when it is lightly browned on top. Raise temperature to 350, if needed, and bake an additional 10-15 minutes. Remove from oven and place loaf pans on wire rack to cool for 10 minutes before removing from pans. Enjoy.

Yield: 2 loaves

Apple Picker Extraodinaire @ Riiska Brook Farm

CSA Pick-up 10/20/12

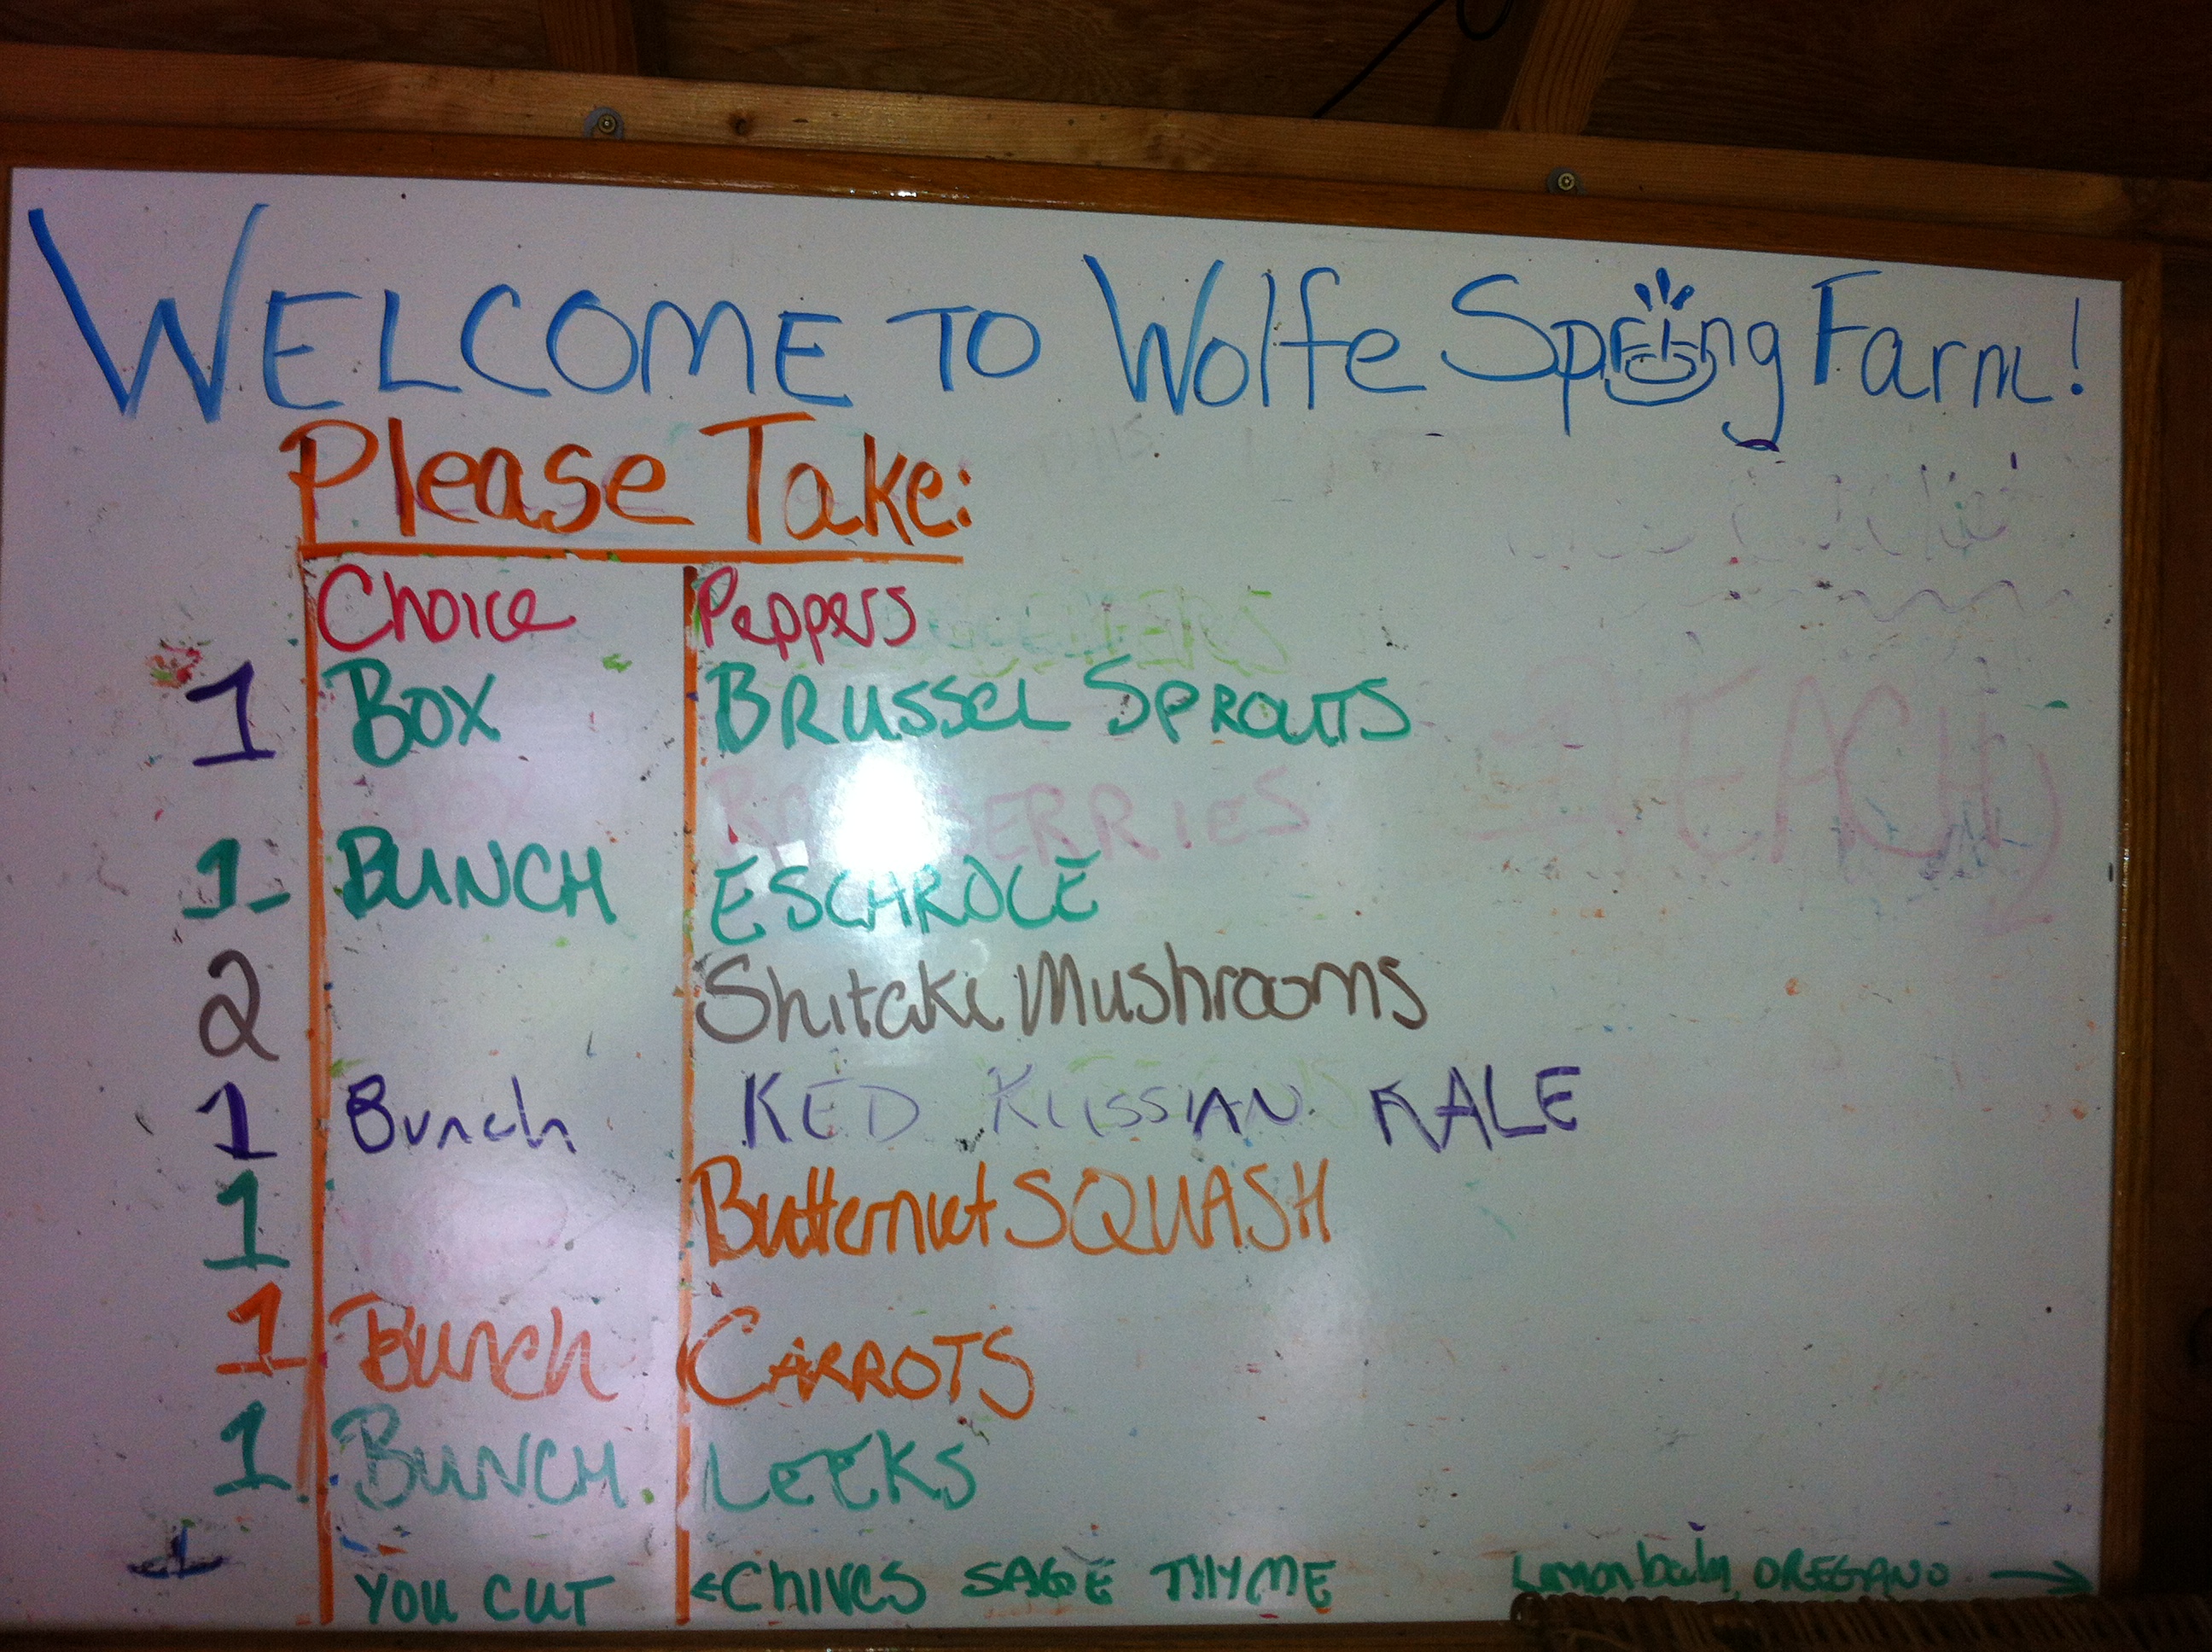
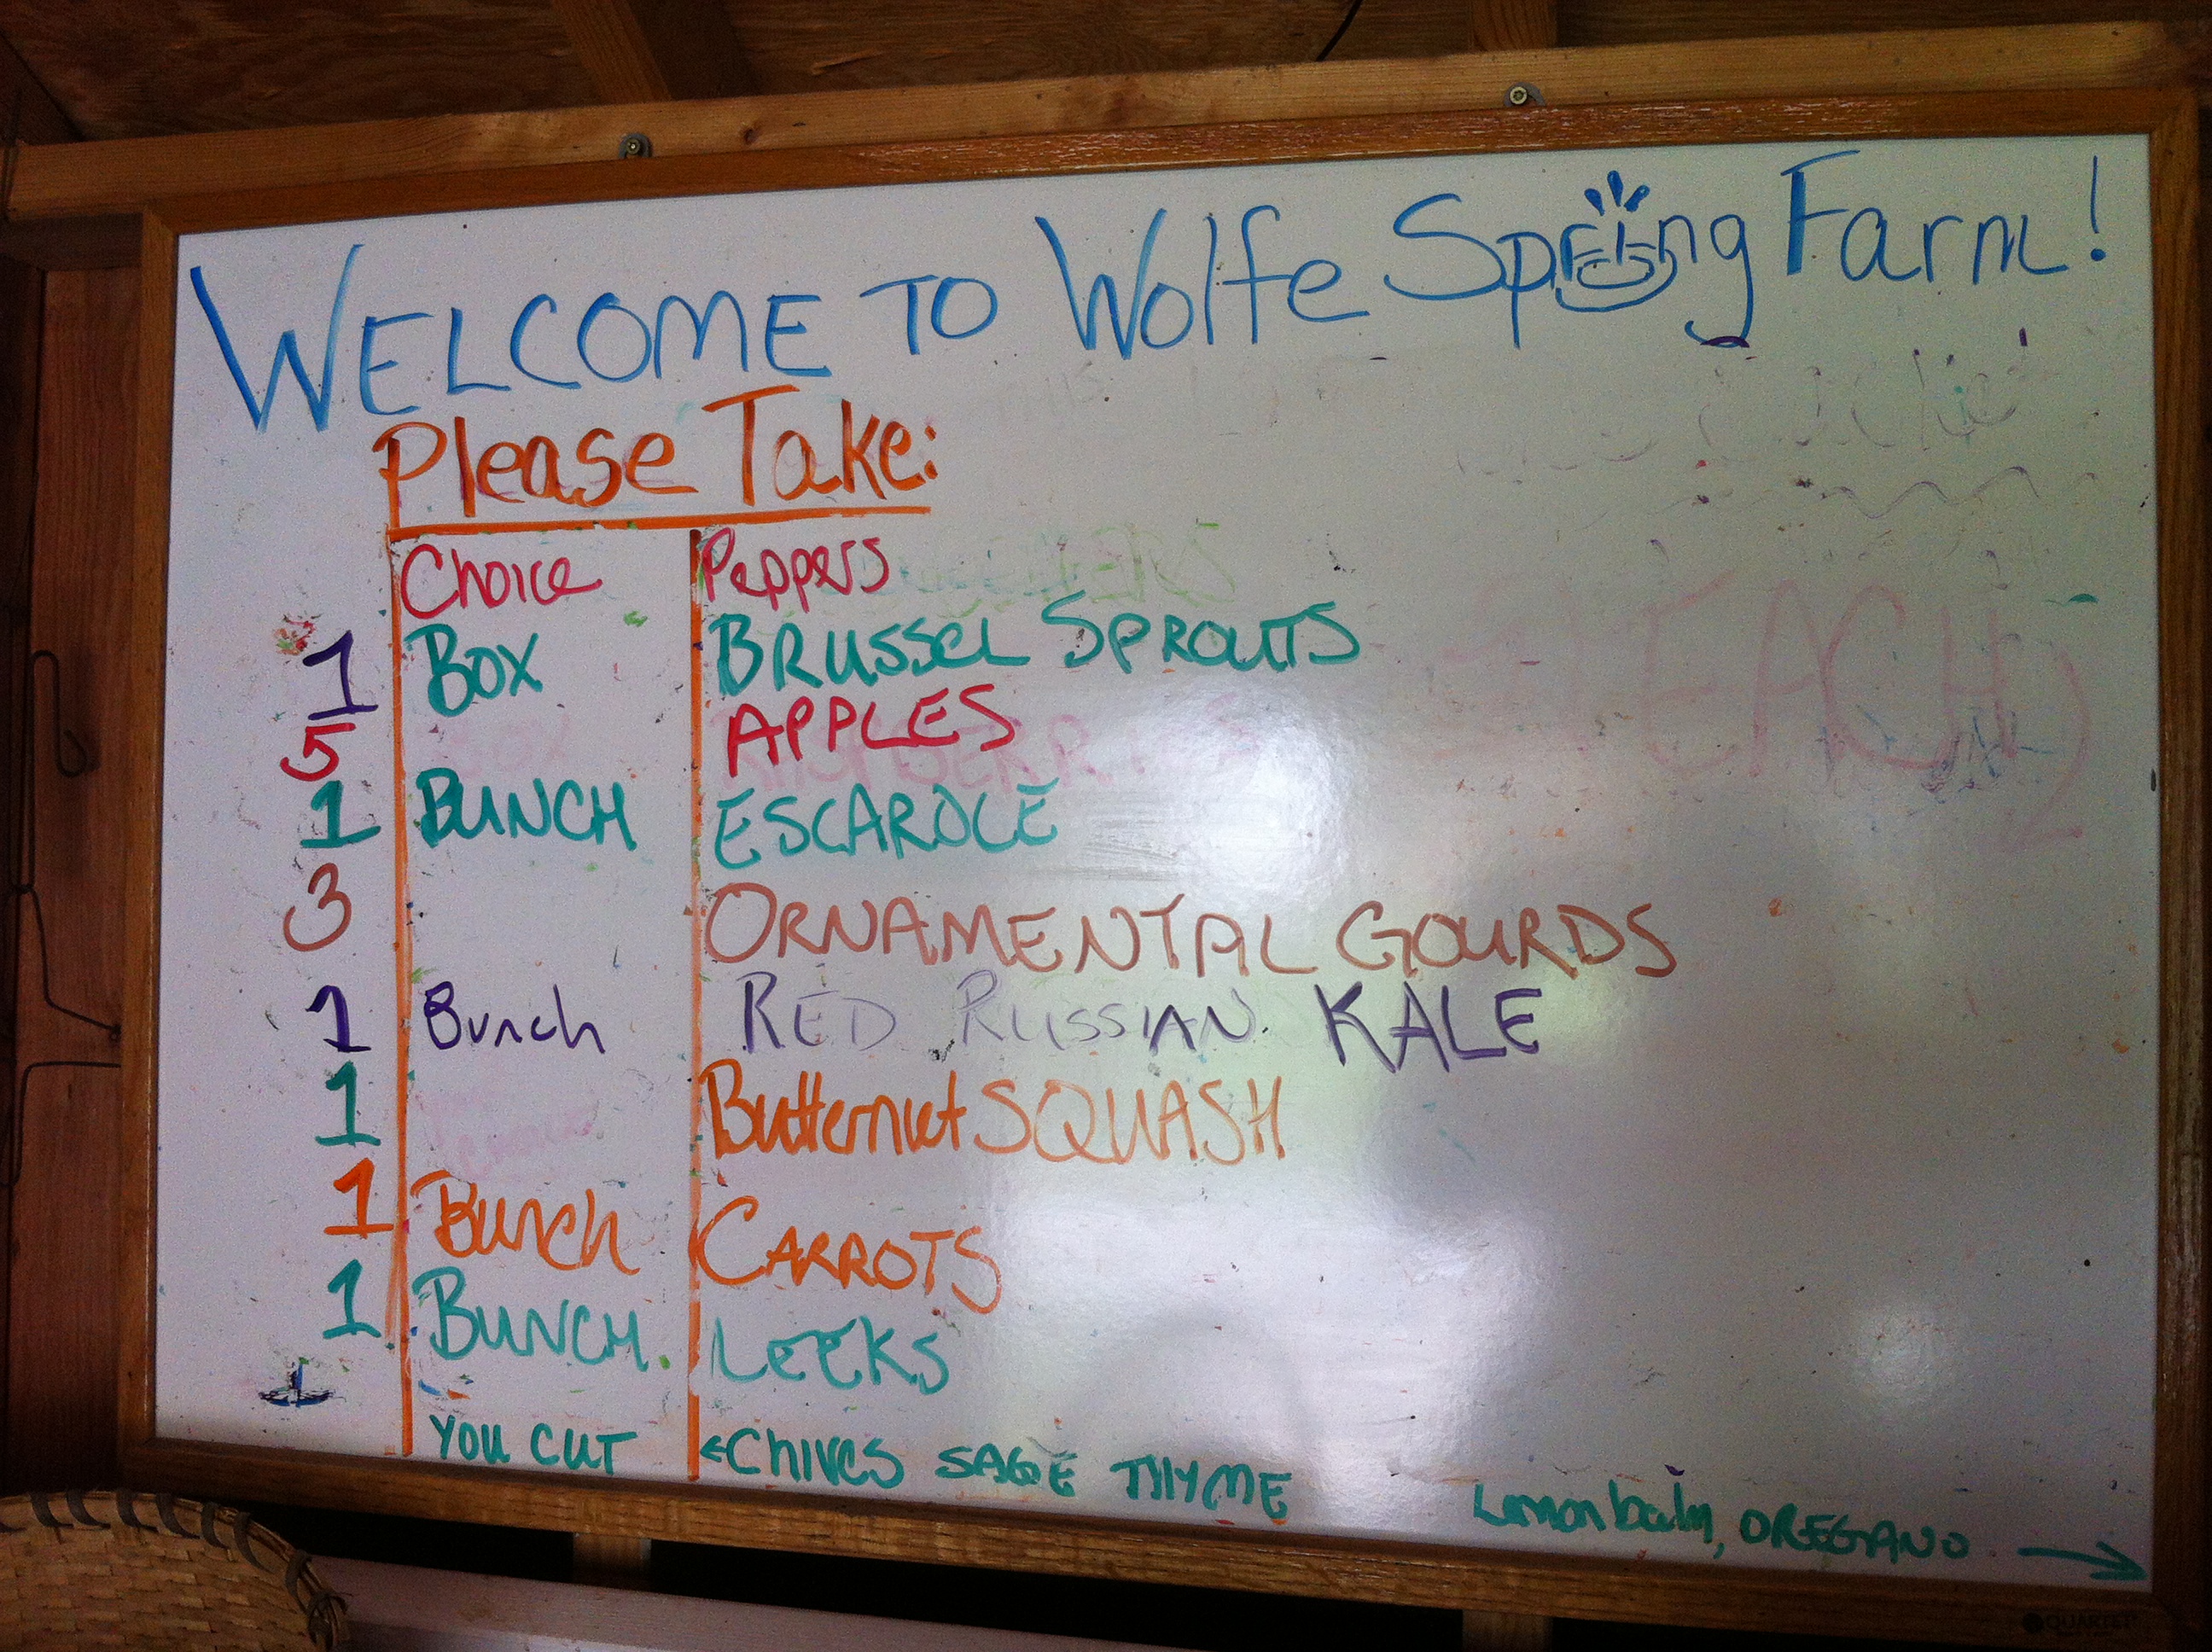
The funny thing about autumn in the Northeast is that it can be freezing (literally) one night and soar back to the 60s another. After last weekend’s frosty temps, we were surprised to feel the need to peel off layers on Saturday morning as we stopped by the farm for our pick-up. Penultimate pick-up of the season. My bag felt a little lighter than usual, but there were still some great new veggies on hand: Red Russian kale, butternut squash and escarole.

Penultimate pick-up – 10/20/12

I was also delighted to see another pair of leeks, a box of brussel sprouts and bunch of multi-colored carrots. With our house guests on the way, I knew we’d make short order out of this pick-up in no time at all. Here’s what I had on tap:

– My “almost-famous” Minestrone-style veggie soup
Leeks Vinaigrette (very French, I know)
– Roasted carrots, copycat pt 2 (see guest blogger Dan Doern’s post for inspiration)
Crispy Caramelized Brussel Sprouts
– Sauteed kale

And, any other year I’d be psyched to see the ornamental gourds, but they didn’t do much for me this year. We found a “volunteer” squash vine in our garden this year and it produced a prodigious crop of yellow and green bumpy creatures.

True Confessions: I Heart Snails

As many of you know, I have been a vegetarian for a looong time (ok, pescatarian). I have not eaten meat/chicken/turkey of any kind for over a decade. But, admittedly a few escargot have passed these lips. I remember first tasting snails as a little girl. For some reason, my mom kept a set of large shells in a plastic tube and she would actually prepare escargot once in awhile. The actual snails were sold in a can, and my mom would make the decadent butter, shallot and parsley sauce. After gobbling up the snails, I’d dunk bread in the heavenly butter sauce and sop up every bit. That may be my “madeline” moment  from childhood.

Bizarre, I know. But my mom didn’t bake, so I had snails. I really don’t know how snails are categorized (fish, fowl, insect??), apart from being gastropods. Wikipedia calls them gastropod mollusks, so does that put them in the same category as fish? But the snails commonly served as escargot are definitely terrestrial, not maritime.  I guess that’s why I haven’t been able to let them go despite the fact that when I think intellectually about what I’m eating, it’s totally gross.

I enjoyed Jeff Gordinier’s tongue in cheek NY Times article entitled, “The Snail Wrangler.” It’s about the elevation of the common snail  in today’s restaurant supply chain. It reminded me of my fondness for escargot, despite the obvious contradictions with my usual eating habits.

Please don’t think less of me for divulging this weakness…and feel free to share any of yours.

Tuesday night and What’s for Dinner? Roasted Cod with Garlic Bread Crumbs

Hyper-local radish toasts, Roasted Fresh Atlantic Cod from Iceland (ok, not local, but sustainable) with homemade garlic bread crumbs, and green salad with balsamic vinaigrette. The radishes are the last of this summer’s – proud to say we grew them in our recently moved raised bed. I read somewhere that radishes are the EASIEST vegetable to grow. We have had 3 or 4 failed crops until now. Clearly, I should stick to the kitchen. The cod is from Whole Foods (along with the greens), and the bread crumbs I made a few weeks ago.

This post will contain a few tips and one quick and easy weeknight recipe.

Surprisingly good: Radish Toasts

Tip #1: Radish toasts (or crostini or bruschetta if you want to get fancy) are an easy to make hors d’ouevres or starter that appears much fancier than it is (that is, if you like spicy, crunchy radishes). Slice up some baguette and some breakfast radishes, put a generous daub of butter on one side of the baguette slice, place a few slices of radish on top and sprinkle with good sea salt. Rinse, repeat, indulge. Yum!

Tip #2: You are literally throwing money out the window if you buy breadcrumbs in the store. I have seen a small bag sold for $5 or $6 in the specialty foods shop. Next time you have a day old baguette or Italian bread, don’t toss it. Hold on to it for another day or two until it is completely dried out/stale. Once it feels like a baton, take it to a box grater and go to town. It will make a bit of a mess, but grate the baguette like you would a carrot and ta-da, you’ve got homemade bread crumbs you can store in a glass jar on the shelf for months. The important thing is to make sure there is no more moisture in the bread, otherwise you’ll have mushy, and eventually, moldy bread crumbs. You can also cube it and put it into the food processor to make bread crumbs (less muscle), or make croutons out of them for your salad or soup (more effort).

Tip #3: Easy weeknight recipe that’s healthy to boot:

Roasted Cod with Homemade Garlic Bread Crumbs

  • 2 cod (or other dense white fish) fillets, about 6-8 ounces each
  • 1/2 cup homemade bread crumbs
  • 2 tablespoons olive oil
  • 1 garlic clove, minced
  • few sprigs parsley, chopped (or other fresh herb)
  • Salt and pepper
  • Lemon slices (for garnish)

Instructions:

Heat one tablespoon of olive oil in small pan over low-medium heat. Once heated, add garlic and saute for 1-2 minutes until fragrant, but don’t burn it. Add bread crumbs, salt and pepper and any other spices you’d like. Sautee for 5-6 minutes until bread crumbs are toasted evenly, but again, be careful not to burn (apparently, I do this frequently). Add parsley and mix, set aside.

Heat oven to 450 degrees. Place cod on a baking dish and drizzle remaining olive oil on fillets, sprinkle with salt and pepper. Place in oven. Turn 1/4 after 2 minutes, and repeat until last side is reached. Then remove baking dish and spoon bread crumbs on top. Bake cod for another 2 minutes, checking to ensure that bread crumbs are browning, not burning. Remove from oven and place on plate. Garnish with lemon, if desired, and more parsley.

Saturday Night’s Alright For Flyin’ (butterflying as in chicken, that is)

So the chicken was not from Wolfe Spring Farm. They were all out. Its no surprise because theirs was some of the best chicken I’d ever tasted (a close second to the free roaming grubandwhoknowswhatelse eating Rancho Margot birds we had in Costa Rica)  Otherwise, the meal was a celebration of WSF’s bounty.

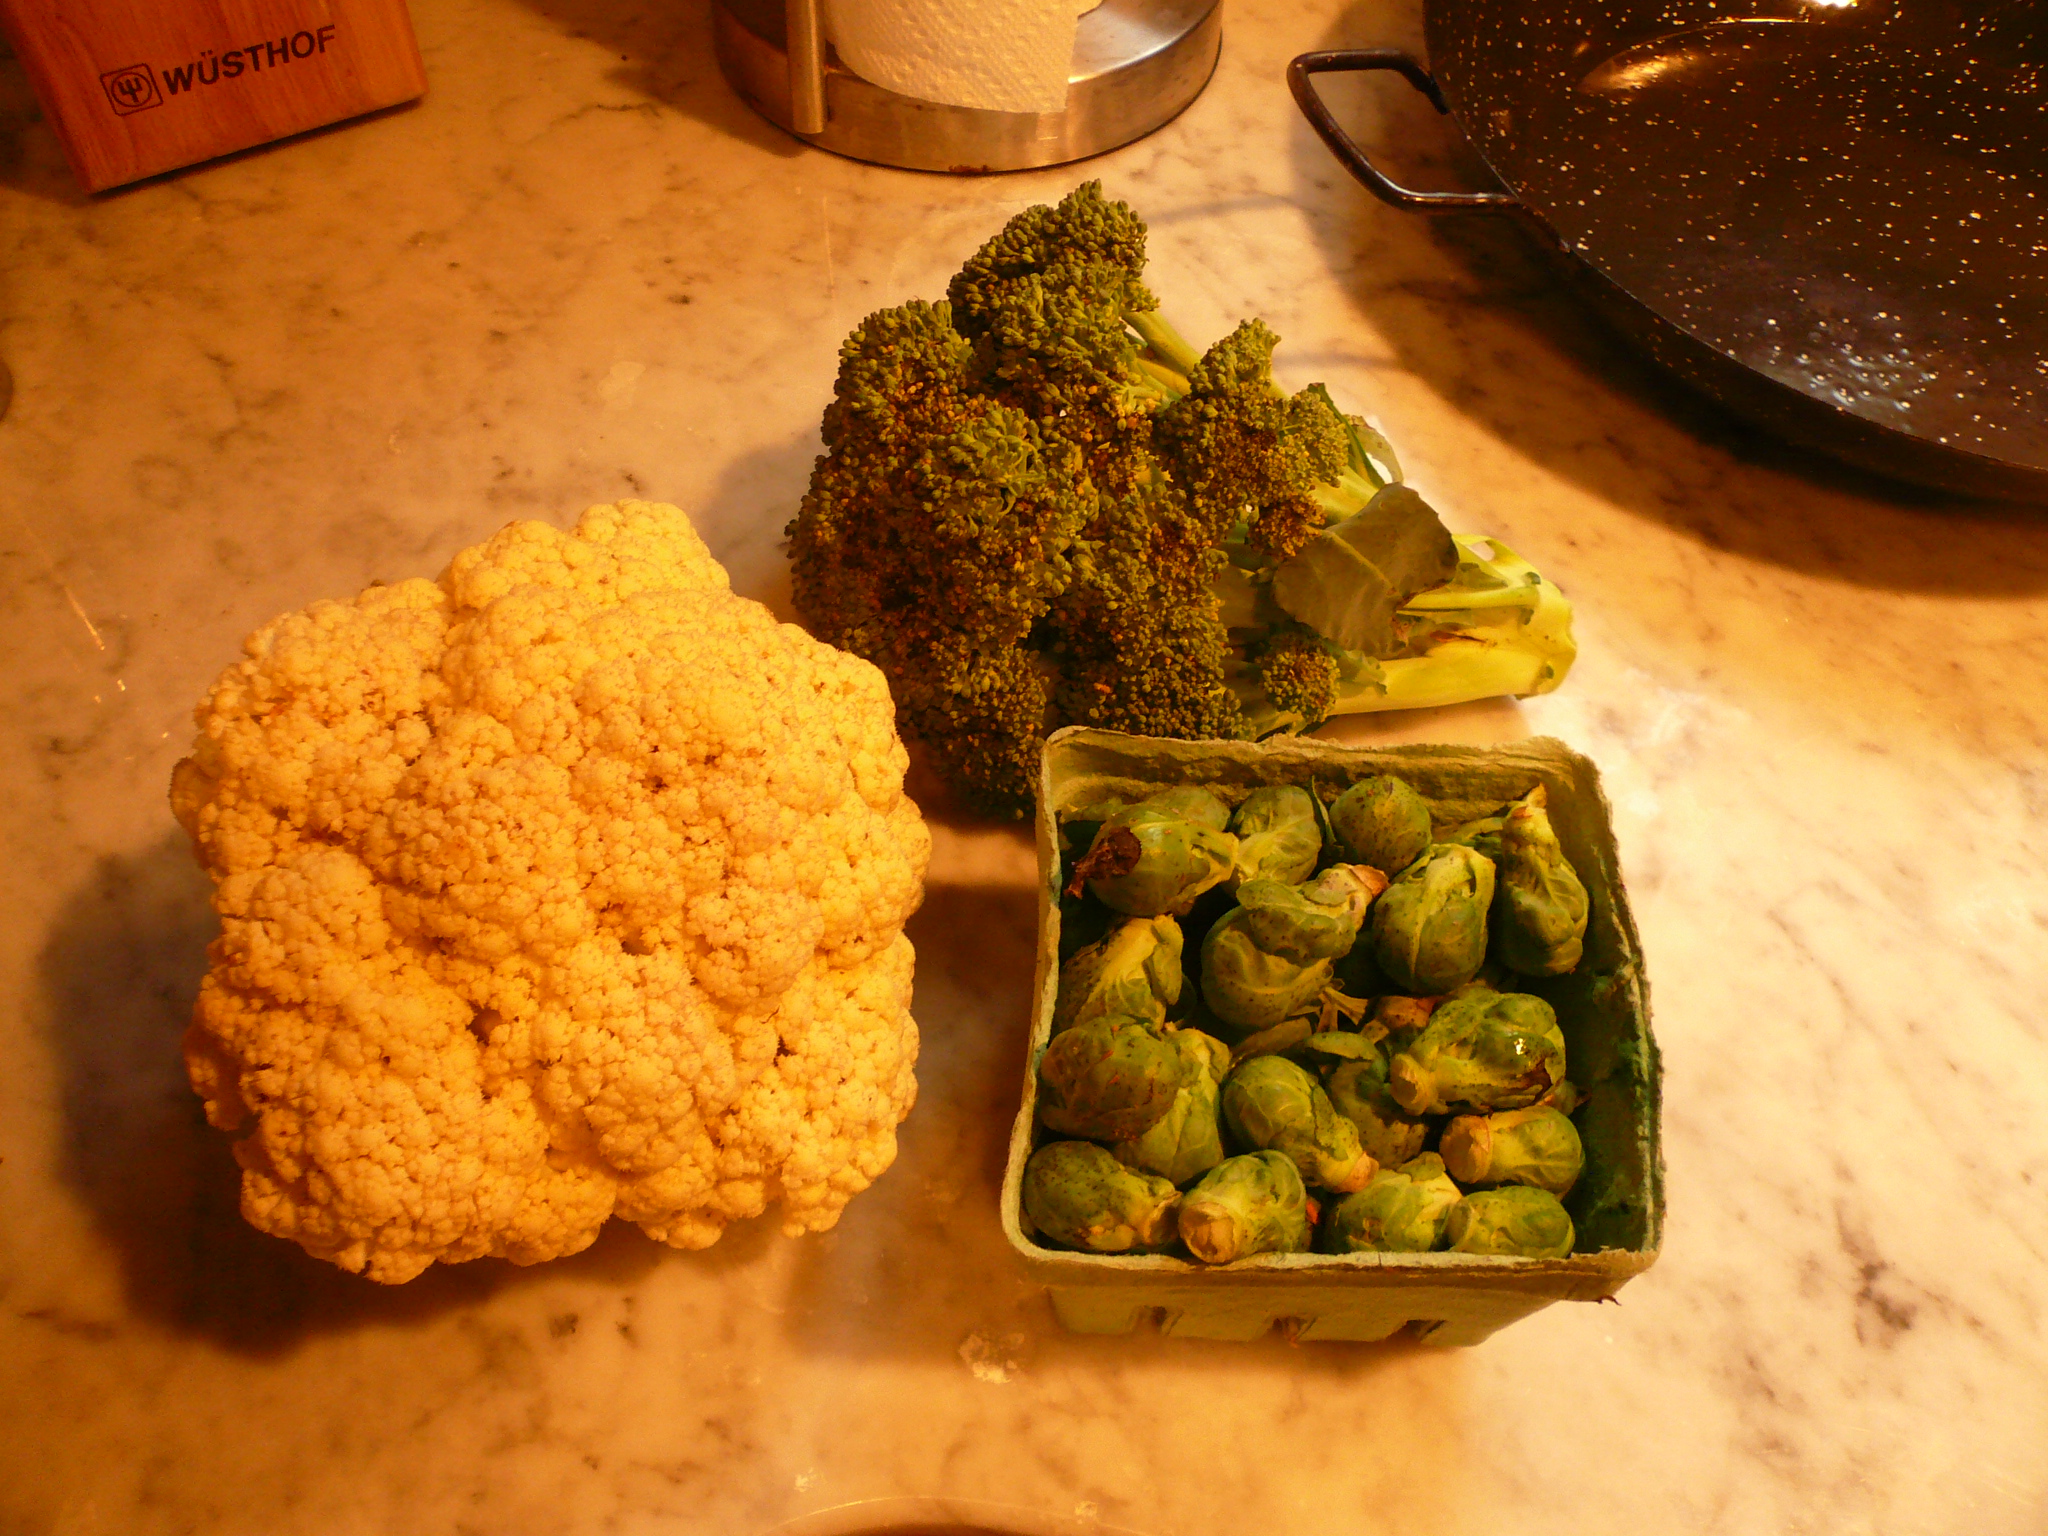
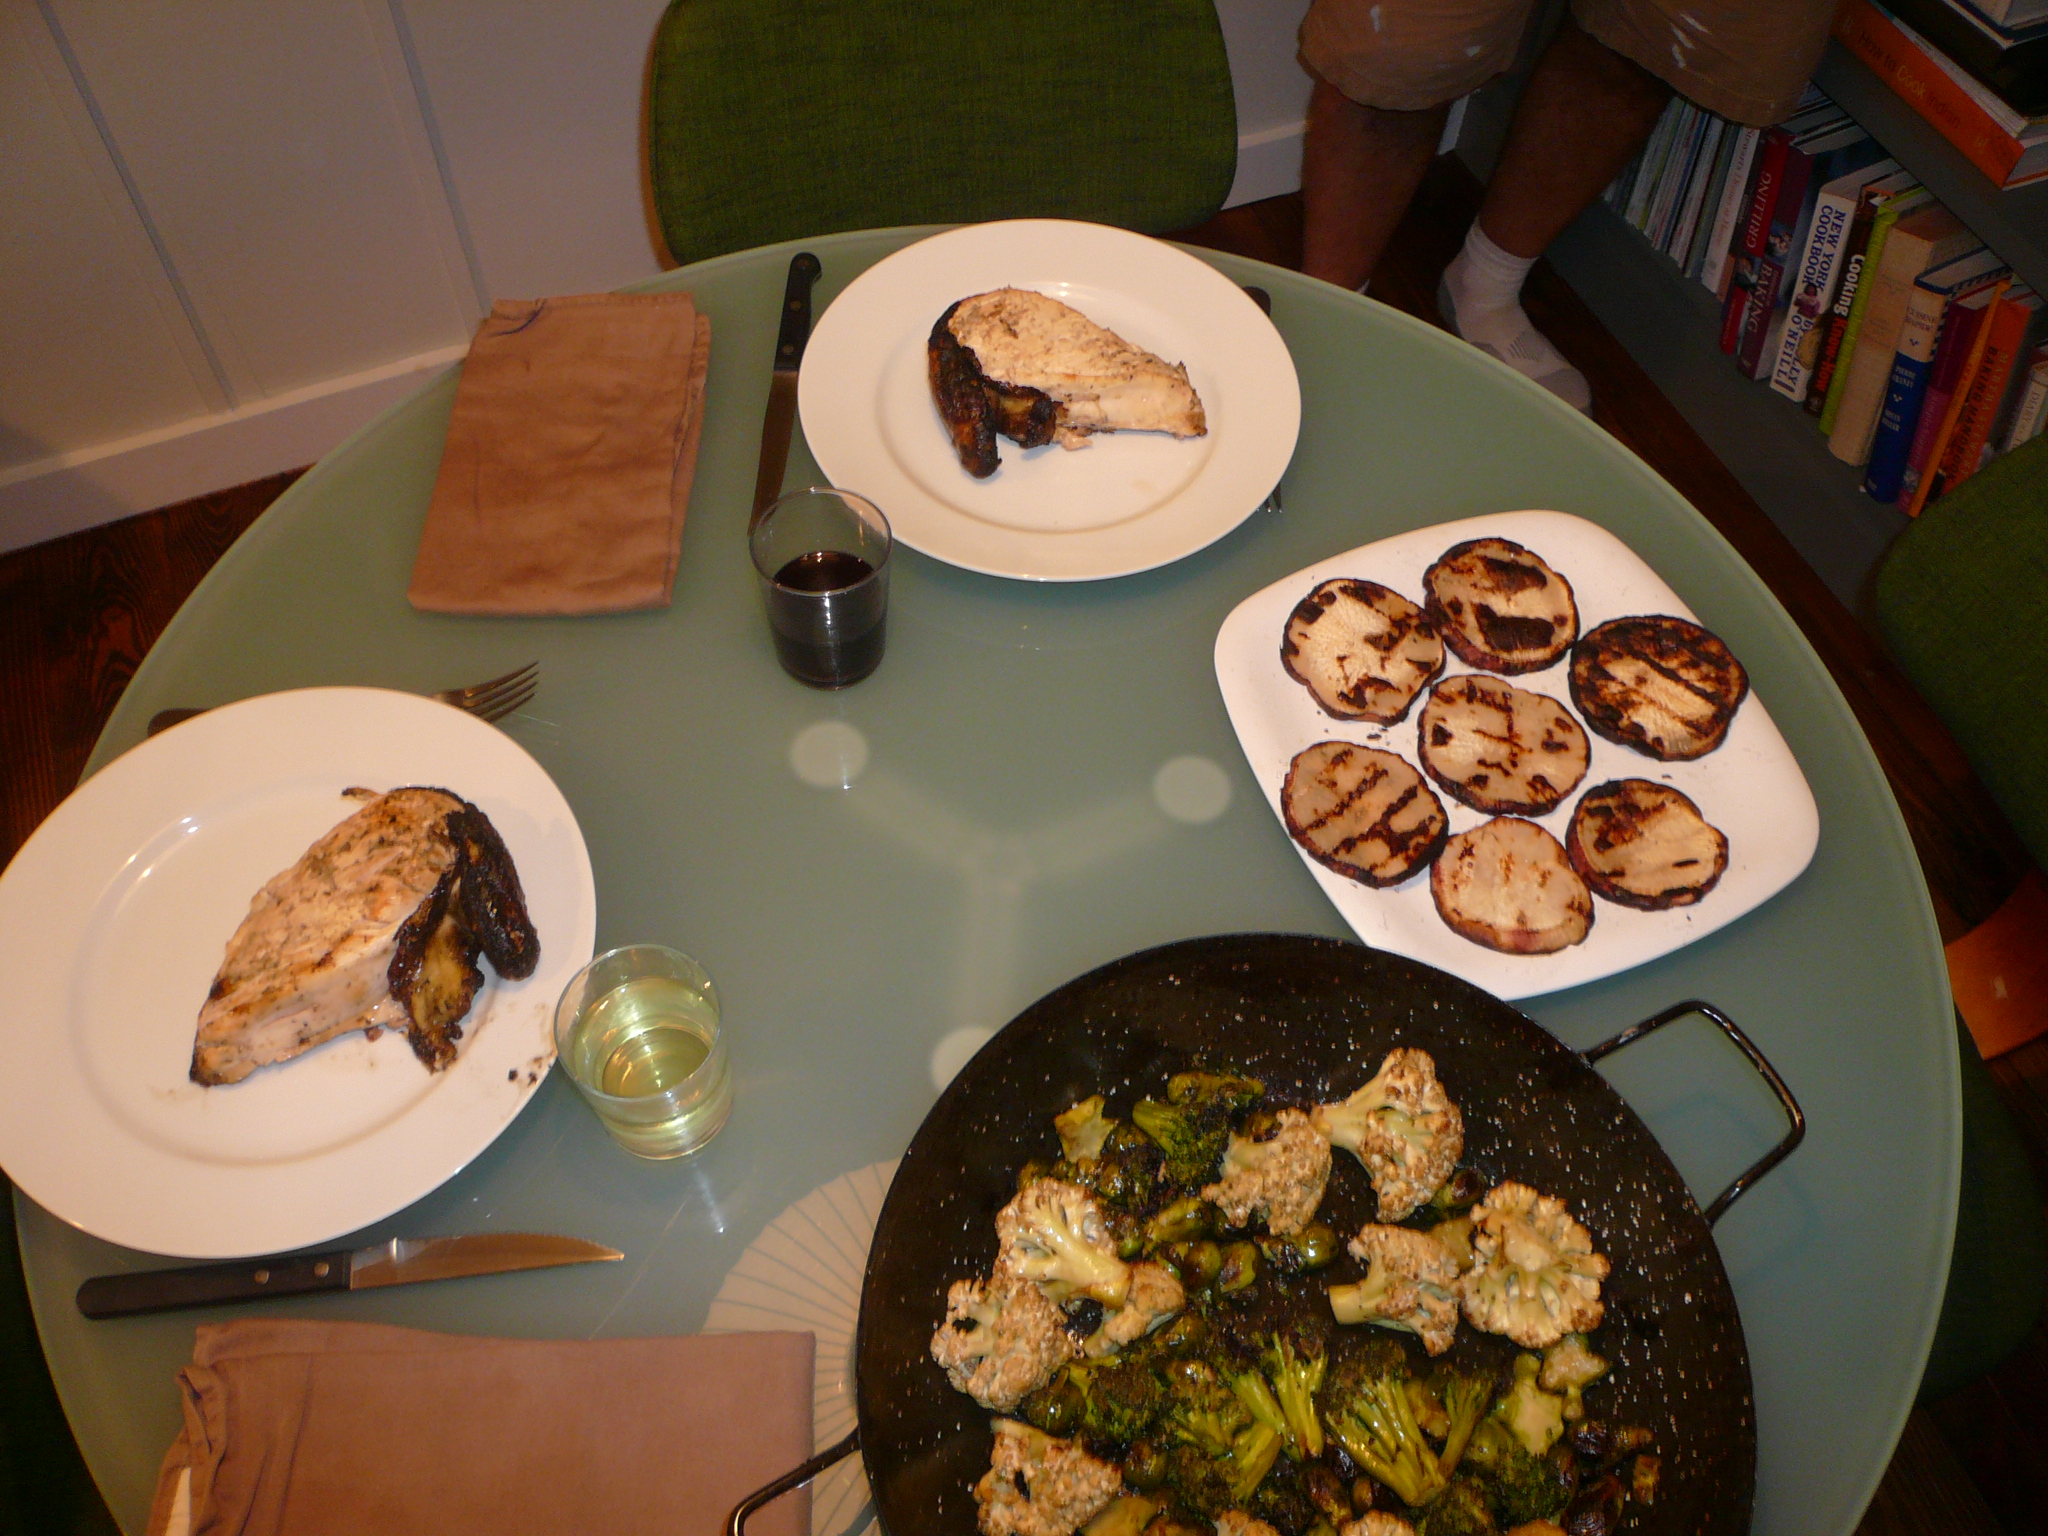
Grille Roasted Brussel Sprouts, cauliflower and Broccoli melange. So delicious. Toss in olive oil, salt and pepper, put on grill until done. I had this for lunch during the week.

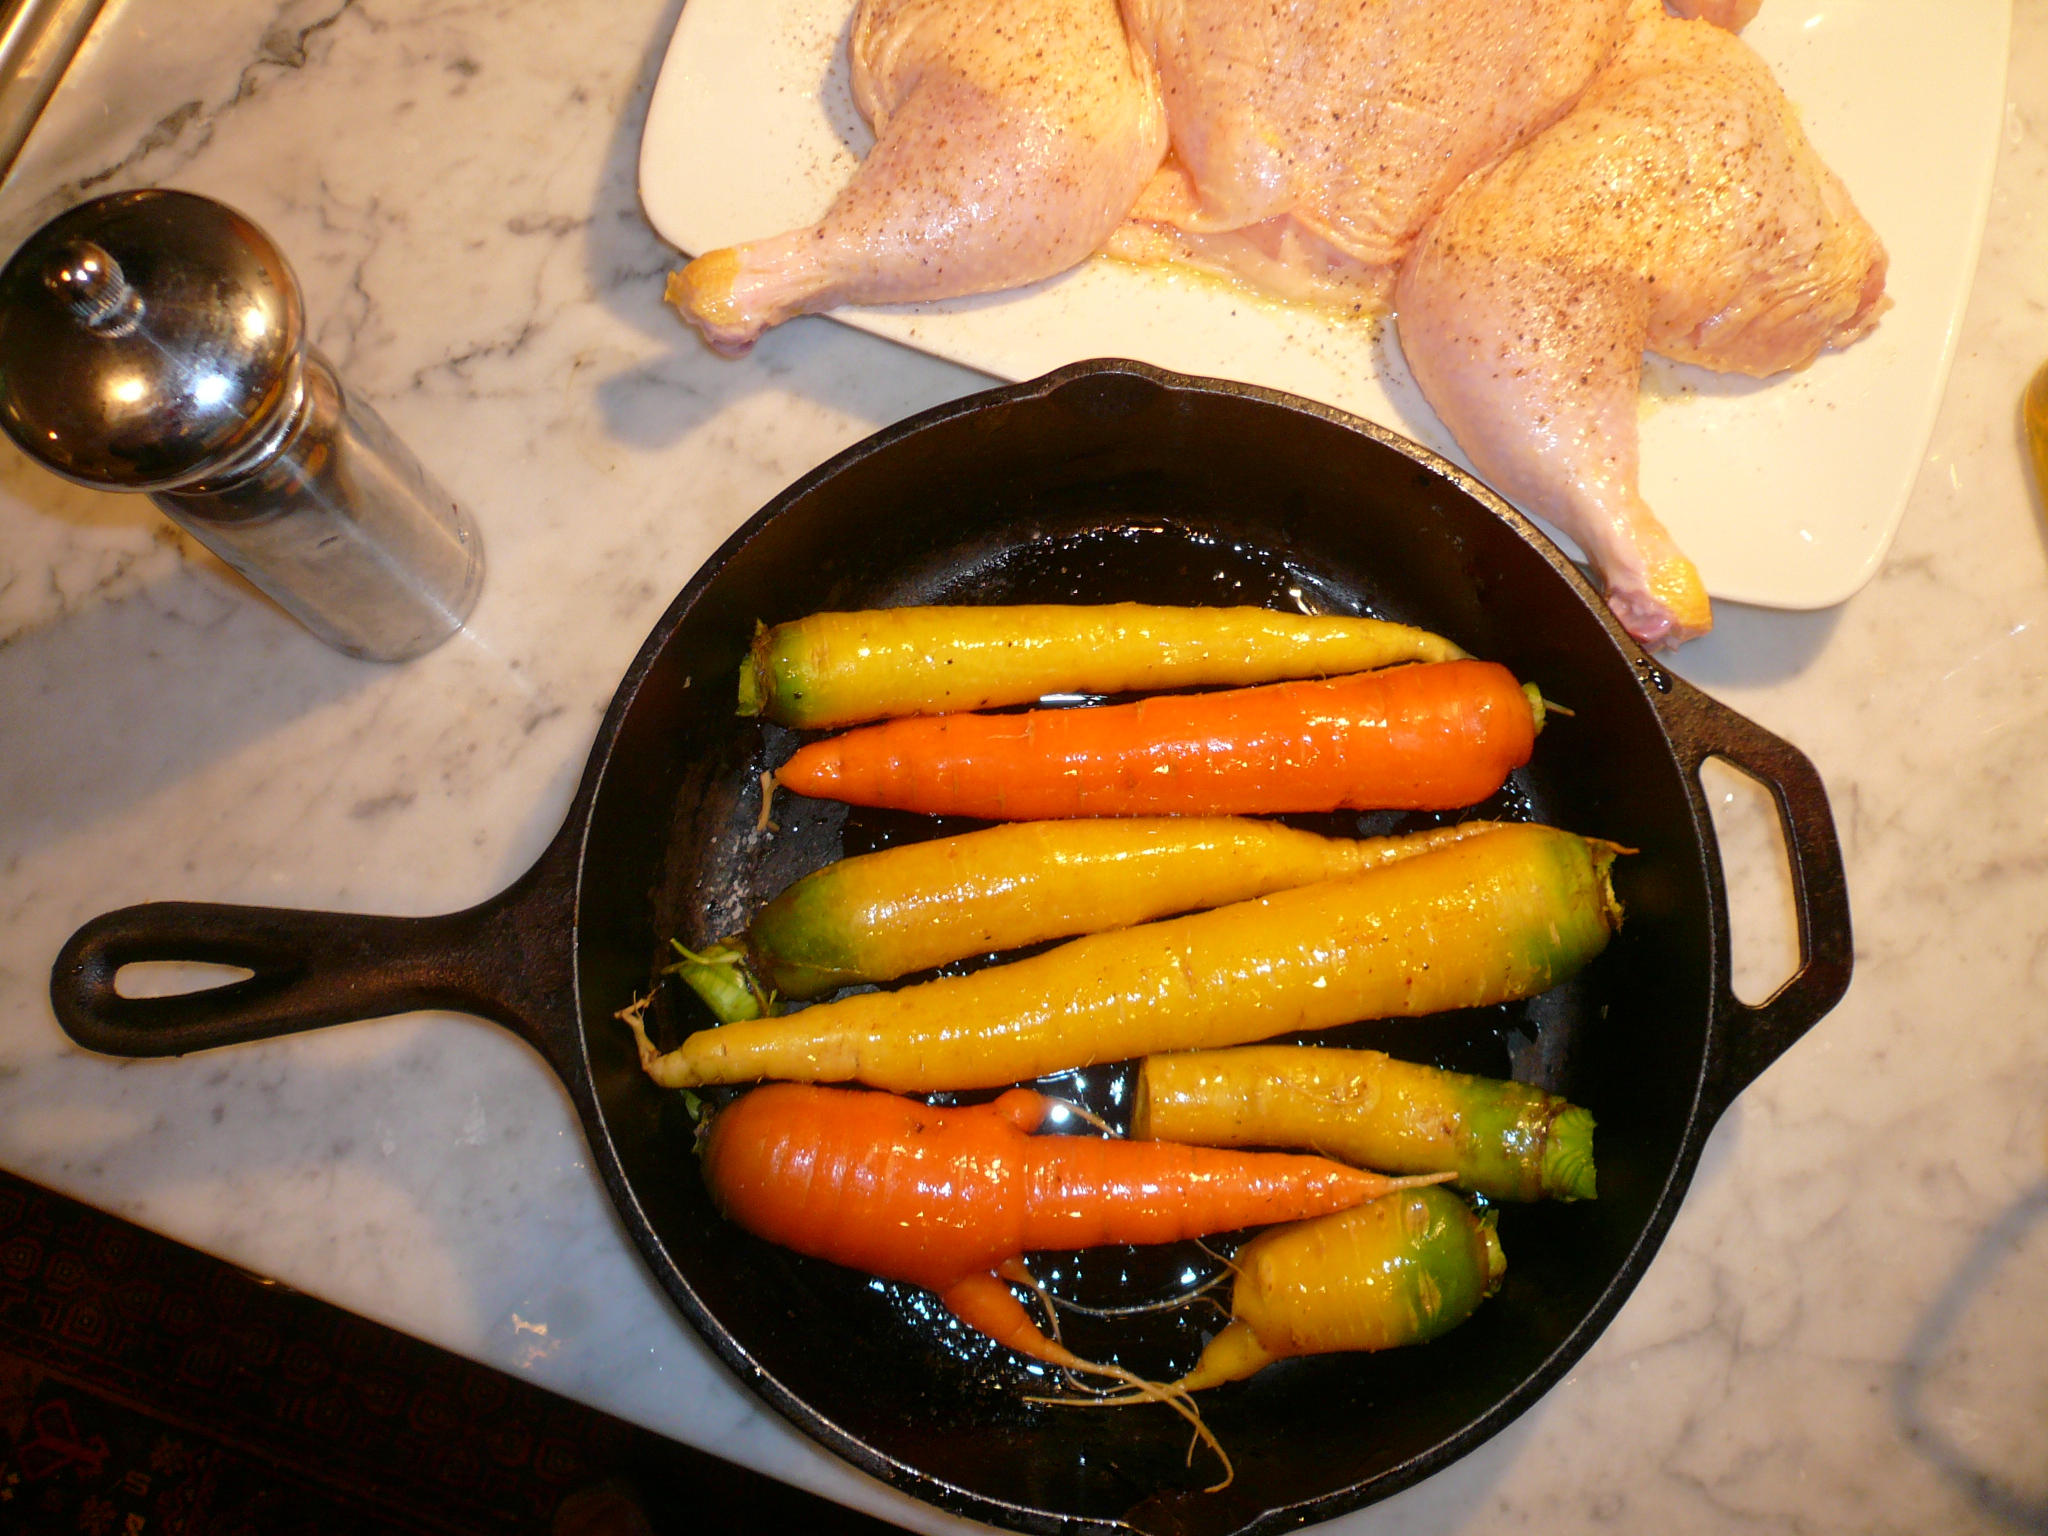
Grille Roasted Carrots. Look at how gorgeous they are. They tasted even better. Again, a very simple preparation: Olive oil, salt pepper.

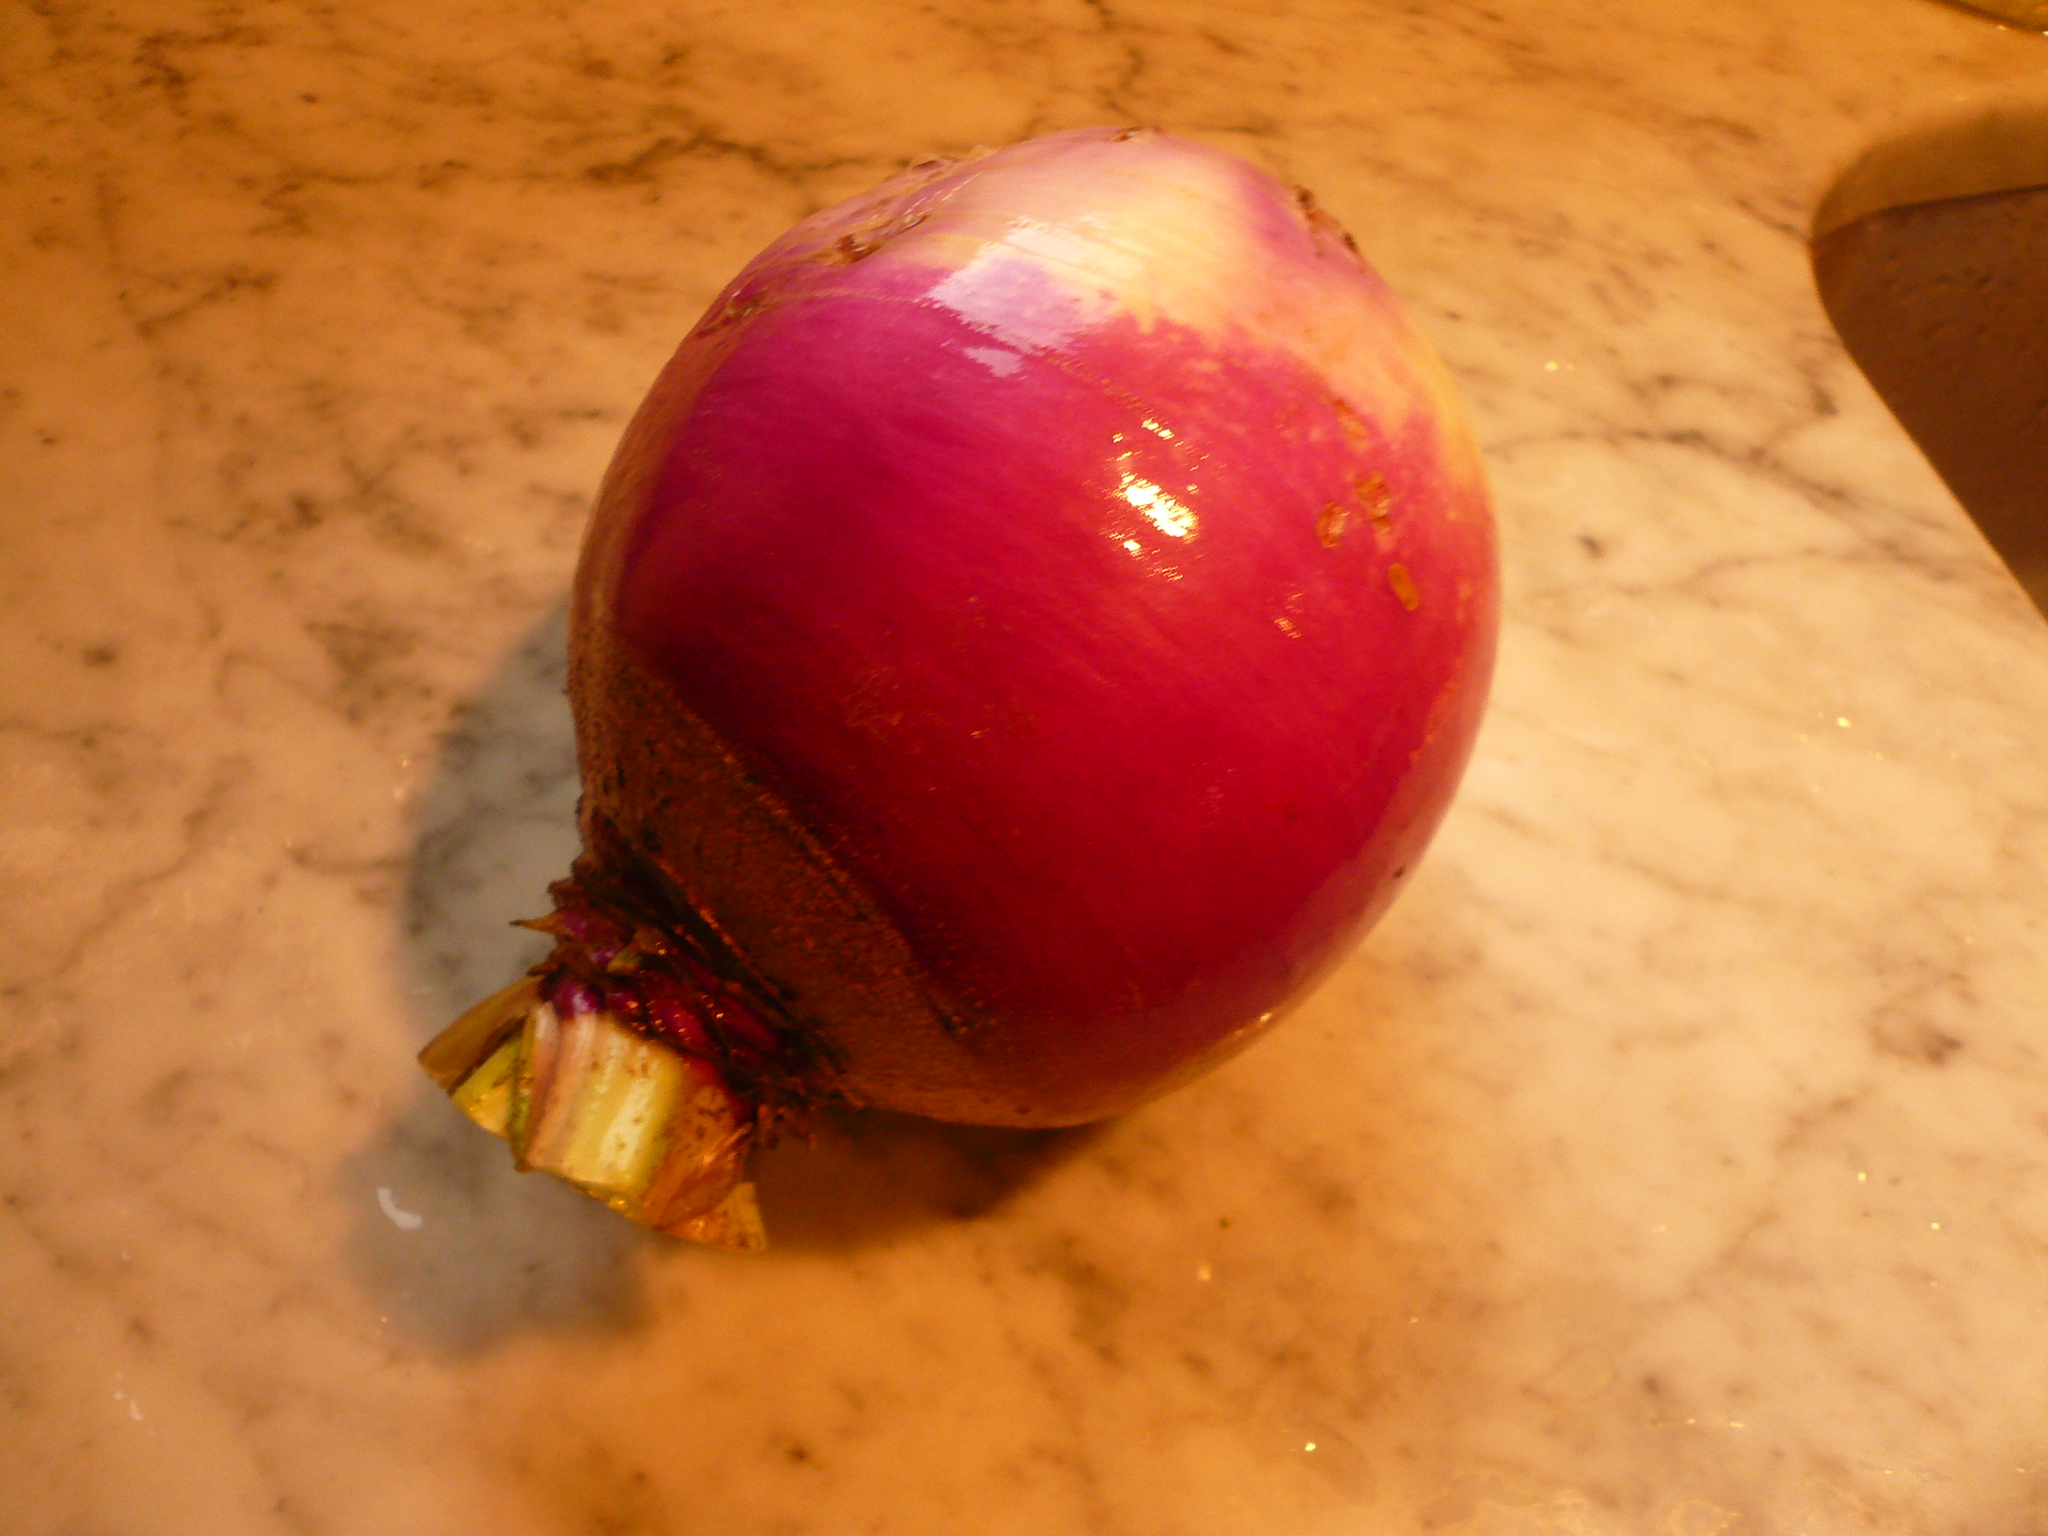
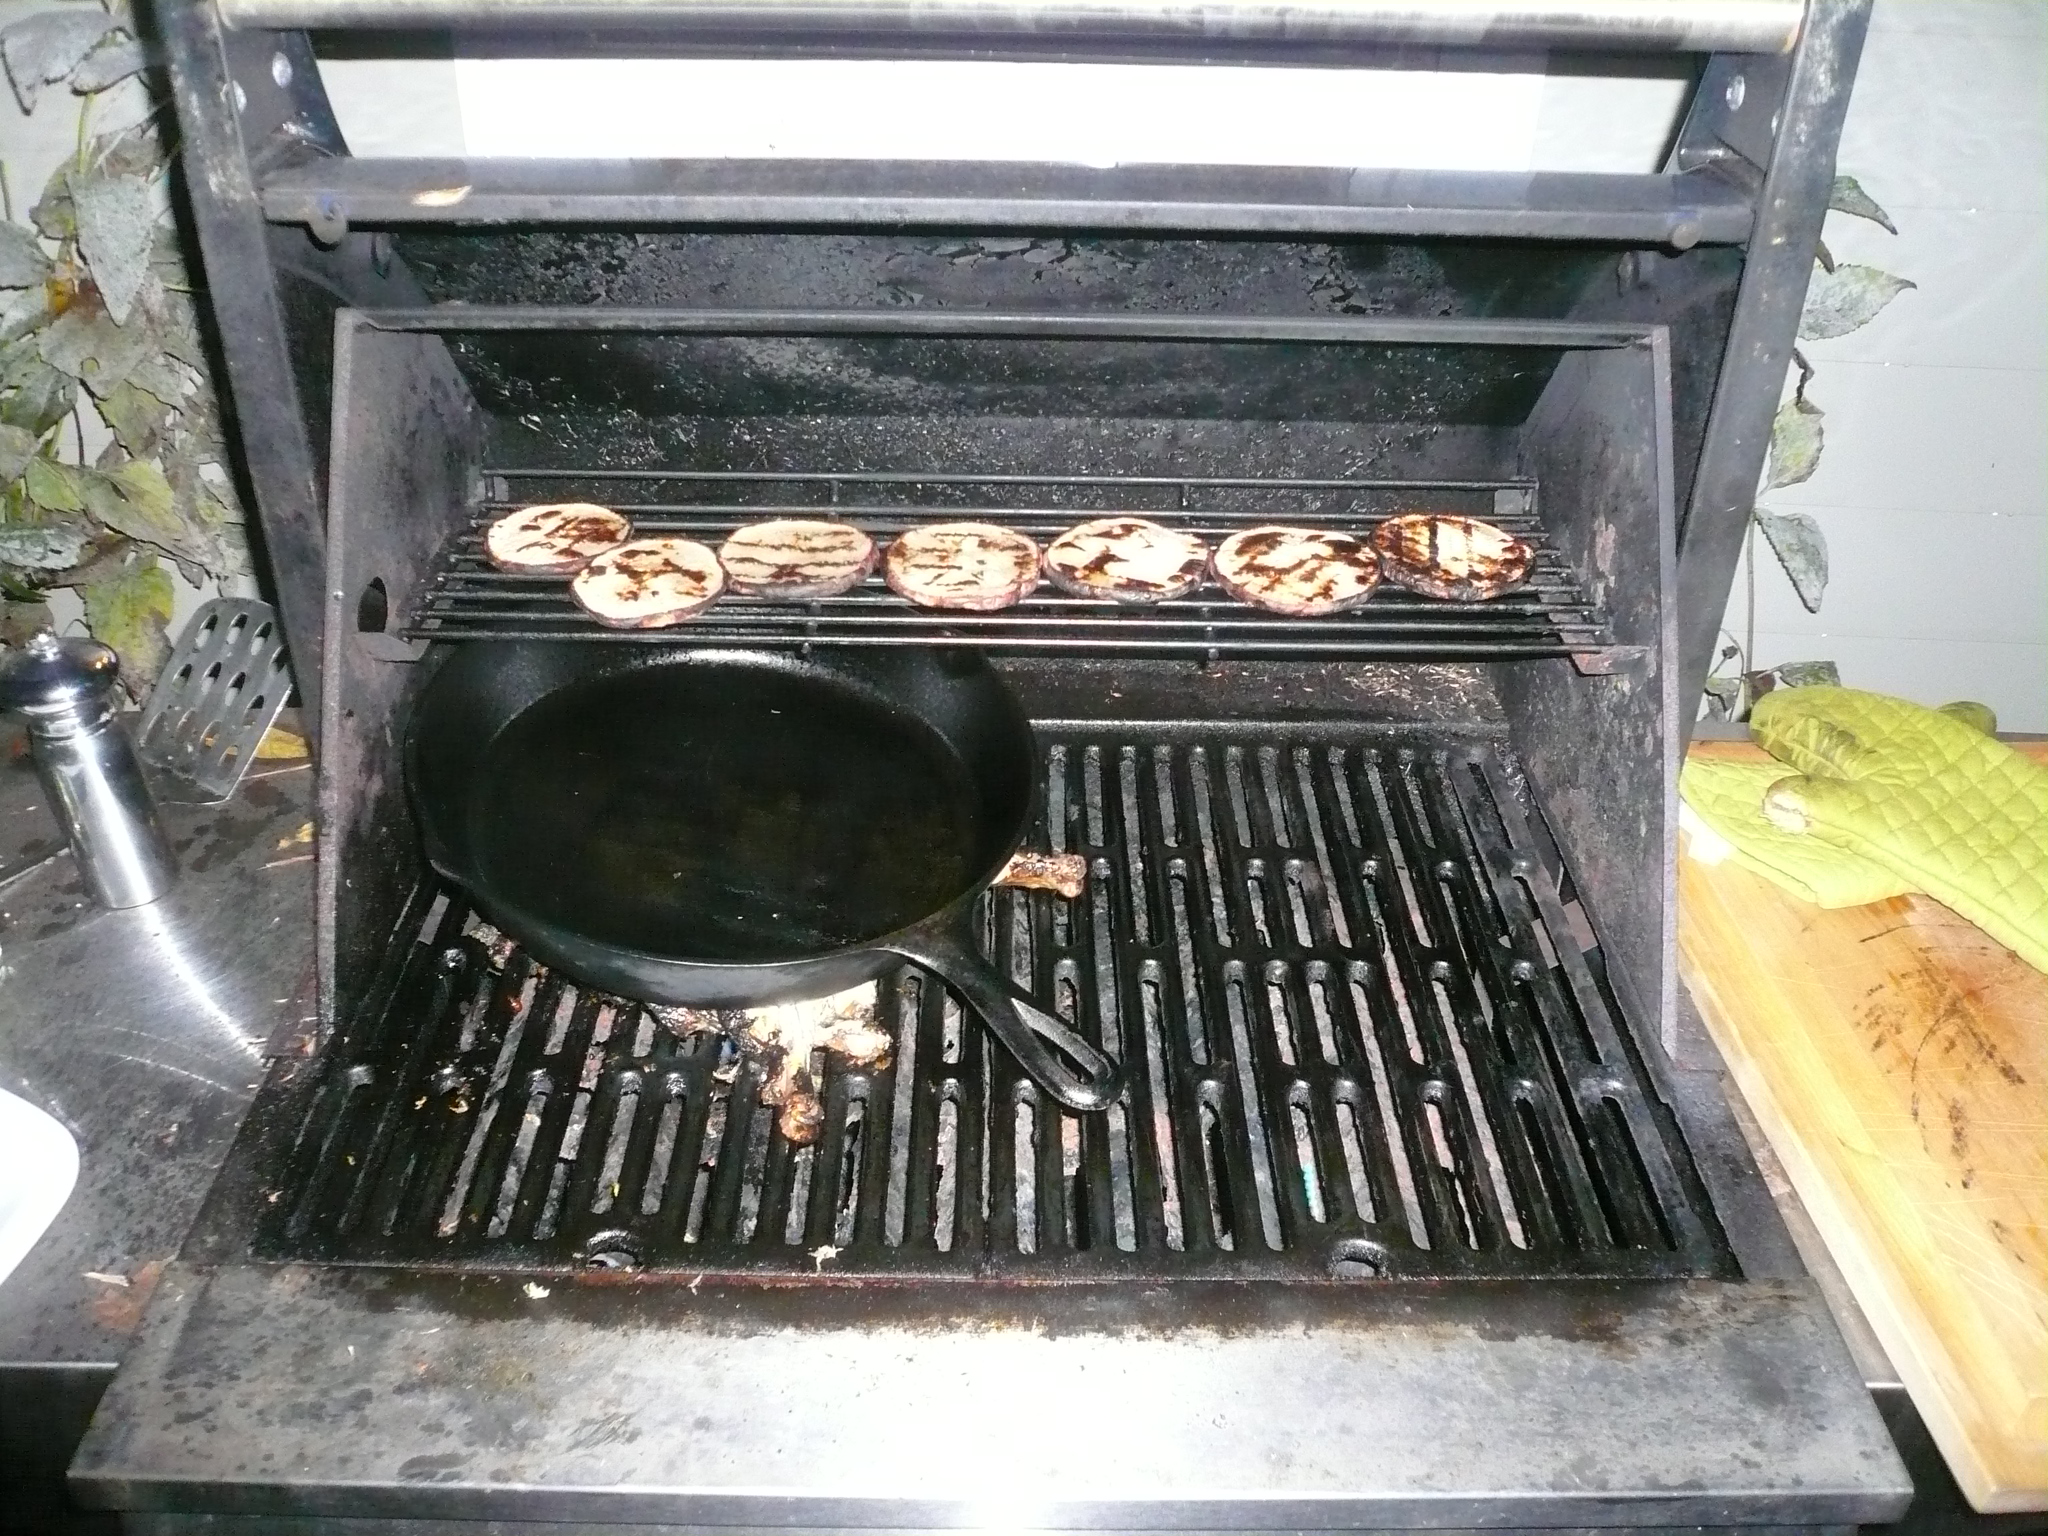
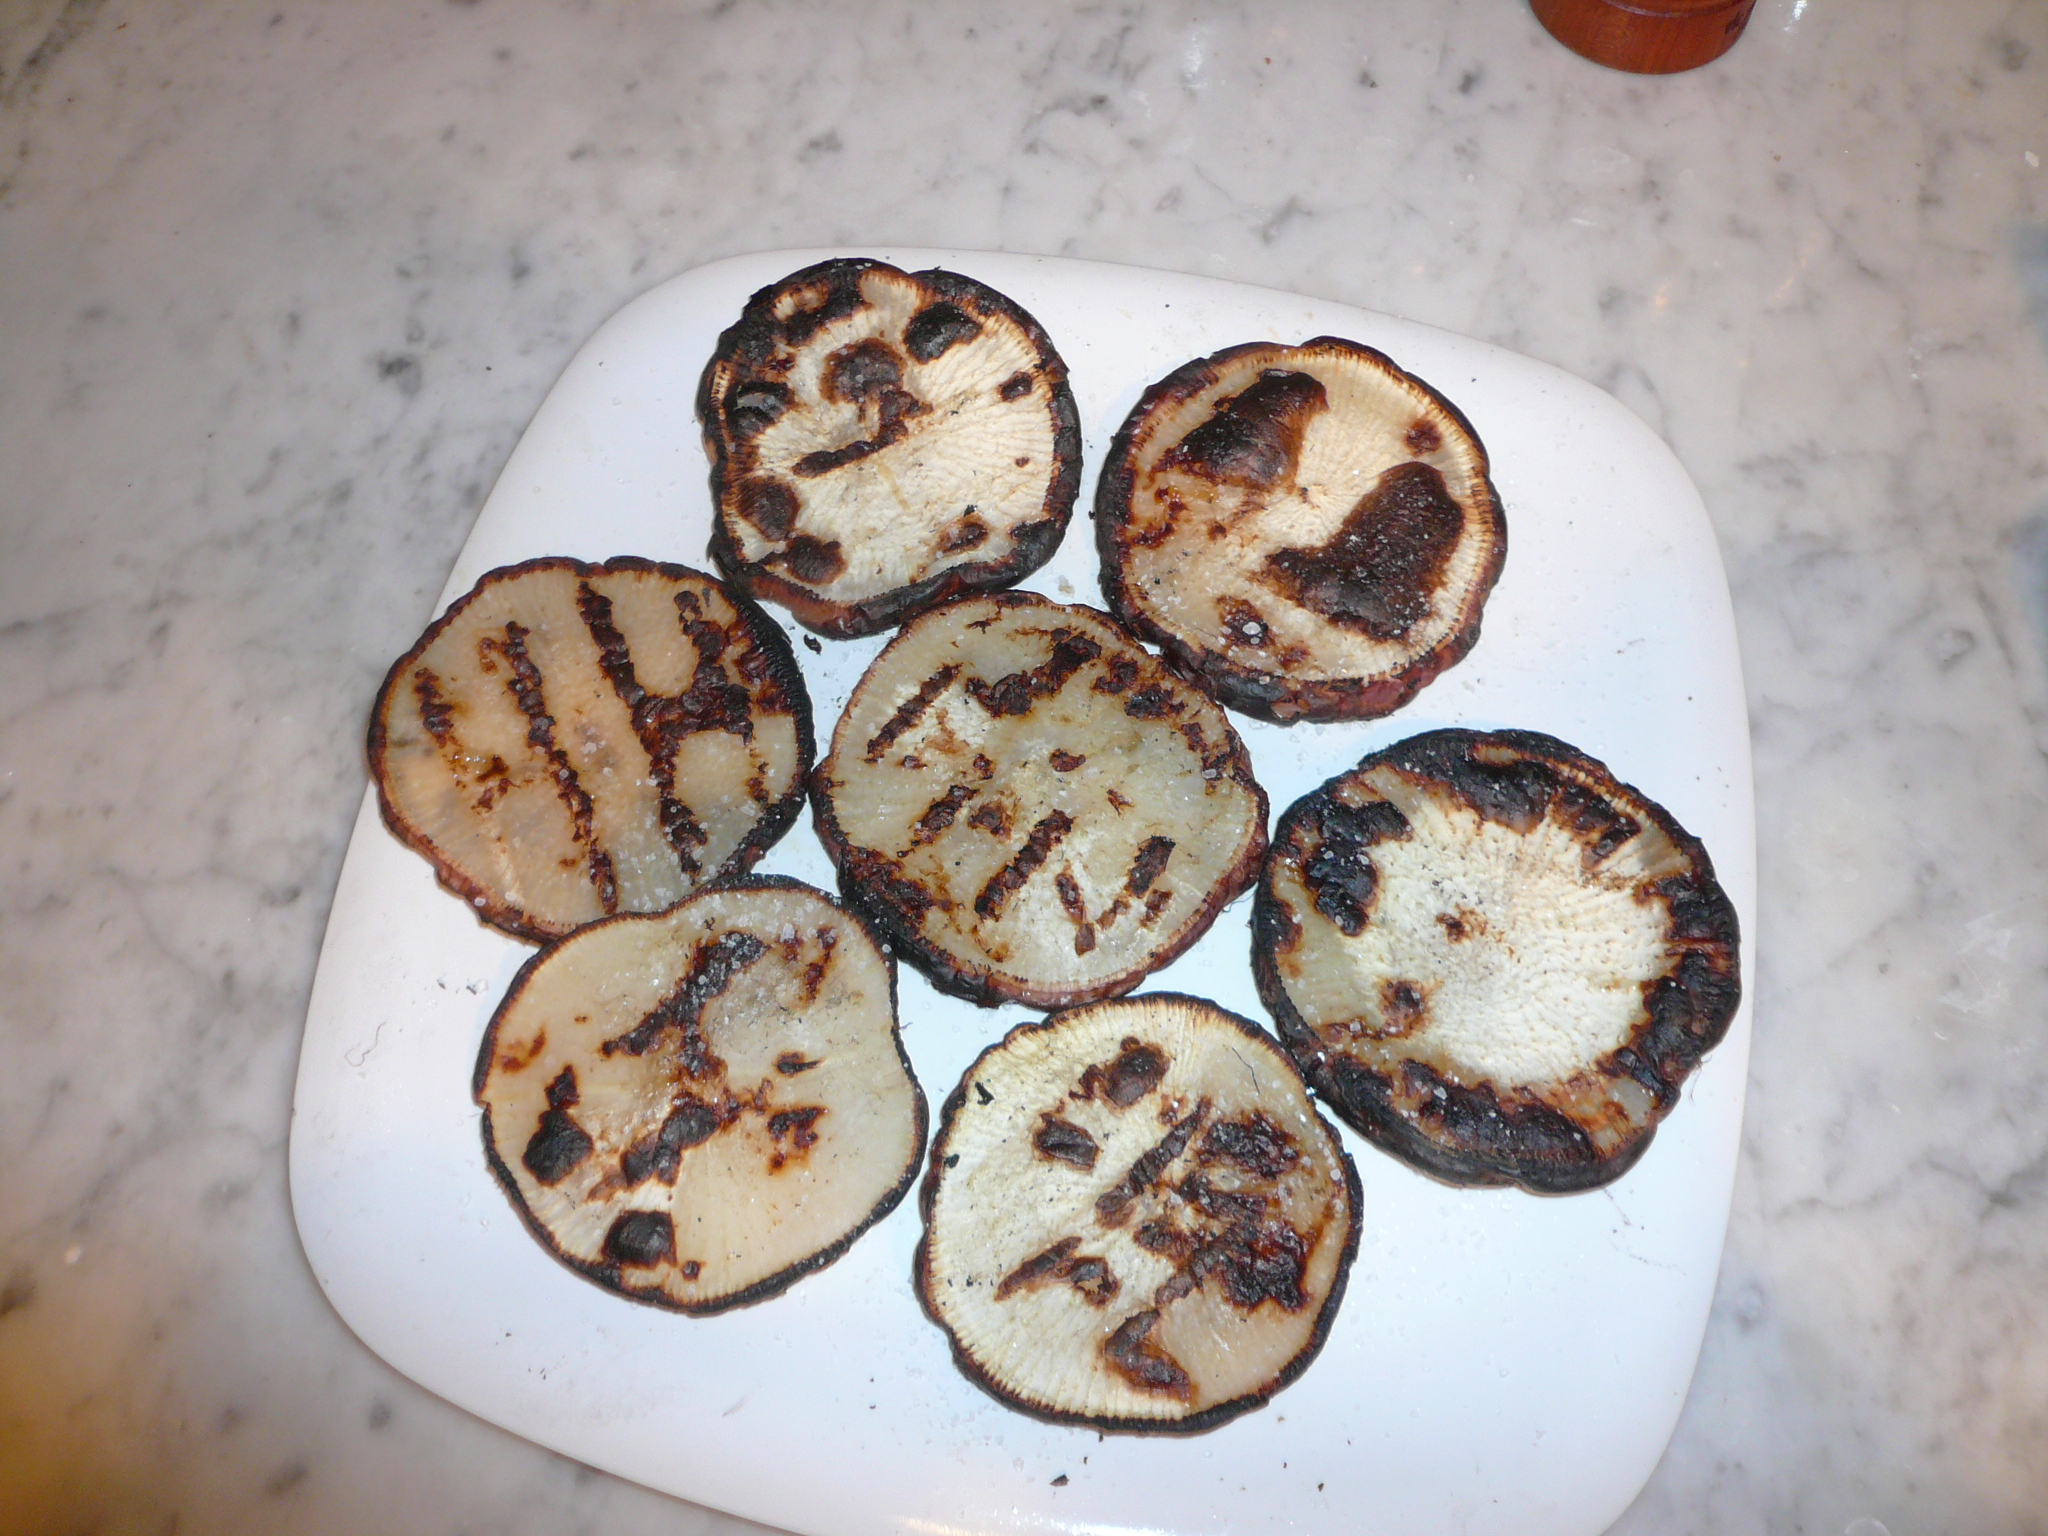
Now for the weird part: Grilled turnip planks. We’d tried grilled potato planks but nothing else. This turnip was farmin’ huge so we gave it a shot. Slice thick, toss with salt, let rest in salt for 20 mins or so, rinse, nuke  on low for 10 mins to soften up a bit. Toss in olive oil salt and pepper, grill on medium heat, off direct flame until done. Sprinkle some coarse salt before serving warm. I bet even Hubs would like these!!

Cauliflower, sprouts and broccoli, Oh My!

I bet you monsters lead the most innnnnteresstin’ lives……

Warning! Pic not safe for work

Our grille is really not filthy, its just the flash……..
Note modesty skillet and turnip planks

You must try these: smoky, earthy surprising.

A most fabulous un-fabulous meal.